
By Marco Scheloske - images & text © 2004
|
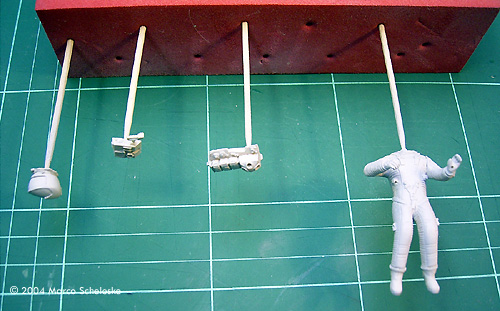
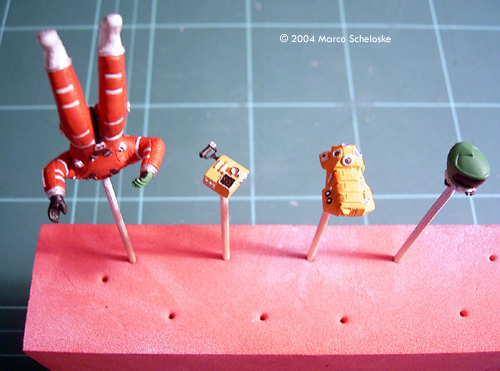
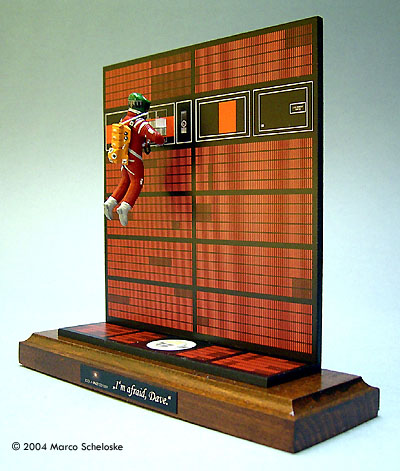
![[Click to enlarge]](ms_bowman_HALfront.jpg) I became aware of that kit through the previews posted here at Starship Modeler. Being a big fan of "2001" and of small models I didn`t hesitate to order one - and I don`t regret it! The detail of that small kit is fantastic, the casting quality excellent. But let me tell you step by step: Assembly I chose to glue the arms to the body before I started to paint the figure. The add-on parts (helmet, chest- and backpack, tubes, HAL shutdown key) were painted seperately (temporarily mounted on toothpicks) and attached later. |
|
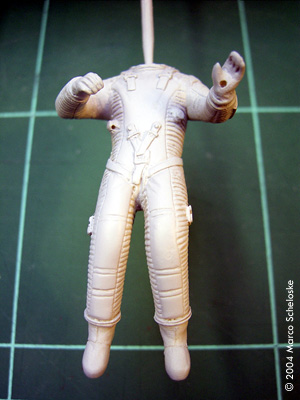
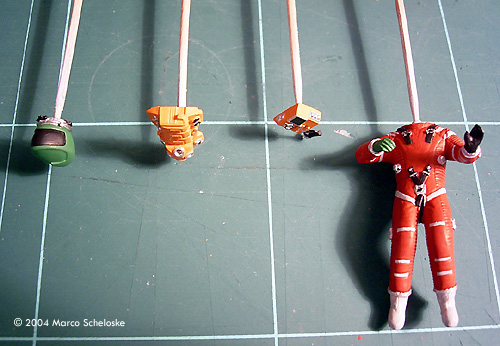
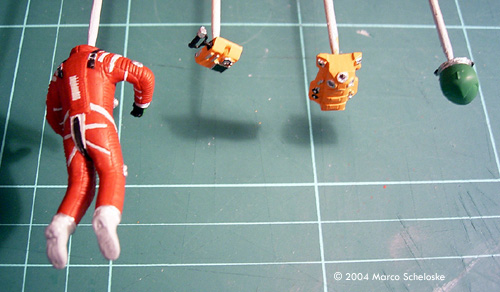
Image: Parts primed Image: Closer look, body assembled and primed Image: Parts painted (front view) Image: Rear view Image: Tops Image: Bowman, from lower left Image: HAL's losing his mind Image: Over all vignette, from the left Image: Left angle view Image: Right angle view Image: Right side Image: Looking down Image: Name plate |
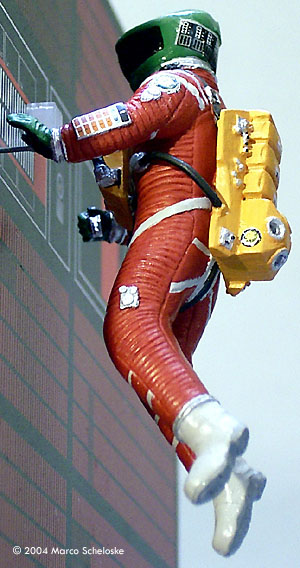
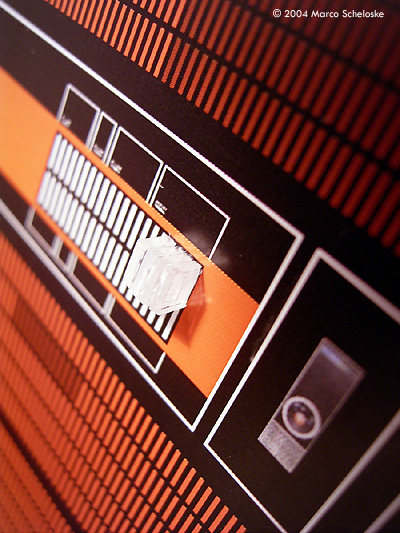
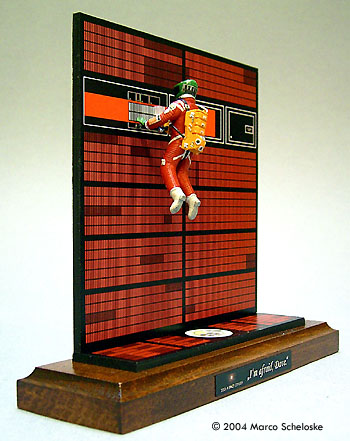
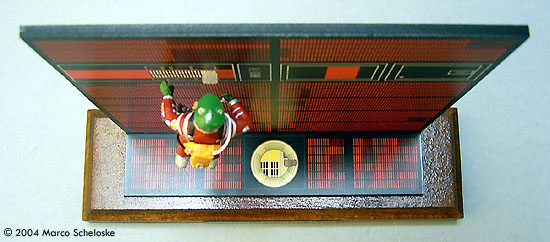
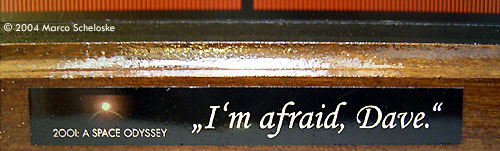
The parts needed minor sanding here and there, which was done very quickly. A little seam between the arms and the body was filled with gap-filling superglue. Instead of drilling a small hole into the bottom of the helmet I sanded this area and the top of the neck flat. Painting and Detailing The instructions are not very detailed regarding the paintjob, so I collected a couple of reference pictures, and I watched several scenes of the DVD over and over again, zooming in here, zooming in there. When I felt I was prepared enough I started to paint. The primer is a light grey from a spraycan. I started the main paintjob with the grey and black straps of the suit, followed by the silver buckles. Some may think that it is a strange idea to paint the details before the main color, but in that way I was able to paint the sides of those details too without damaging the base color of the suit. I used this technique on my much bigger Luner Models Astronaut & Ape diorama too with great success. During the drying time I painted the other parts. The chest- and backpack with a self-mixed orange (using Blood Red and Golden Yellow from Games Workshop), the helmet green (Bowman wore the helmet and gloves from the backup suit in the airlock), the tubes black and the airtube of the helmet light grey. Now back to the suit: I mixed Games Workshop Blood Red and Red Gore in a 1:1 ratio to get the color I want. The complete suit was painted with this one. When it was dry I added the silver details and the grey boots. I made their sole a bit darker then the rest. Silver and black details were also added to the packs, as well as the black visor of the helmet. Finally the helmet was gloss coated. I needed a couple of days for the paintjob because I let every layer of color dry very well. All Your Base .... A background picture showing the HAL-room was included in the kit, but it was blurred a bit. Not a big deal for a model you will look at from a distance, but you will stick your nose to this one to be able to see every tiny detail (ok, at least I will). So I chose to draw a new background, using the included one as a guide. I made it with Macromedia Freehand, printed it on a HP INDIGO digital offset printing press, and so I got a vector based, sharp background picture to use with my model. Now the really good part: This NEW picture will be used for all kits EVA models is going to sell in the future - I gave the file to the owner, and he liked it so much that he decided to use it from now on instead of the original one! The picture is only the starting point of the base. I used 3 mm thick black foamboard (as suggested in the instructions) as the floor and the wall, the print has been glued onto that. Now the wall was glued on the floor - be sure to have a real right angle! To add a bit more detail to the base I made 4 small clear bits to represent the already unlocked HAL memory modules. Bowman held the key in his right hand, so 5 would have been the maximum - he changed the key into his left hand to go on with the shutdown (yes, I watched that scene really often...). The complete background was mounted on a stained wooden base, together with a self-made nameplate, showing a screenshot of the opening sequence of "2001“ together with HAL`s line "I`m afraid, Dave.“ With 5 memory modules unlocked it would have been "My mind is going.“, but I like the first one more because it gives a feeling of how close HAL is to being alive. Finishing Touches The decals are very tiny, and a bit out of register (at least the sheet in my kit). No big deal in that small scale, and they are really helpful for an accurate finish. |
|
I added the decals to the chestpack, then I mounted it to the body. The next piece that got its decals was the backpack, followed by the helmet and finally the left arm of the figure (patch and touchpad). Everything was sealed with a clear dull coat. I have had problems with the fit of the decal for the helmet modules, I guess it should be a bit curved to fit correctly instead of being straight as it is. Finally I found a position that looked more or less right. All other decals are fitting perfect and are very well sized - no trimming needed. Helmet and backpack were glued to the body - there is only one correct position which is easy to find. The last pieces that I attached were the tubes. I broke the one that goes from the chestpack to the backpack, I replaced it with a bend and black painted wire. The only thing left to do was now to glue the steel rod into the small hole of the left hand, to choose a position at the wall of the display, to drill a small hole there and to glue the complete figure onto it. I let it float in a little distance to the wall, just a few millimeters, to simulate the zero-G environment. Conclusion The short form: I love it! But: As easy as this kit is to build, I would not recommend it for a beginner because of the tricky paintjob due of the small size of the model. I highly recommend it to modelers who has the necessary experience and patience for the paintjob (I can tell you that a coup of coffee is poison when you try to paint it or to apply the tiny decals), you will hardly find a better casted resin model. The problem with the blurred background is solved, I only wish the instructions would go more into detail about the painting and the decal placement. But that is all I can find to complain about - really not much, right? I have had a lot of fun building that model, now I ordered another of the 2001 figures from EVA models - I guess that says it all, doesn't it? If you can get it, take it! |
![]()
This page copyright © 2004 Starship Modeler™. First posted on 27 October 2004.
![[Click to enlarge]](ms_bowman_DaveChest.jpg)
![[Click to enlarge]](ms_bowman_Davetopright.jpg)
![[Click to enlarge]](ms_bowman_Daverightbottom.jpg)