
By John Lester - images & text © 2009
|
![[Please click to enlarge]](f302_complete_1683.jpg) |
|
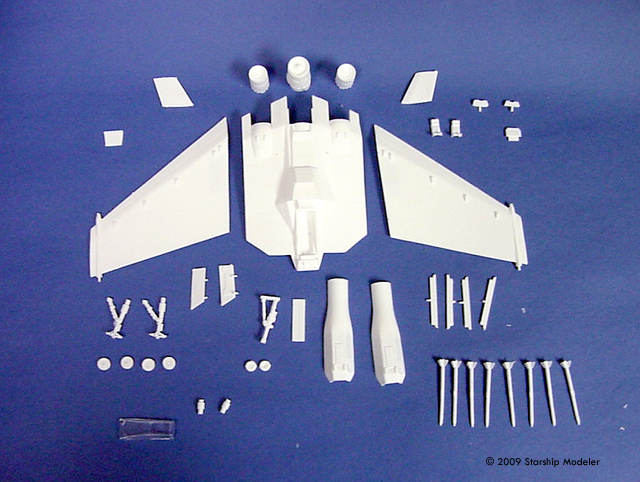
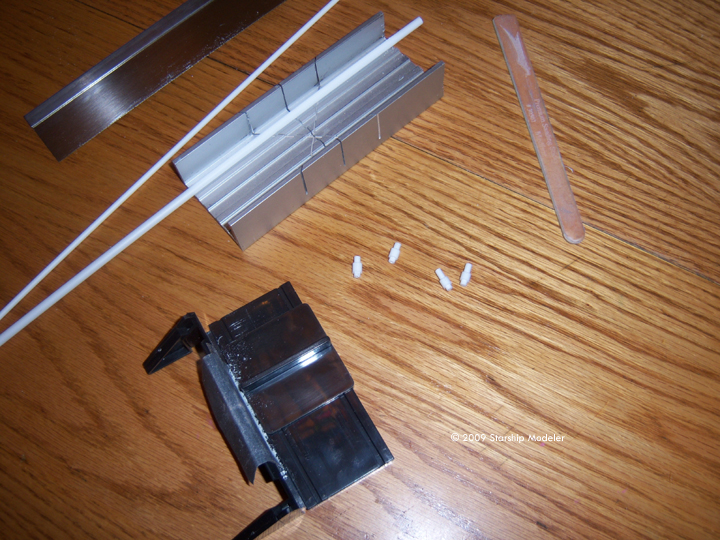
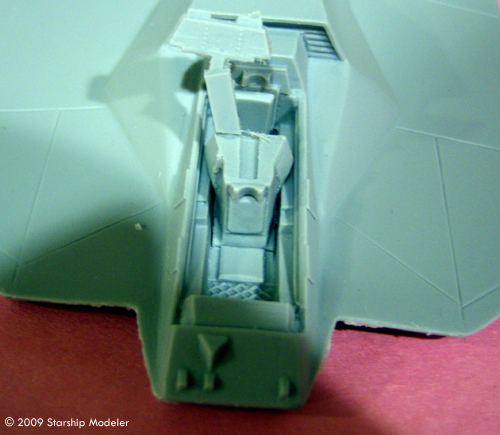
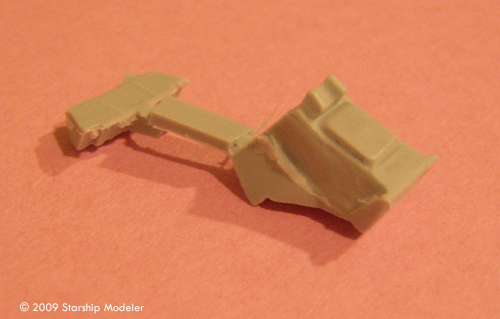
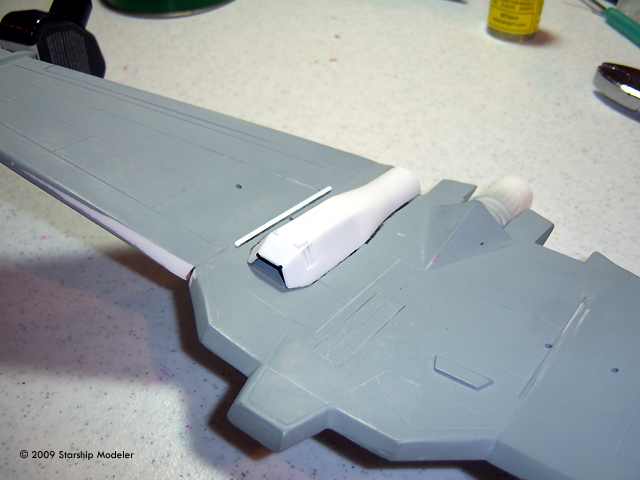
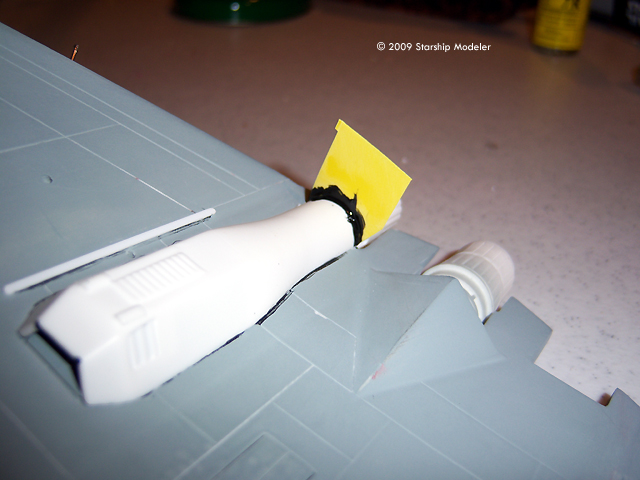
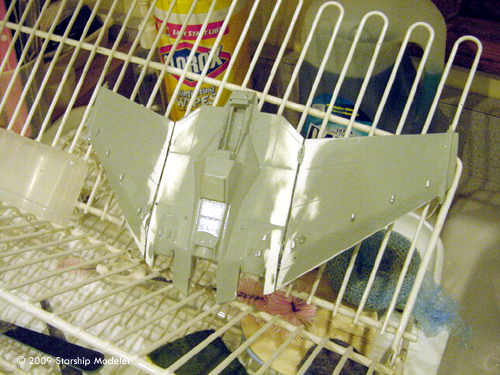
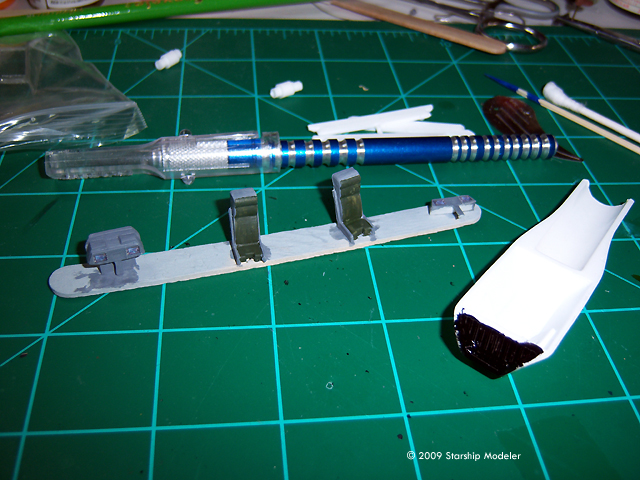
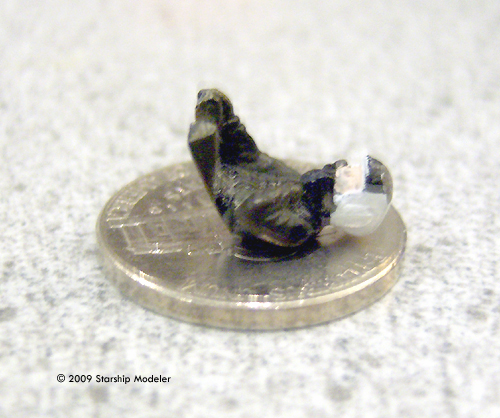
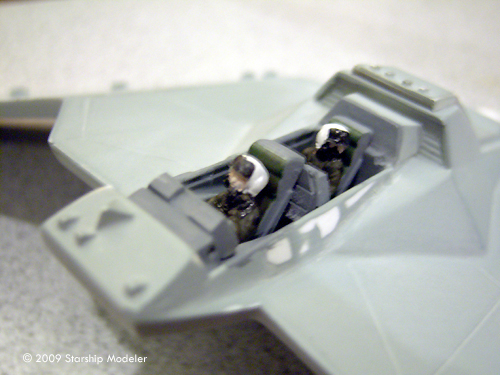
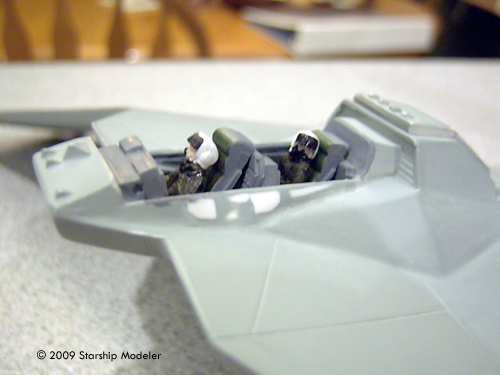
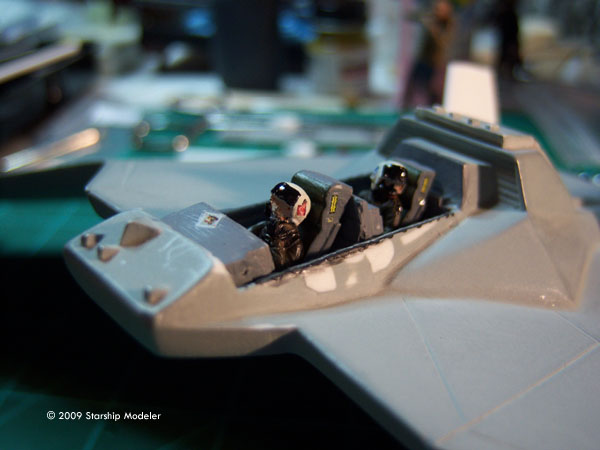
Image: Original master pattern Image: Kit parts Image: Oops Image: Old cannon muzzle (front) and replacement Image: Making new wing guns Image: Remastered cockpit details Image: New seat and console (joined by a pour stub) Image: Intake on Image: Shim for the engines Image: Seams filled and sanded Image: Hole for the cannon muzzle drilled out Image: Cockpit bits painted Image: Pilot Image: Not a lot of room in there Image: Another look Image: Of course the pilot has a girlie magazine .... Image: Nice and clear Image: Canopy masked, prior to liquid mask Image: That wedge-shaped gap in the canopy join Image: Almost ready for paint |
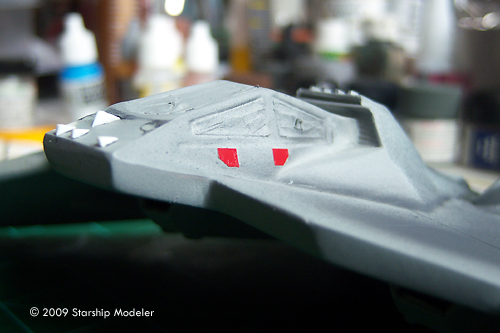
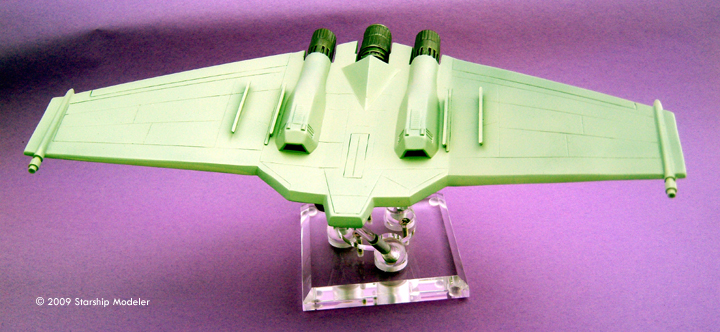
What a long and winding road this particular model has taken from inception to sitting in my display case... Backstory I commissioned the master pattern for this kit in 2005. As with a lot of sci-fi subjects, there were challenges to making an accurate model: few readily available references (at the time), differences between full-sized mockups and CGI/filming models, constant evolution of detail over the course of the TV shows (the original from season 5 of SG-1 is only generally similar to that seen at the end of SG: Atlantis), and the usual “it won't fit” problems (as in there's no way the retracted nose gear can be stored under the cockpit - there's just no room for it). The master, when it arrived, looked fairly good in proportions and outline - with one glaring error. As you can see in the picture, the dogtooth along the leading edge of the wings was the wrong shape (it should go straight to the cockpit, not having the wedge shape). I was also not happy with the scribed grilles on the mid-upper fuselage (to be fair, that's not easy to do over a mixed styrene and putty surface). Terry 'Ter_or' Miesle fixed the dogtooth with Aves Apoxie putty and I filled in and smoothed out the grilles (the markings would be replicated by a decal on the kit, which looks much closer to the CGI renderings anyway). I was told by one of the casters we work with that it would be easier and less expensive to mold if the wings were separate from fuselage. This turned out to be one of those “six of one, half dozen of the other” opinions - but after my daughter knocked the master off the counter and the port wing snapped off, it was also a moot point. I snapped the other wing off, dressed the seams, and gave everything a thin primer coat. Then it was off to the casting shop. Thanks to Barry 'Bar' Murray, I had enough reference - especially for the cockpit - to draw up artwork for decals and make painting instructions. Art was sent to JTGraphics for decal printing. Everything was coming together nicely. Building the First Run No model is glitch-free, and this one was certainly not going to be the exception to prove the rule. A rather glaring problem in the first production run was visible from the outset: the caster had pressurized the molds when the silicone was pored, and the “pyramid” under the fuselage had collapsed. Every casting had two big dimples in this area as a result. This was easily fixed with Aves epoxy putty, but irritating nonetheless. With the above exception, and one other, assembly was straightforward. I used a liberal amount of Wave's black superglue (CA) to attach the various bits. First came the wings, making sure both were set at the proper anhedral. Intakes came next, followed by the three engines. I did have to use some scrap .005” plastic to shim the outboard engines - again, an easy fix. Next came the weapons pylons and vertical stabilizers. Then it was time for the cockpit and the arrival of the Glitch Monster. Again being fair, at least half of my problems were self-induced. I decided to display the model in flight, not trusting the resin landing gear to stand up to the weight of the model over time. I painted up a couple of figures from Hasegawa's 1/72 US Pilots and Ground Crew Set. Then I chopped off their lower legs because it was clear they would not otherwise fit in the cockpit. I then discovered they were still too tall when I tried to put the resin canopy in place, so I had to sand some more off their bottoms. And then sand more, and more, until their upper legs were paper thin, because the resin canopy was so thick (and the cockpit so shallow) that no actual pilot could have fit in there. Though thick, the canopy was remarkably clear. Polishing with jeweler's rouge, followed by a dip in Future acrylic floor covering, made it clear enough to read through. It was probably the clearest resin canopy I have ever used. I don't know why it yellowed so badly since .... perhaps a reaction to the liquid mask I used? I taped off the framing and covered the parts to remain clear with Hasegawa's liquid latex masking agent, which is orange. And the mask did stay on for almost two years .... (more on that in a moment). Test fitting the canopy revealed another glitch: a wedge-shaped gap on the right side of the cockpit, where the cockpit “wall” was 2mm lower towards the front than on the left side. I shimmed this with plastic scrap and then flooded the area with black CA, followed by multiple iterations of spot putty. Along the way I wiped out the small raised plates on either side of the canopy and the bumps in front, all of which would have to be recreated later. At this point, I sprayed everything with a coat of grey primer and packed the model up for display at our table at Wonderfest 2006. When we returned, it was put in a bin where it would remain until the spring of 2009. Final Push Late in 2008, after the kit had been out of stock for some time, I decided it was time to fix some of the things with the master that bothered me and get this back into production. Thanks to Neil Prentice and especially Ian “Stargazer” Walsh, the fuselage was cleaned up, the dimples underneath filled, and a brand new, more detailed cockpit installed. With pilots this time. The gap in the cockpit wall was fixed, and a blank for a new vacuform canopy made (vacuformed plastic being much thinner than the resin, which would help with the fit of the new pilot figures). I made new wingtip gun muzzles from styrene rod and tube. Just before Wonderfest 2009 (early May), I decided to finish my own model up for display at the show (on our dealer's table; it would never be good enough for the contest). There wasn't a lot left to do, actually. I made new plates for both sides of the canopy from self-adhesive sign vinyl and replaced the “bumps” on the nose that I'd sanded off while trying to get the canopy faired in with wedges of strip styrene. Another thin coat of primer blended everything together. The base coat was from a rattle-can of generic grey enamel from Wal-Mart. I did no pre- or post-shading; I just wanted to get this thing done. A thin coat of Future sprayed through my airbrush provided a base for decals. |
|
I wanted something different, so I went with the non-canon USAF-style markings (the fighters on screen had X- or F-302 painted on their tails, presumably so you could tell they were ours). The decals went down easily - I didn't even need any solvents or setting agents. After wiping everything dowwn to get rid of any residues, I sealed the paint and decals with a coat of clear flat enamel. Conclusions This model had its ups and downs - both as a production and as an individual build. It actually looks pretty impressive in my display case now - and I'm thinking I really need to sneak one of the revised castings off the store shelves and see if I can make a contest contender. It was a pretty straightforward build, even in the original version - though there were glitches, none were really show-stoppers. The fact that it sat in a bin for two years had more to do with my ADD than with any fault of the kit. I'd recommend this to anyone with a low-run plastic or resin kit or two under their belt. |
![]()
This page copyright © 2009 Starship Modeler™. First posted on 6 November 2009.
![[Please click to enlarge]](f302_complete_1690.jpg)
![[Please click to enlarge]](f302_in_progress_01.jpg)
![[Please click to enlarge]](f302_cockpit_decals_0047.jpg)
![[Please click to enlarge]](f302_complete_1684.jpg)
![[Please click to enlarge]](f302_complete_1685.jpg)
![[Please click to enlarge]](f302_complete_1686.jpg)
![[Please click to enlarge]](f302_complete_1687.jpg)