
By Vince Hoffman - images & text © 2003
|
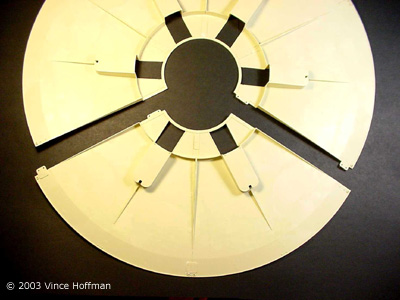
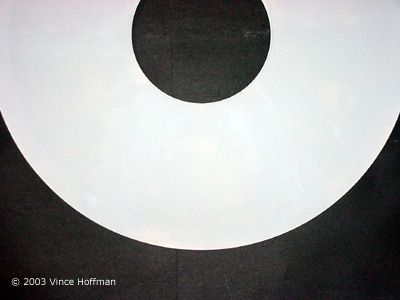
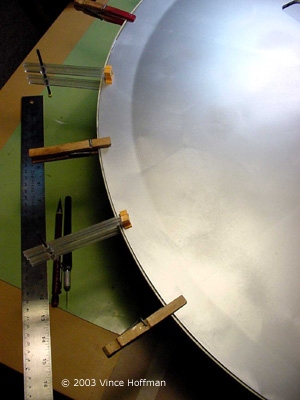
![[Click to enlarge]](vh_c57d/vh_c57D_done_2.jpg) Building this model started with the two hull halves. The parts were laid out on a flat surface and tacked together with small amounts of cyanoacrylate glue. Great care has to be taken at this point not to create ridges by pinching the hull sections together, and at the same time, be careful to align the long seam so that minimal contour sanding is needed afterward. |
|
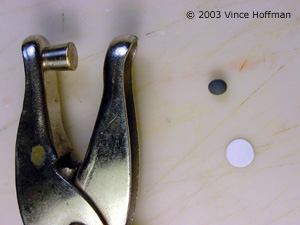
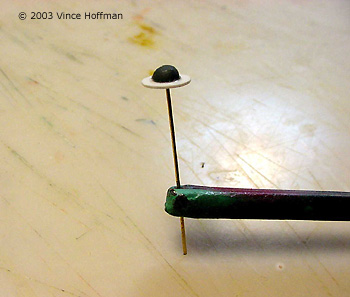
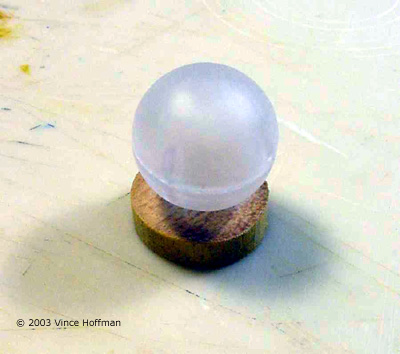
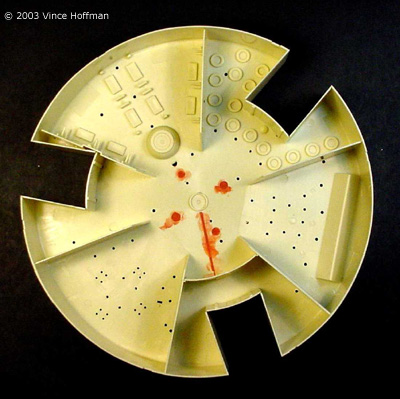
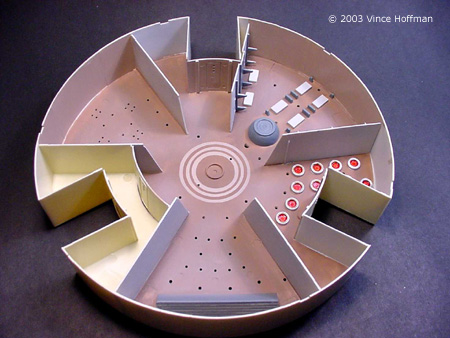
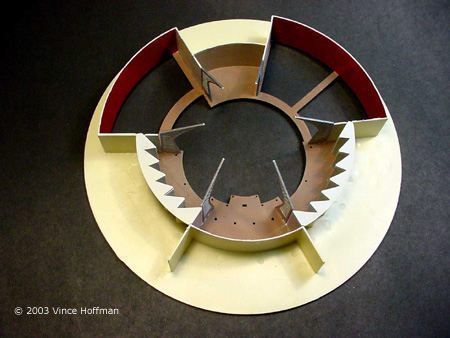
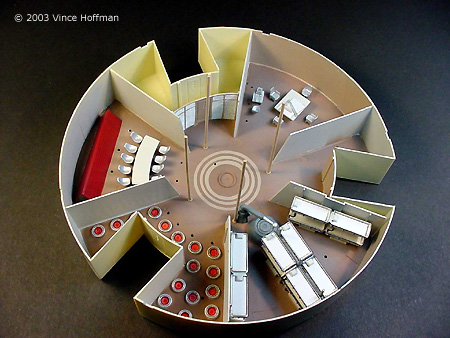
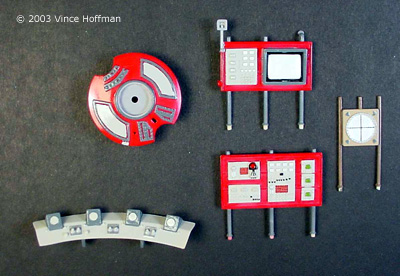
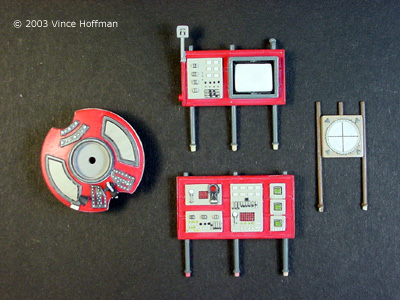
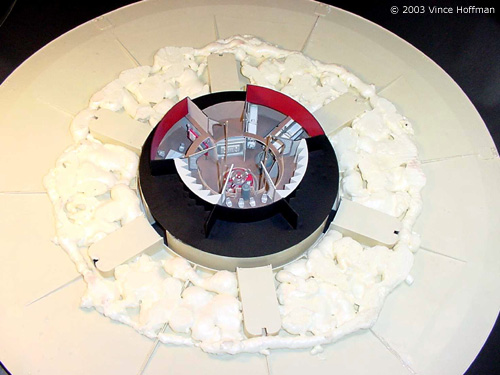
Image: Fitting the hull pieces carefully is critical Image: The more careful you are, the less putty is needed Image: Bottom half with foam reinforcement Image: Top half with foam Image: Upper saucer half, primed Image: Lower half, primed and sanded Image: Looking down on the completed astrogation bubble Image: Control room Image: Raw materials for the little ship in the bubble Image: Finished ship Image: Astrogation dome Image: Puttying the ejector pin marks Image: Painting the interior Image: Base colors of the top deck Image: Bottom deck, painted Image: Panels, painted Image: Panels, after a wash to bring out relief |
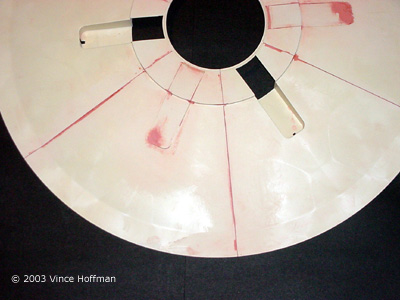
The lower hull needs much more attention than the upper hull because filler pieces must be placed in three of six holes intended for the landing gear, and the seams puttied and sanded. A lot of putty will be required if the filler pieces are not properly aligned with the surface of the saucer.
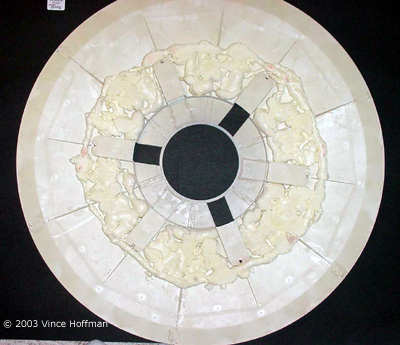
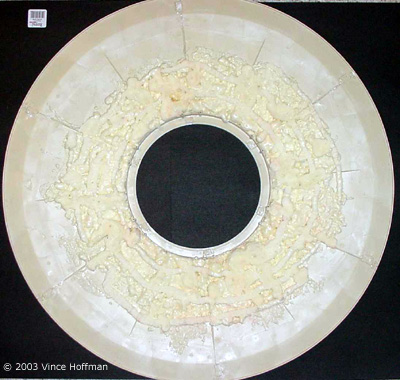
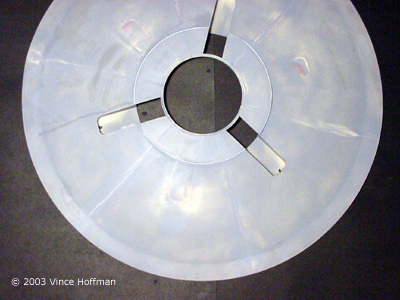
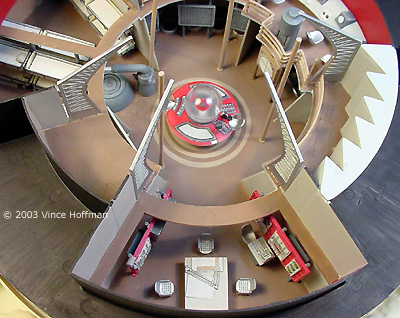
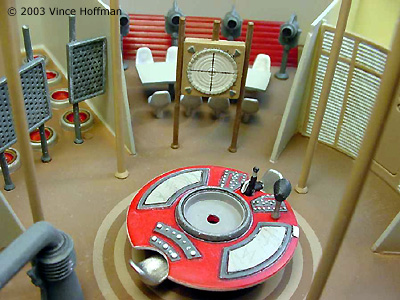
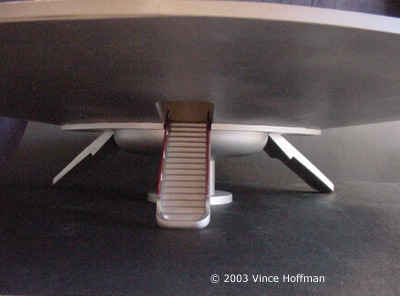
Alternating putty and wet sanding on all seams on both halves commenced until the surface was one continuous curve. The plastic has swirl textures caused by the injection molding process, and these will show through the paint unless sanded out. I found that the best way to sand the putty and remove the patterns is to use a palm sander with 500 grit paper. I finished sanding the surface with finer sandpaper until all scratches caused by the palm sander were removed, then sprayed the surface with sandable primer to check for any remaining scratches or insufficiently puttied seams. When I was satisfied with the finish of both saucers, the insides were filled with expanding foam to about halfway out to the edge. When the foam cured, both halves were test fitted and a hack saw blade used to trim the high points. The top and bottom domes were now ready for installation. I chose not to paint the bottom dome in the 'in flight' colors, so it was glued in place immediately. The top dome was sanded with progressively finer grit sandpaper starting at 1000 and working toward 2000, and finished off with a coat of clear gloss. This gives the dome a very respectable transparent appearance. The top dome was now glued to the top saucer half. When storing the saucer halves, they should be layed flat to prevent the plastic from warping under their own weight, and to prevent any puttied seams to accidently crack. Constructing the Interior While hull construction was underway, the interior parts were removed from the trees and cleaned up. This is the point where you want to break out the reference materials. The instructions are confusing in that there are myriad parts shown, each with a little line going to where it needs to be attached. I found myself color-coding the parts and their corresponding lines to assure each part went in its appropriate place. With the instructions also comes an inaccurate painting guide. I recommend Bob Perovich's article on CultTVMan.com as a guide; Bob has done an excellent job documenting the correct colors based on movie stills. Prior to painting, I filled all of the ejector pin marks on the decks with putty. While the putty was still wet, I ran a flat-edged tool over the top to level it with the deck. Afterward, light sanding was all that was necessary to blend it all together with the deck. It is important to fill as many as possible, otherwise they will be quite prominent when construcion is completed. Flash, parting lines and other molding deficiencies were cleaned up to my satisfaction on all of the interior pieces. They were then divided into different piles according to the color of paint they were to recieve. All of the decks and walls were hand-painted due to the difficulty of masking all of the surfaces. I used a 1/2" wide flat brush and applied up to three thin coats. All of the smaller panels, chairs, tables and other details pieces were airbrushed. I do this because hand painting detailed pieces will often result in excessive paint buildup in the recesses causing the detail to soften, while airbrushing will place an even coat across the entire surface. The control panels recieved special attention. After all of the dials, lights and screen faces were painted and dry, a light wash was applied to accentuate the detail. A light wash was also applied to the floor and ceiling stasis rings, as well as the bunks. When applying a wash, it is important not to drown the detail with too much dark wash. Instead, pick out specific details that should recieve a shadow, leaving other details to appear flat. Light drybrushing with a lighter base color will also bring out higher points giving the detail a more realistic highlight. The navigation sphere in the center console is missing the small spacecraft in the center. I recreated this with a small ball of dark grey Super Sculpey, and a round piece of plastic punched from a paper punch. The Sculpey ball was cut in half and glued onto the plastic, and a small wire of copper was glued into a hole drilled into the bottom. The saucer was painted red and glued into the center console. The navigation sphere was given the same sandpaper and clear gloss finish as the top dome and finished off with very thin strips of Bare Metal Foil. All interior parts, chairs, tables and panels were now glued into the interior, and the upper and lower decks are attached together. Then the whole assembly was airbrushed with a flat acrylic to seal the paint. Final Painting and Closing It All Up I chose to paint the exterior with Testors Silver Metallic spray paint. The area to be painted is so great that my airbrush would be hard pressed to create a smooth, even paint job. I masked off the lower 2" of the upper dome and sprayed both saucer halves using a total of 4 cans of paint. After the silver paint had cured, both saucers were wet sanded smooth and the finish coat of silver paint was applied to make a nice smooth and even appearance. The saucers were glued together, with the interior assembly in place, and clamped around the entire perimeter. I opted not to use the piece which covers the top of the interior assembly because it covers up too much. Without this piece, the beautifully detailed interior can be seen and fully appreciated. |
|
Epoxy glue, to ensure a strong bond, was used to glue the saucer halves together. After the epoxy cured, the outside ring was airbrushed dark metallic silver and the entire model was sprayed with clear gloss enamel to protect the paint. The clear gloss also slightly greys the silver paint giving it a much closer apearance to the movie model. At this point, the landing legs were attached and the model is finished. Conclusion Although the construction was tedious at times, I am quite pleased with the result of this kit. The size is impressive, and the ability to see into the interior adds a great amount of interest to the model. The engineering of the saucer halves is very good, and carefull construction can yield good results. I had fun building this model, especially the interior spaces. I recommend this model for beginning to intermediate model builders; an advanced model builder will find it easy to correct the minor imperfections in this kit. Many thanks to Polar Lights for providing the review sample. Manufacturers and retailers, interested in getting your wares reviewed and publicized on a site averaging 3500+ readers a day? Contact us! |
![]()
This page copyright © 2002 Starship Modeler™. Last updated on 28 January 2003.
![[Click to enlarge]](vh_c57d/vh_c57D_done_3.jpg)
![[Click to enlarge]](vh_c57d/vh_c57D_done_with_dome.jpg)
![[Click to enlarge]](vh_c57d/vh_c57D_done_without_dome.jpg)
![[Click to enlarge]](vh_c57d/vh_c57D_inside_done_1.jpg)
![[Click to enlarge]](vh_c57d/vh_c57D_inside_done_2.jpg)
![[Click to enlarge]](vh_c57d/vh_c57D_inside_done_3.jpg)