The Model
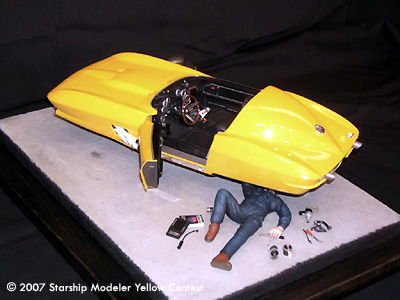
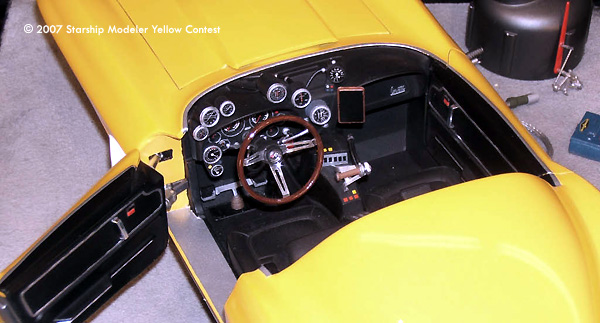
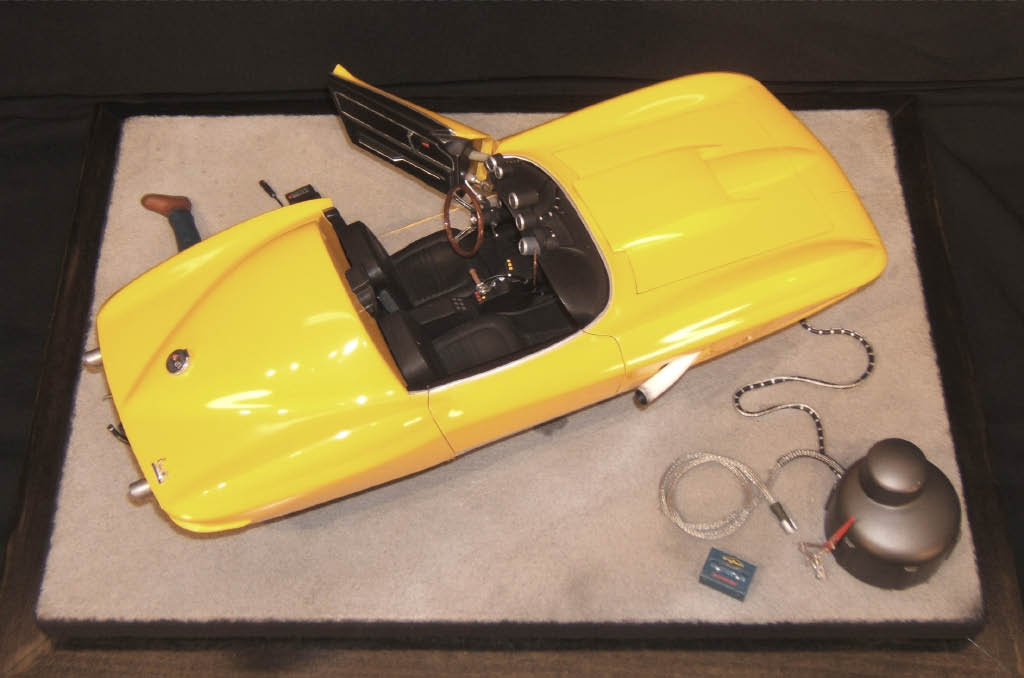
This model started life as a 1/12 scale Monogram 1967 Corvette split window bought at Wal Mart. I knew what I wanted to do with it so I started sketching ideas for the diorama and the specific systems on the car. I kept flashing on a vision of the dashboard bristling with analog gauges and wires, so that was where I started. To get the best view of my ōdream dashö I knew the roof would have to go, but I LOVE the teardrop back of the '67' so as a design feature I knew that had to stayģso off went the windshield (field generators keep you safe!), the roof, and the rear windows got filled in. I decided to open a door so the viewer could see in and get a feel for what it would be like to be at the controls.
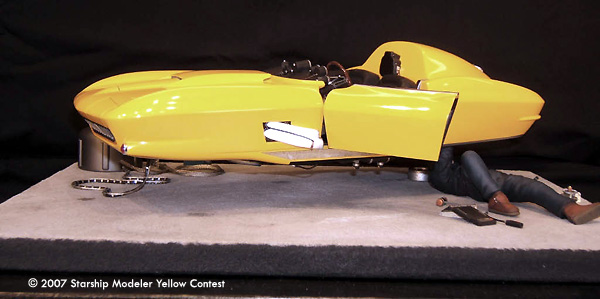
The next thing to think about was the wheel wells and underside, I wanted to enhance the space age look of the 'vette so I decided to fill in the wells and cover the underside of the hood. This allowed me to ōrear dropö all the mech goodies, which is a design aesthetic that I LOVE.
Tons of balsa and Magic sculpt later I had smooth clean body to attach all the fun stuff, but first I had to paint it. Years ago I came to the conclusion that only ōgreatö sports cars look good in yellowģso yellow it was. 8 coats of Testors yellow, cure for three weeks, and then start polishing. After 12 hours of off and on work I was happy with the shine. The interior was done in black to accent how YELLOW the car was, and to help set off the gauge faces.
The mech under the car was right out of my junk pile, I went light with it because I was poor at the time and didn't want to waste all my good ōjunkö, plus you wouldn't be able to see much of it anyway when it was on the base. The stuff on the dash is a collection of tube stock and RC aircraft gauge stuff with misc. wire and controls. I design stuff to look logical and suit a purpose while I was building this thing I new what all the controls did and what the function of most of the mech was (ca-ray-ze).
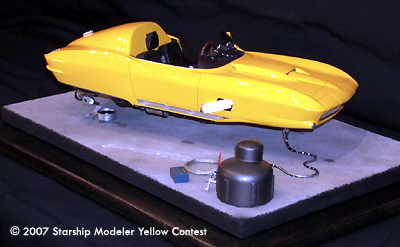
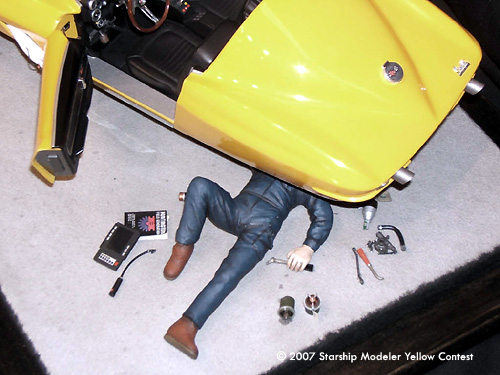
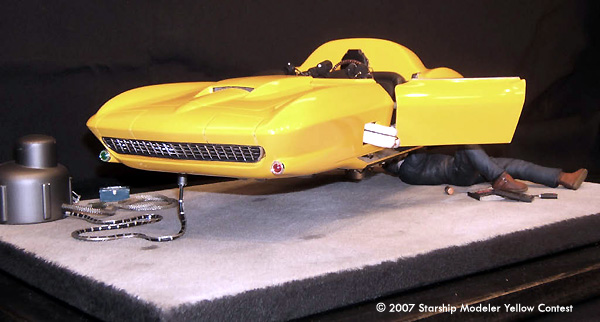
I knew I wanted to make the car appear to hover, that was the ONLY reason I built this thing. It was important that I use NO CLEAR ROD to hold it up, nothing blows the illusion faster then a huge (scale) clear Lucite Rodģnothing. I was going to try a cantilever one point attachment. I started this by posing the 1/12 scale tamiya F1 mechanic in a natural ōcar workin' onö pose. I filled him with steel rods and epoxy and screwed him down to the base with two screws up into his back and butt. The plan was to build a piece of mech into his hand that would hook into the car and make it unsupported from all points but his ōrelaxed armöģ
The car weighed too much, all plans changed.
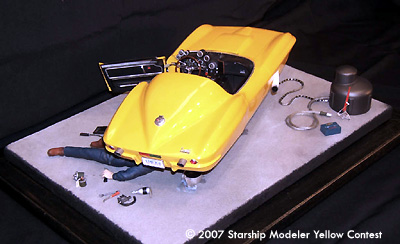
The front power cables were a back up plan that I now had to use. For these cables it would be VERY important that they look flexible and flimsy. I went with a braded cable (flimsy) and a thin copper wire from my old house wiring (16g). After an hour of bending wire I was happy that it all looked natural. It was epoxied to the base and bent with a slight up angle so it would become neutral when the cars weight was applied to itģI think it came off rather well.
The base is a piece of Š ply with concrete patch applied to it. It was misted with a few shade of grey and weathered. I made some nonsense tools for him to have nearby, some kind of X-ray gun, a scanner book, Two filters, one old and one new, and for a little contrast I made a little paper book out of pages from Hemmings Auto News (the thinnest paper you can find) There are little book marks and dog ears too!
This project as a blast to do and turned out well for the first model of my adult life. I have a 1/8 scale Jag that's getting the same treatmentģbut that's another story.
I built the 2067 Vette in 1999; it has been to Wonderfest and a bunch of other shows. I like to think the designers at ILM got a glimpse of it and modeled Anikan's Ep II car after itģit's possible.
Image: Right/front view
Image: Mechanic and tools
Image: Left/front
Image: Instruments
Image: Left side
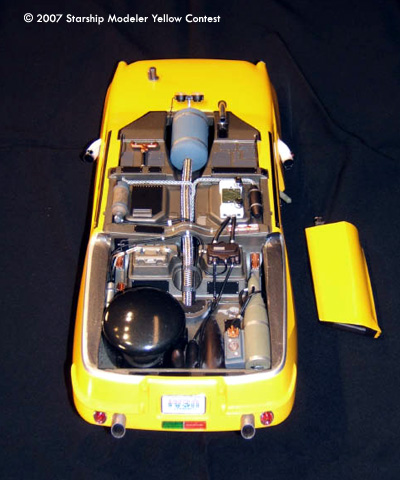
Image: From above
Image: Base
Image: Underneath
![[Yellow]](Yellow-banner-6fs.gif)
![[Scale Solutions]](SSOL_banner.jpg)