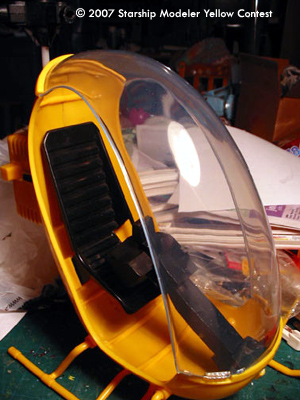
I thought I had ruined it, but after contacting the guys in the group, they said to dip it in Future floor wax and let it dry, which I did. The results were Stunning .
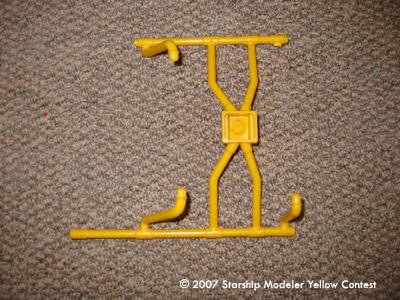
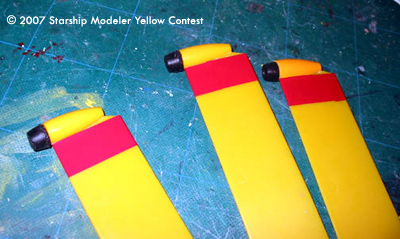
While going through the process of sanding the glass, I also started restoration of the control base and landing skids. The plastic used in the making of these toys; while fairly sturdy, were not given to reattachment by glue (a fact remembered from childhood). I ended up having to drill out and mount parts using a combination of JB Weld and headless screws (available through Ace Hardware). I used some new (at least to me) material called "Super Styrene" that is available through Midwest Products which is a styrene you can bend without the use of excessive heat (hot tap water in this case). I used the existing skid parts for measurements and found a half bead at Michael's that I used for the tip of the skid. I found that Tamaiya makes a paint of RC cars that perfectly matches the Adventure Team Yellow and primered and painted it when done.
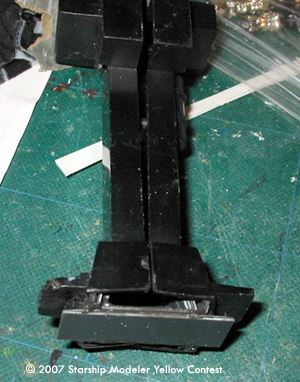
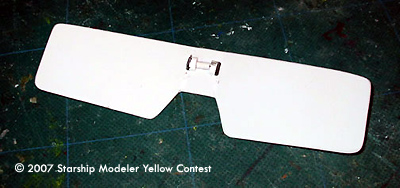
The control base was mainly sanding and layering styrene sheet so that it would slide into the floor slot and stand up on it's own.
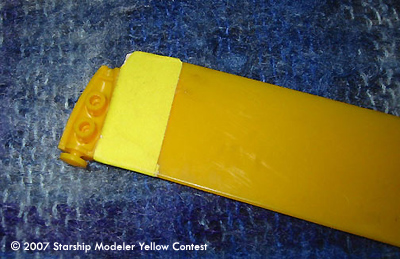
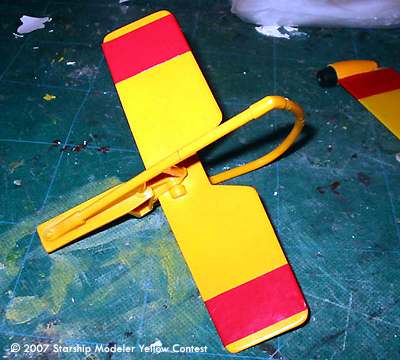
Next was the horizontal stabilizer and tail-guard. I drilled a small hole at both ends of the break and JB Welded a thin brass rod into it. The horizontal stabilizer was a bit more involved. I contacted Randy Pitsch, a GI Joe collector and he provided me with scale drawings of the stabilizer. I then took a thick sheet of styrene and cut it to shape. I sanded the edges to give it a soft bevel and used the original attachment piece that was left in the tail assembly as a guide to make the new one. I slightly bent the fins upward to match the scale drawings and test fitted the piece. The piece was shot with Tamaiya yellow and then I purchased some red RC decal sticker paper from my local hobby shop that I cut to the right width and wrapped around the stabilizer.
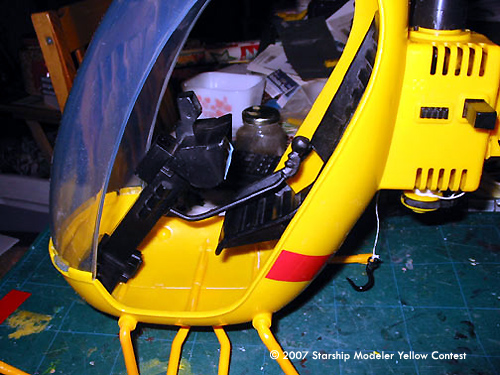
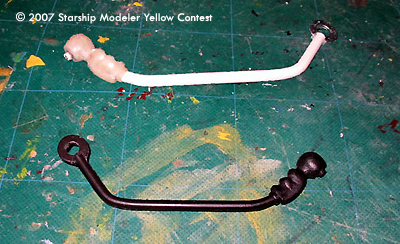
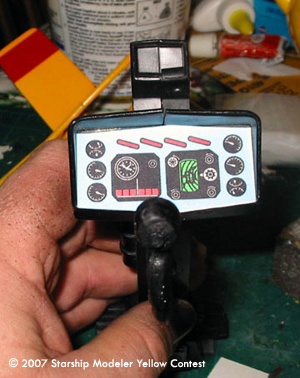
Next was the joystick and control panel decal. Once again, Randy came to the rescue with scale drawings of the joystick and pic reference as well as a photo of his control panel. To make the joystick, I used two washers for the base, Super Styrene for the arm and Aves Apoxiesculpt for the grip. I then made a two part mold (in case I needed to make one again) and cast it in black.
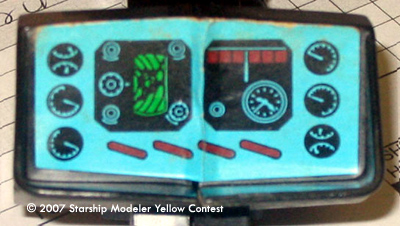
I took the control panel pic Randy sent and using my existing control panel as a guide, I made a template in Illustrator and printed it on to decal paper.
Onward I plowed, focusing on the rotor blade end assembly. This one was a little more unique. The missing hard piece was pretty straightforward: I carefully pried loose one of the hard pieces from one of the other blades and made a mold, then cast a piece. The soft tip was a different story. I took one of the existing tips and poured the first part of the mold using Dragon Skin (from Smooth-On) the second half of the mold was made using the resin I usually make pieces with. My reasoning was that I was going to use dyed dragon skin for the pour material and as there had to be an undercut to fit over the nub on the rotor blade, I didn't want the rubber part fusing with the mold. The results were quite good.
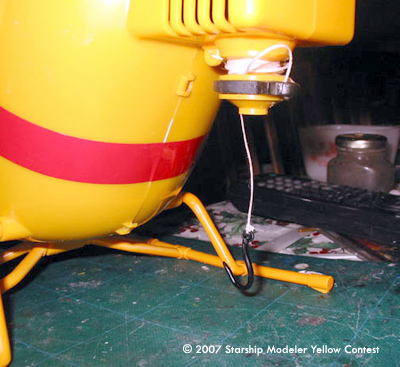
Last but not least, I rebuilt the winch. This was pretty straightforward: cut and shaped "c" shape for the black body piece, Shaped and tapered Super Styrene hook, and necklace string for the rope.
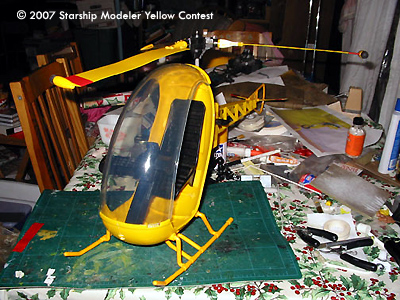
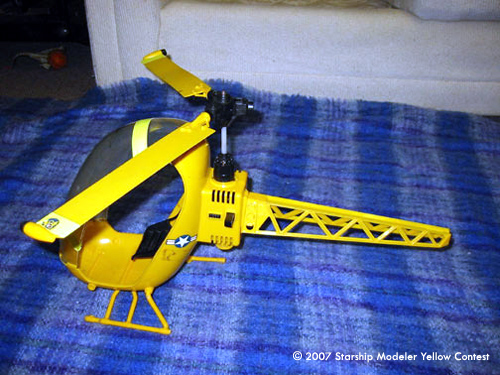
Now, put it all together and look at the results!
I purchased a fuzzy black Joe from Cotswold collectibles and they helped me get the right costume to match the Adventure Team era (had to add my own scar - JB Weld to the rescue, once again) and gave it to my brother for Christmas.
Usually in these contests, the creator will tell a back story of the piece they have made. If I were to do that, it would rob many of you of the stories and adventures you may have had if you had this toy as a child. So I'll just let your mind drift back and become young again as you take your GI Joe and his helicopter on that mission that you'll always remember......
Restoration
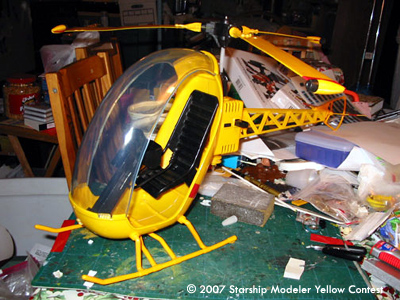
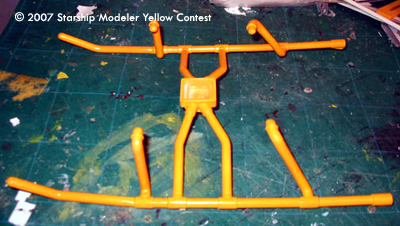
Image: Starting point
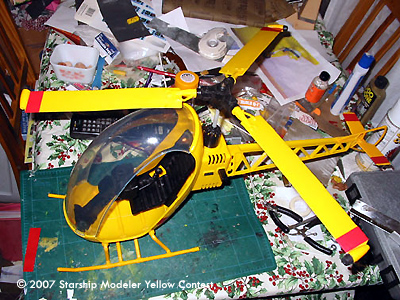
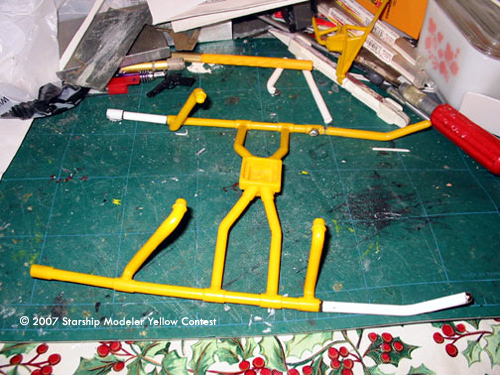
Image: Broken down
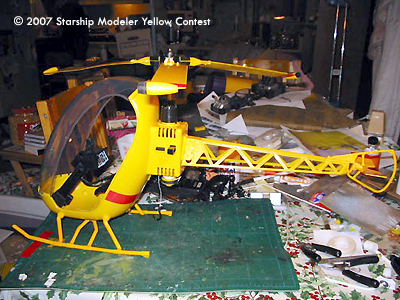
Image: Busted rotor guard
Image: Missing piece
Image: Skids have seen better days
Image: Canopy after polishing
Image: Fixing the skids
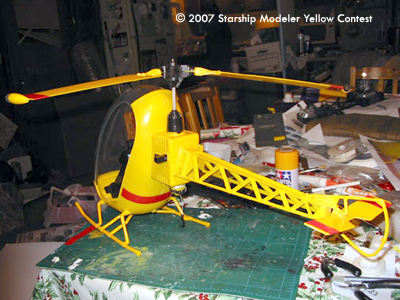
Image: Good as new
Image: Control base
Image: New stabilizer
Image: In place
Image: Painted
Image: New control stick (master at top)
Image: Instrument panel decal
Image: In place
Image: Finished rotors
Image: Rescue hoist
![[Yellow]](Yellow-banner-6fs.gif)
![[Scale Solutions]](SSOL_banner.jpg)