by John Neiner
Scale: 1/35
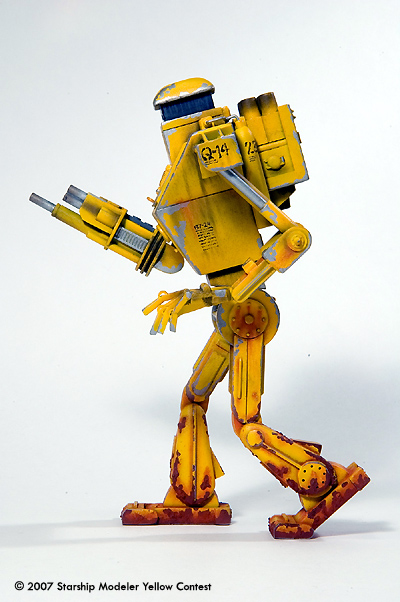
Toward the end of WWII the United States Government recruited a team of engineers and physicists to be a part of a specialized research and development program. This new program existed solely for the purpose of developing machines and weaponry that would not be affected by difficult terrain or climate.
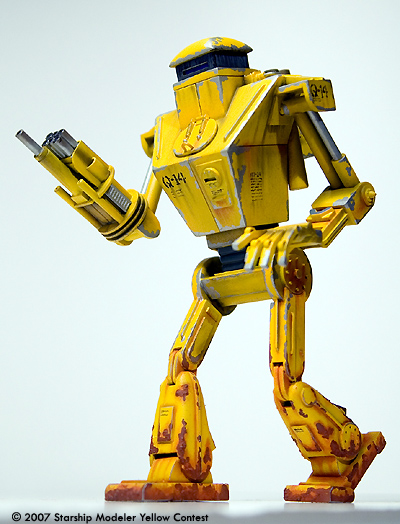
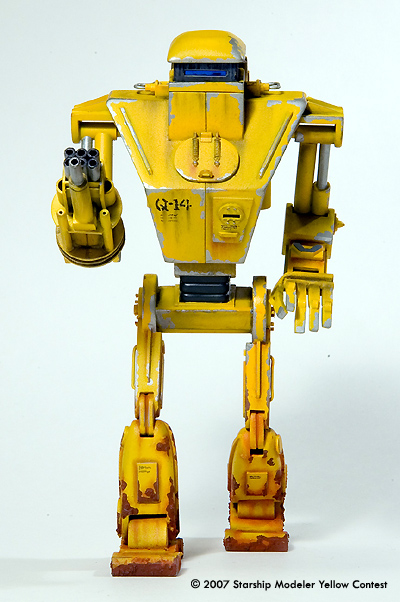
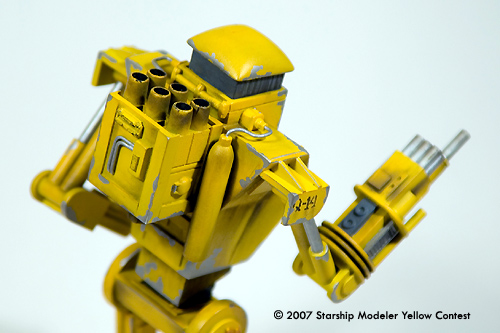
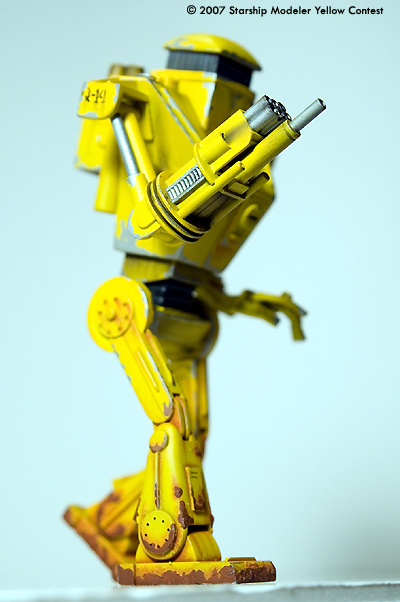
The Q-14 Reconnaissance Robot was built during this period under the direction of Dr. William Pershing. Due to its size and design the Q-14 could navigate quickly over irregular terrain and was able to access locations impossible for other armored vehicles.
The end of the war brought with it the end of this specialized program and the Pershing robots were never needed in combat. The yellow color scheme was only used on the robot prototypes for visibility purposes during training exercises. This model (pictured) was one of the original prototypes and only recently was reinstituted into a new research program by the Government. The purpose for this renewed interest in the Pershing robot is unclear . . .
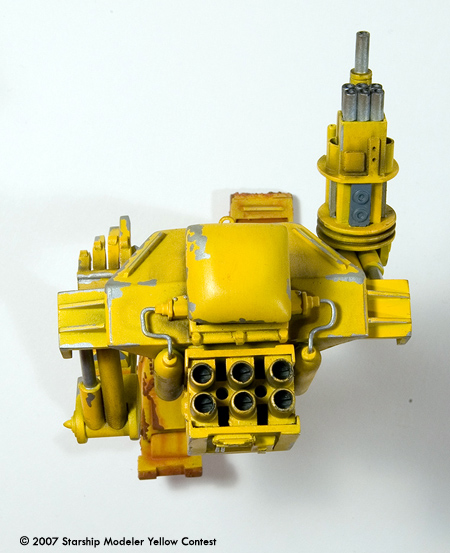
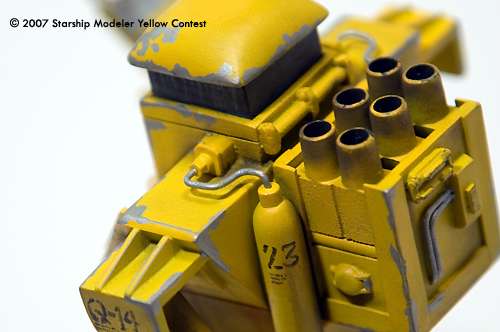
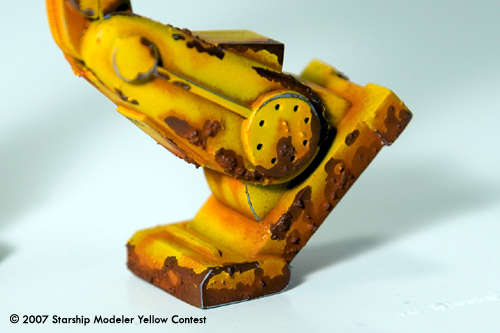
The model is scratch built from sheet styrene with about 9 kit bashed details. I began the project by drawing a rough sketch of the robot which served as my reference throughout the process. I wasn’t sure of the final position of the robot so I built all the joints so they would function and be ‘poseable.’
I made a mixture of fine craft sand and CA glue for the bubble rust on the legs and dabbed it on with a wire. I then base coated the model with a steel color for the body and a rusty color for the legs. Once dry I dabbed liquid masking film every where I wanted a paint chip. Finally, I coated the whole robot with flat yellow – waited until it was dry – and rubbed off the masking film.
![[Yellow]](Yellow-banner-6fs.gif)
![[Scale Solutions]](SSOL_banner.jpg)