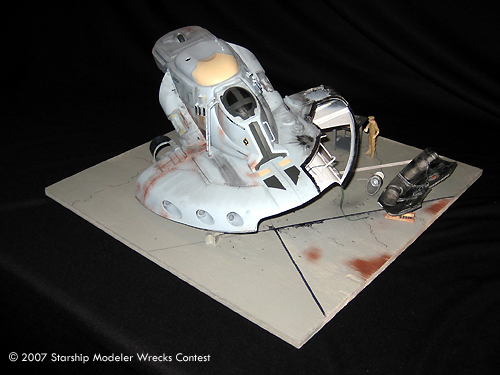
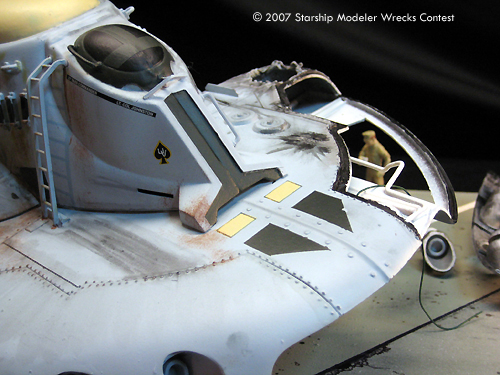
I chopped off the side cannon spars and patched the holes from these guns and the turret mount with sheet styrene in order to smooth the lines. I added a set of engines, cockpit ladder, and some greeblies, and then proceeded to putty, sand and paint. I deliberately kept the fitup on the forward thruster cowlings rough because with all the exposed rivet heads, it seemed to fit better.
It served like this for a while, but I moved and subsequently stopped playing the game for which I built it, so it went mostly complete into the spares bin.
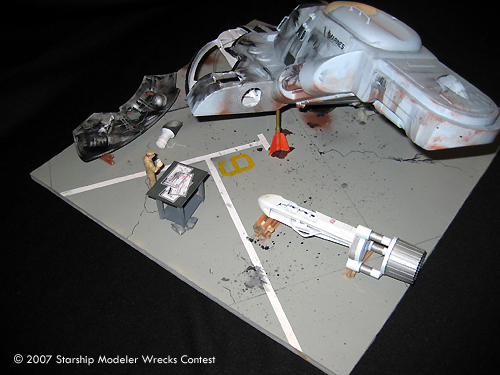
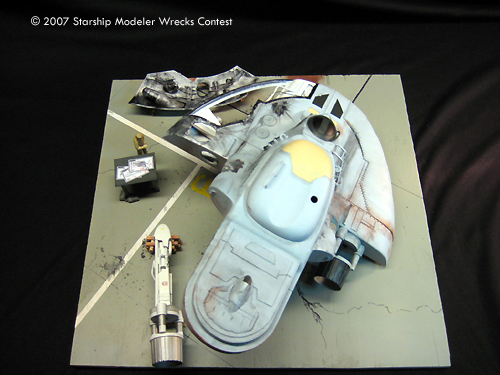
One of the things I thought of when I heard about the wrecks contest was that it would be cool to do up something high-tech “up on blocks”. I knew I’d need a base, so I started with a 14x14 piece of 3/8” plywood. This was painted grey and then weathered using rust and flat black paint. Cracks in the concrete floow were drawn on using a sharpie.
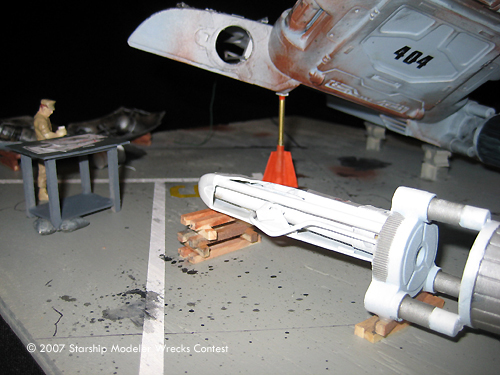
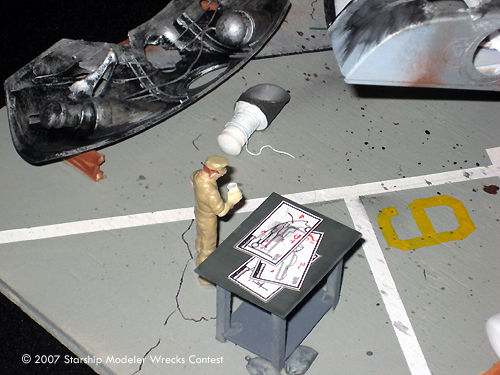
From there I scratch built the cinder blocks from basswood strip, and the pipe jack from brass tube and sheet styrene. The cribbing under the various parts is basswood and the drafting table was scratchbuilt using basswood strip and some sheet styrene. The blueprints are actually printed from a CAD drawing and scaled down to 1/35th.
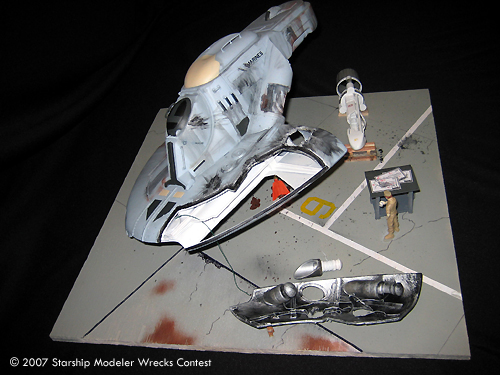
I ripped most of the parts off the port side, and painted the interior white for contrast, similar to modern aircraft. Then I built up the engine and internal workings for the parts that remained. The main engine is brass tube, styrene and kit parts; and the retro thrusters are beefed up using some small wooden spindles and caps from the craft store. Throughout the build, I stuck all the bits back together on the main model to make sure that pipes ran generally in the right direction and that the level of “stuff” didn’t exceed the interior space.
The holes were drilled on a drill press with a forstner bit, and scuffing was added with a dremel tool. I heated the pieces over a candle to effect the fire and battle damage. Then paint, decals, more weathering, and so on. Gunny came from a Vietnam-era M-113 kit, and his coffee mug is scratchbuilt from brass tube.
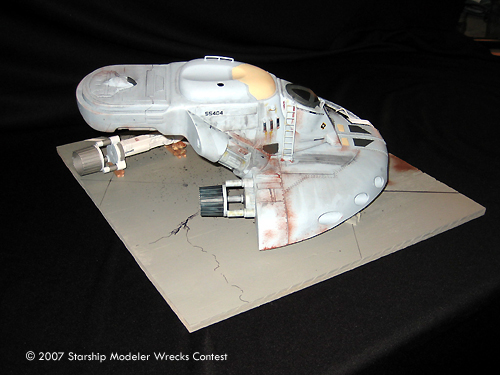
Image: Front
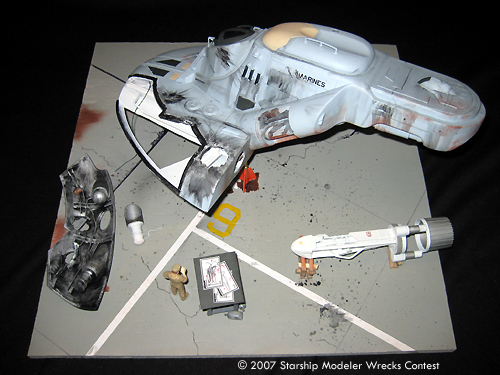
Image: Top
Image: Could be worse
Image: I'll need a 3/16" box wrench, to start with .....
Image: "Lucky", indeed
Image: Parts. Gonna need a lot of parts.
Image: Don't look too bad from this angle.
Image:
![[SSM's 15th Contest: Wrecks]](rex.jpg)