by John Cook
Scale: 1/72
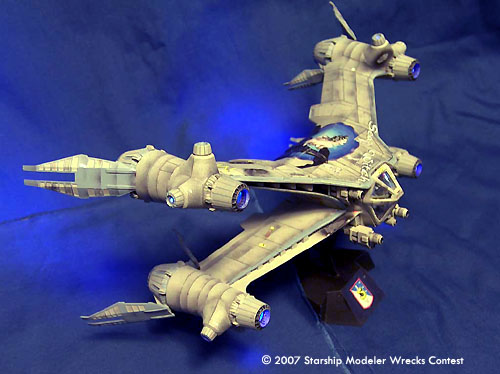
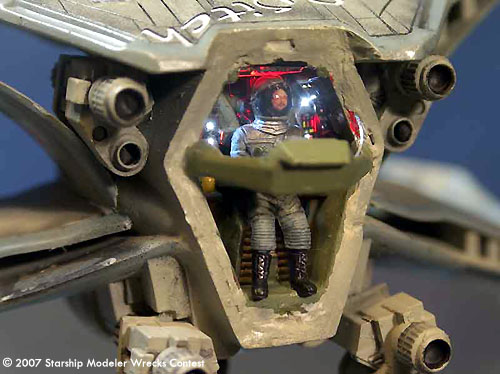
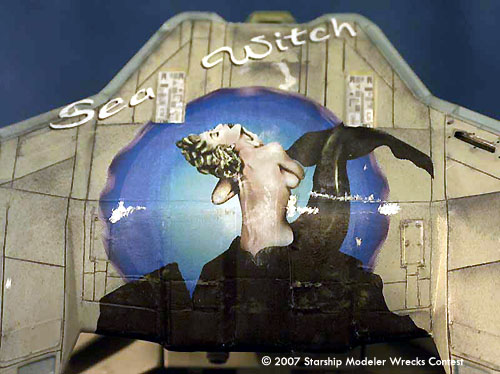
Here's my superdetailed SeaWitch Starfury that survived the Shadow War.
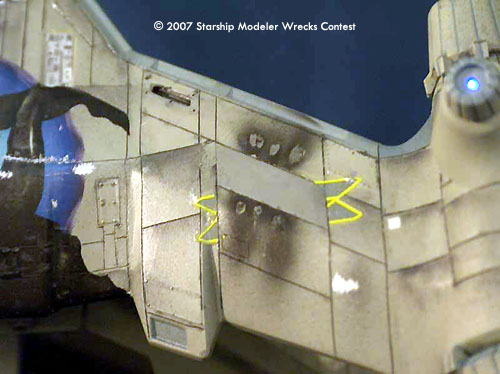
She's a sturdy craft, as evidenced by the near-miss burn marks, minor dings
and scratch marks and the replaced panel on the upper wing where an internal
explosion blew off a panel and access cover. You can see the bolt holes for
the missing hatch, they were too mangled for the crews to replace the cover.
Peek inside and you can see cabling and plumbing exposed in that hatch. The
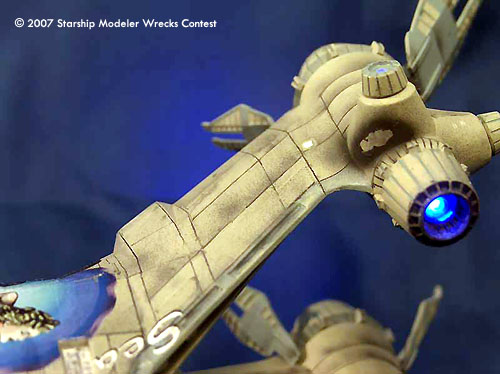
crews did an admirable job keeping SeaWitch going, all engines work well and
her major systems have survived combat duty despite loosing a few panels and
getting bumped around alot. Look close and you can see a few missing bolts
where the crews were rushed to get her "riding fire" again.
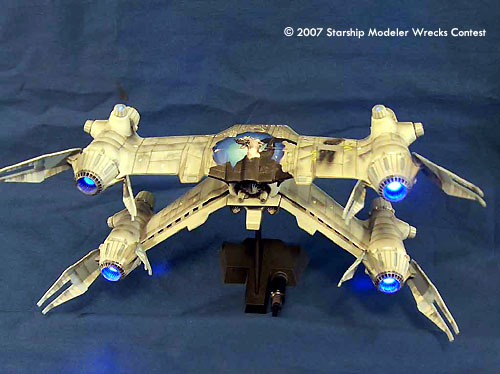
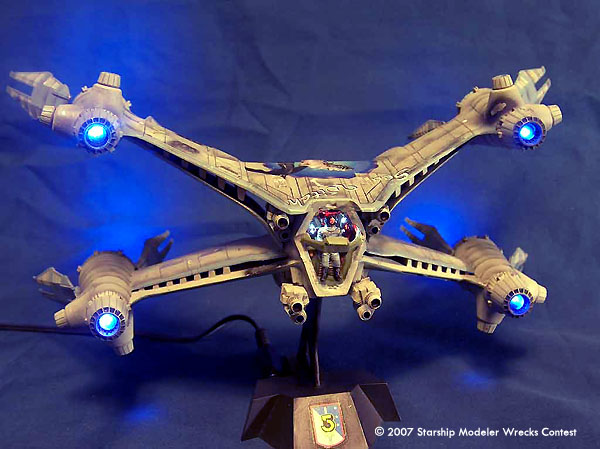
This ship lights up completely. All engines are lit, cockpit and instrument
panel light up as well. Thanks to Don's Light and Majic for the clear
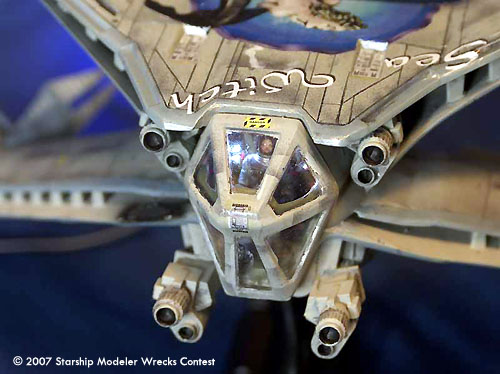
parts, the electronics are all my own. She features accurate replacement
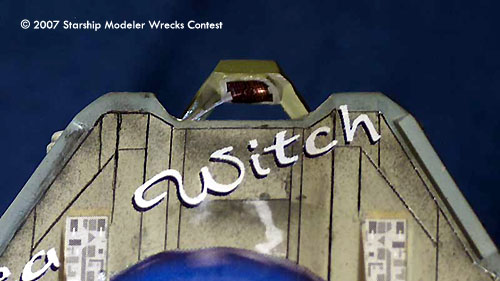
cannons and accurate SeaWitch ALPS decal from Starship Modeler. The
"near-miss" burn marks were done by painting on aluminum metalizer, applying
a salt slush, and airbrushing over the whole bit with flat black. (Let dry
after each step.) Then I washed away the salt, exposing the metalizer and
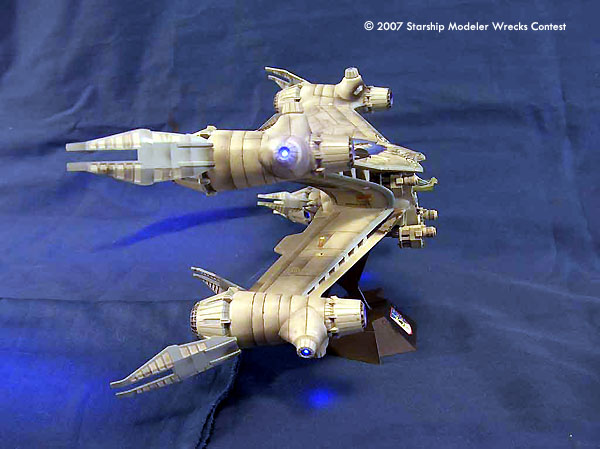
leaving a nice, rough edge that looks like burnt paint. The "weathering"
effect was done with Parafilm masking film, by placing a bit along a panel
line, using the panel line as a cutting guide, and very gently airbrushing
at a steep angle to dirty up one side of a panel line. The missing access
panel had its bolts drilled out with a #80 drill before I scraped it away
and filed it smooth. I opened up the hole and then excavated the back side
until I could fit a #28 and #30 wire in the groove as "plumbing". Several
other access hatches are missing bolts in a few places.
I re-scribed all the panel lines on this one, using Dymo label tape and a
#10 Xacto blade. It took quite a while but the results are well worth it.
![[SSM's 15th Contest: Wrecks]](rex.jpg)