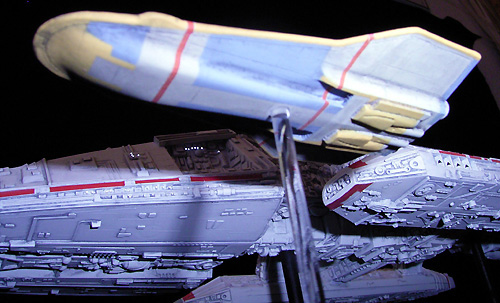
The Battlestar Galactica Model:
This is the old Revell-Monogram kit - I did a lot of modifications to it. The stock kit misses many details and also the fit of the parts is not too good. I used the
Galactica
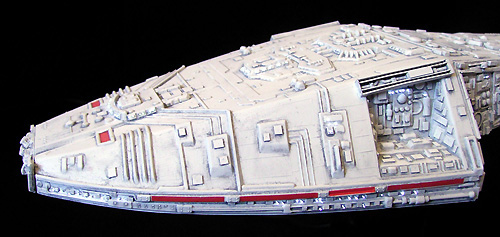
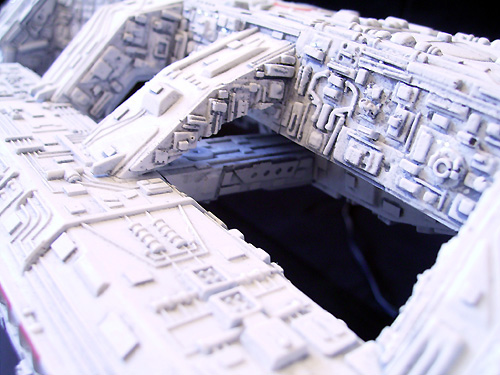
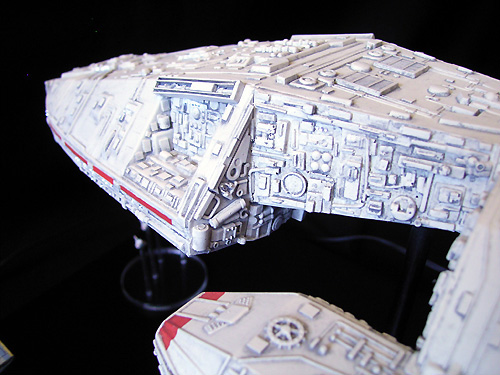
detail set from SMT to increase the overall level of detail of the model. The details on the resin panels in this set don't look like the details on the filming model but I think they are a very good choice. Applying the panels to the model was not easy. Some specific modifications on the kit were necessary before the resin parts could take their place. In addition I added dozens and dozens of small plastic sheets all over the model. I also used greeblies and parts from my spare part to upgrade some poor detailed areas: have a look at the front and the sides of the hangar parts. Some new details are scratchbuilt from very tiny bits and ends like the parts on the Galactica`s “cheeks”.
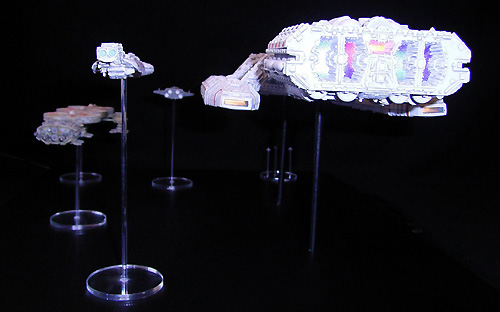
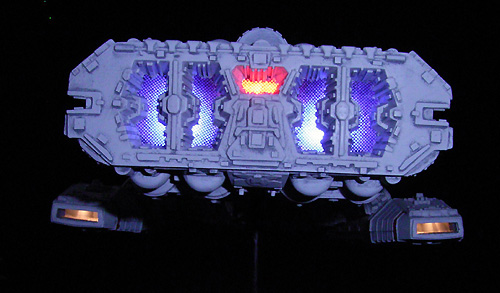
When all additional detailing was done I prepared installing the lightning. Comparing screenshots of the Galactica I started to drill small holes on the side sections of the model. For the head-section of the model I added more windows than you can see in the movie-model. I liked the idea that there is more life going on with many lit windows on a huge starship like this - maybe it is Adama`s Birthday. Each hole is fed with a 0,2mm fibre optic. Illuminating the engine was made with 2 diffuse blue and 1 diffuse red LEDs. The fence structure in the engine looks very nice and was made from parts of cooking accessories - splashguard for pans. The scratchbuilt hangars have lights as well. Installing all the lightning and cables was lot of work but easy to do. And the effect is brilliant!
Painting the Galactica was quite easy to do. The Model on the screen sometimes looks plain white and sometimes light grey with no dirt or wear on it. I used Revell white no. 301 for the whole hull. To bring out all the details a bit more I did a wash with grey thinned oil paint. I used both the stock decals given to the kit and the aftermarket JT graphic decals for the model. Some of the decals from JT graphic were very thin and torn into snippets while working with them. After I applied a layer of dullcoat over the JT decal sheet they worked very, very well. The JT decal sheet has some nice extra decals like the open launch tube silhouettes - I used many of them. The ship now also has some secret emergency launch tubes - just to play safe ;-) The model finally got an overall coat with Testors dull coat.
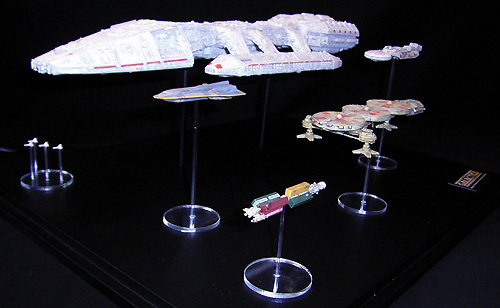
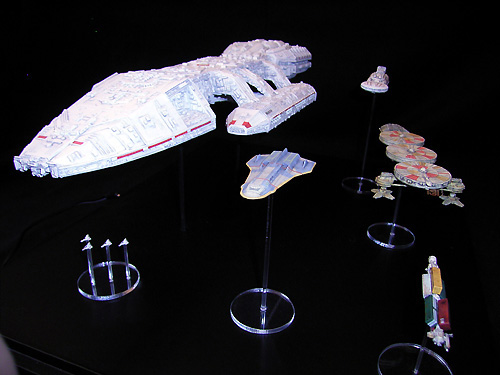
The Rag Tag Fleet Models:
First I have to say that all these kits from Timeslipcreations.com are extremely nice. They all have very little flash and they are incredible detailed. Only little sanding work was necessary on all kits. All the details on these tiny ships are very nice and crisp. It was pure pleasure and fun to work with these kits. What can I say? I love them! If you want some Rag Tag Fleet on your own - this is the choice! Go visit www.timeslipcreations.com and grab your favourite refugee ships. They are also available from our favourite sci-fi kit online store as well: the SMM shop at www.starshipmodeler.com.
The Prison Barge:
This kit was the fastest to finish. The parts had a perfect fit. I used again the Revell white color no. 301 for the whole ship. Then a good wash with thinned black oil paint was coated on the model. After a day of drying the three “easy to work with” decals were slid into position. Overall dull coat. Light blue color for the inner nozzles to simulate engine glow - completed!
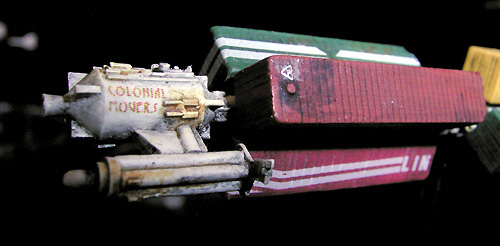
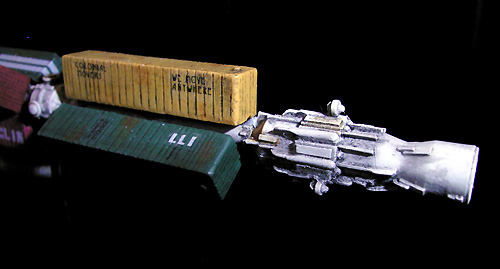
Colonial Mover:
The challenge on this model was mixing the color shades for the six containers. I didn't have the time to get the Polly Scale Colors recommended in the instruction sheet. So I try my best mixing my Revell and Citadel Colors and match the color shades as close as possible. All containers got a wash with thinned black and some rusty and dirty areas with sienna. A wash with thinned black and some rusty areas with thinned sienna painted the main structure of this galactic mover with Revell white no. 301 followed. The decals for this kit are very small but no problem for the experienced modeller. A coating with Testors dull coat completed the work on this model.
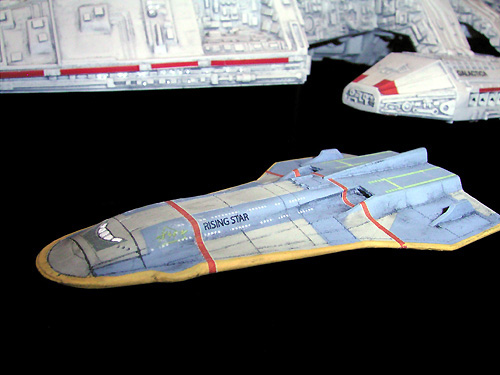
Rising Star:
Some rescribing of the engravings was first necessary on this beautiful space liner. Then this civil luxury liner got a base coat with Testors camouflage grey. The ship has some light blue areas on the upper hull and some light blue and light yellow areas on the lower hull. I masked the according areas by referring to images of the studio model. For the light blue I mixed Revell blue no. 56 with Revell white no. 301. The light yellow is a mix of Revell yellow no. 15 with Revell white no. 301. All colours were sprayed onto the model with airbrush. After removing the masking film I was very pleased with the result. The yellow stripe running around the edge of the model was painted by hand with a small brush. Allowing an overnight dry a quick overall wash with thinned black was dished up. Working with the tiny and long small decals was a bit challenge again. I used the “Generic white windows in a variety of sizes and shapes” -decal sheet available from www.jbot.ca to create some rows of small round windows - looks great and brings more life to this model. The use of decal softer was very helpful for all decals on this project. Two layers of dull coat. The cockpit windows and the inner nozzles are painted with light white.
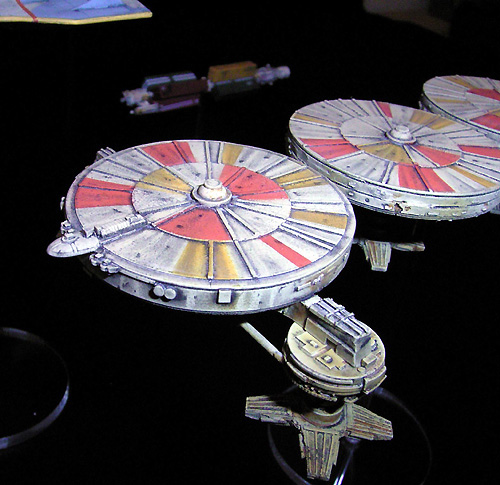
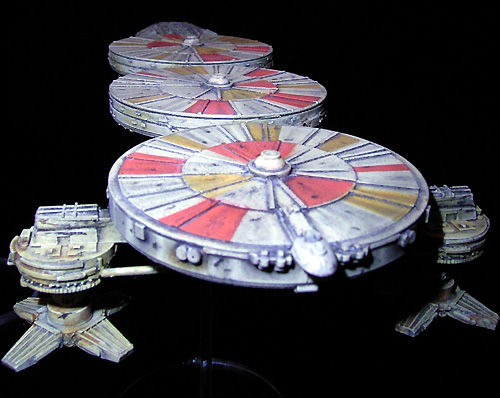
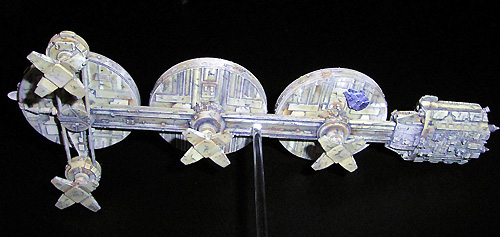
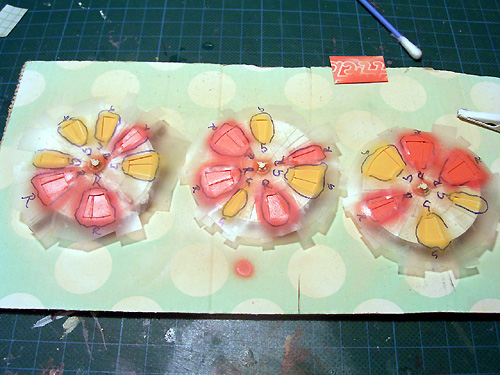
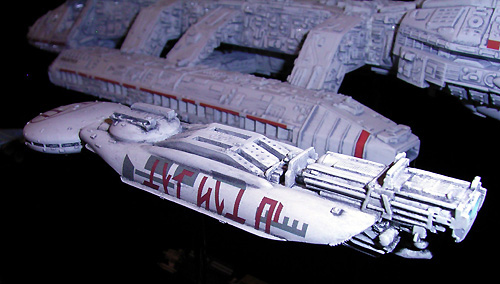
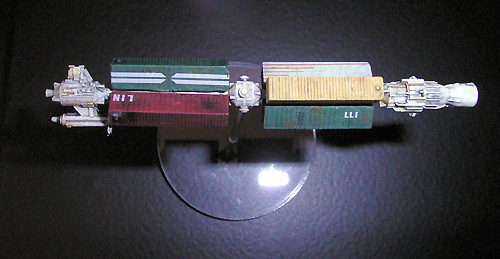
Livery Ship:
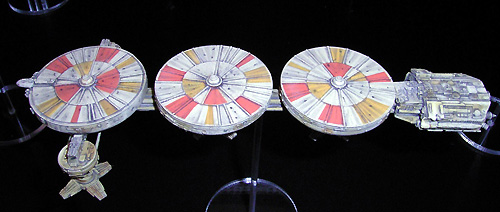
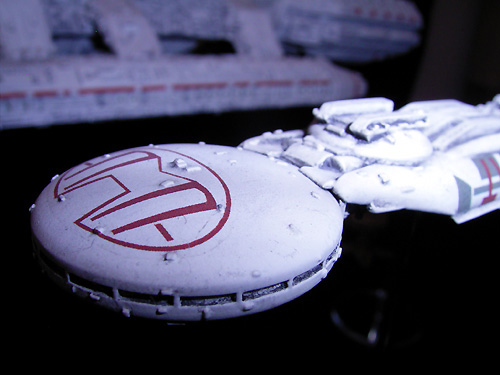
This is the largest ship of my private Rag Tag Fleet. It took the longest time and the most work to finish. But it was also the most fun to built cause this is a mining ship that is allowed to look dirty and used. First I mixed three different sand tones based on Revell sand no. 16 and 17. The light sand was used for an overall primer of the model; the darker sand tones were used for the ships underside and recess areas. The masking work for the colored segments on the upper disks was made with Revell masking film. Revell yellow no. 15 was chosen for the yellow segments, Revell orange no. 30 with a few drops Revell red no. 36 was my choice for the orange segments. These colors were sprayed in some layers with airbrush. Some pictures of the studio model helped me to match the correct position of the colored areas. After few days of drying I coated the whole model in a good broth of thinned black oil color and cleaned the model more carefully. This ship furthermore has the most rusty areas of all - created with thinned sienna oil color as usual. Artistic black chalk was used to create a smutty overall surface. To make those awesome looking streaks on the disks upper side I used a “rubber-pencil” and erased some of the black-wash-layer by toggling outer to inner diameter - one of my favourite effects! With black chalk I draw some spots on the disks upper side and smudged them to the outer diameter with my fingertip - another amazing effect. Some layers of dull coat are recommended to protect the “chalky artwork”. I know this model maybe looks too beat up but this livery ship just came from a long mining mission on a really grungy and dusty asteroid with acid slops and meteoric showers. Cargo bays filled with Tyllium is the fee for this hard operation.
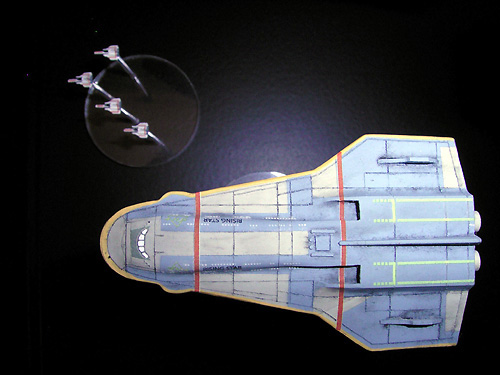
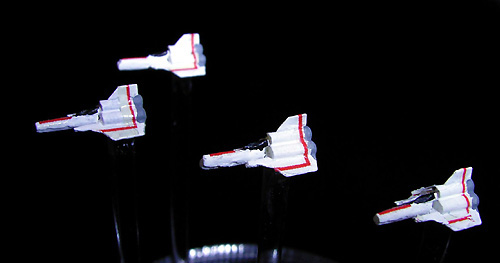
Viper Flight group:
These four tiny Viper starfighters are not in scale with the rest of the ships. I've been told they are in scale with the Galactica studio model. Anyhow I wanted them on my diorama - I could not resist - they are soooo cute! Each Viper is painted with a drop of Citadel Skull White. The red markings were done with thin decals I found in my leftover decal collection. The cockpit and the thrusters are painted with a small brush.
My long-time modelling-pal helped me with the nameplate for this project. Just want to say “Thank you” to M.S.! I have two nameplates: one says “Battlestar Galactica - Leader of the Rag Tag Fleet”. The other one says “Battlestar Galactica - Mighty Protector of the Rag Tag Fleet”. I have not decided yet which one I will use.
My dream is to have an acrylic museum case for this diorama but this is quite expensive. If this Diorama wins a prize in this contest wife will allow the bargain. Just a suggestion…
Image: Beauty shot
Image: Rear view
Image: Galactica, head shot
Image: Port landing bay
Image: More
Image: Detail
Image: Detail
Image: Left/front
Image: Port side
Image: Rear, lighted
Image: Livery ship
Image: Front/left
Image: Right/rear
Image: Top/front
Image: Underneath
Image: Painting
Image: Prison ship
Image: Left/front
Image: Left/rear
Image: Rising star
Image: Top, with Vipers
Image: Underneath
Image: Left/rear
Image: Colonial Movers
Image: Closeup
Image: Left/rear
Image: Vipers
![[Starship Modeler's 17th on-line modeling contest: Battlestar Galactica]](bsgbanner.jpg)
