by Scott Scariot
Scale: 1/2500
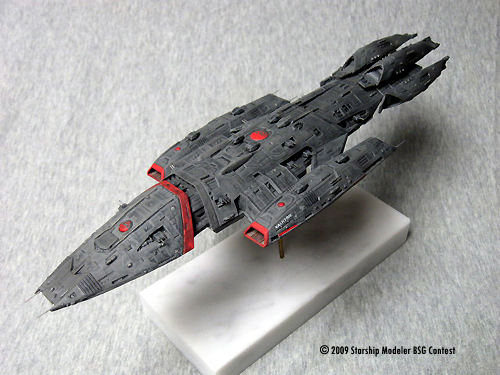
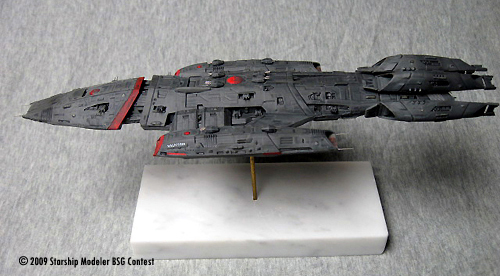
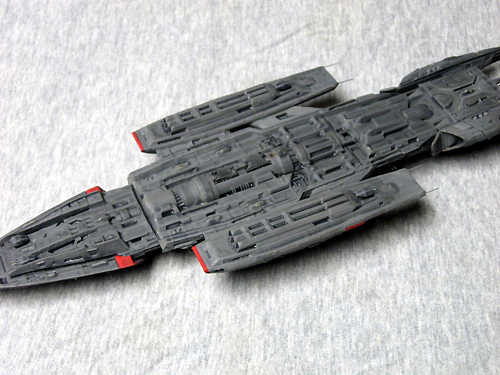
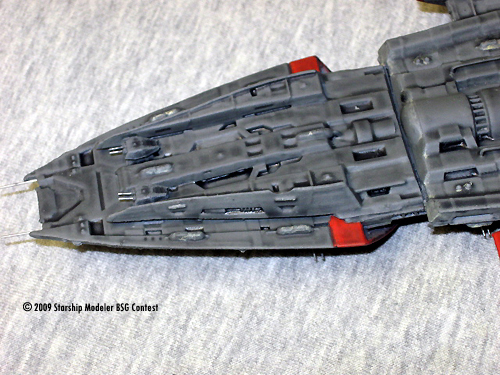
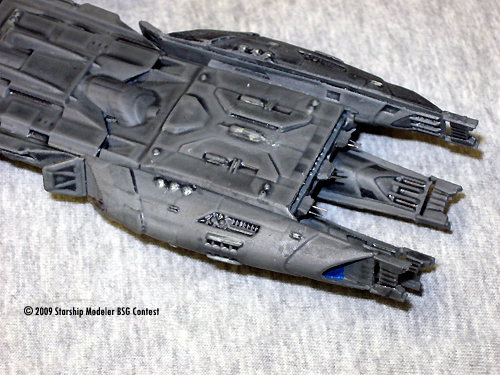
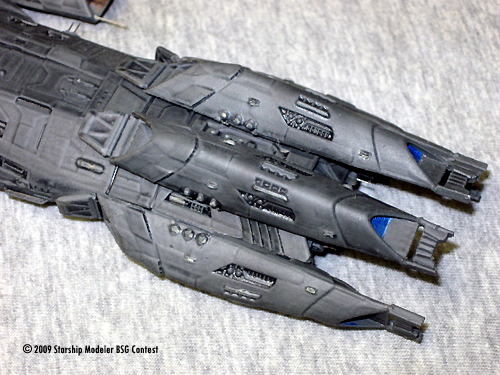
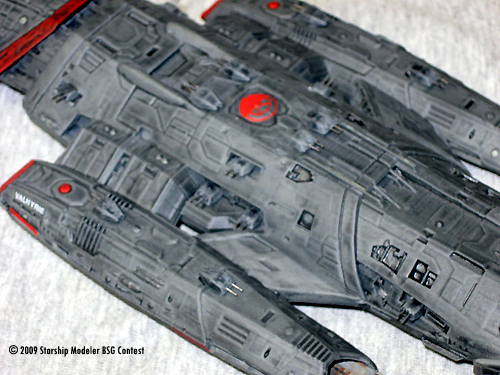
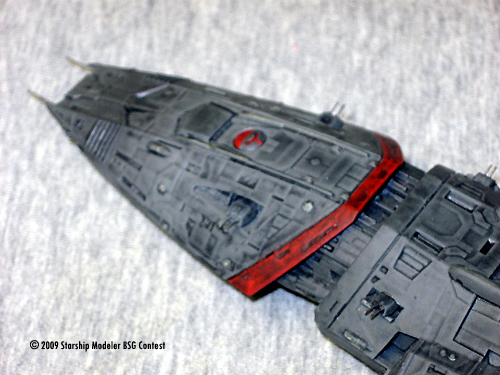
Since its premiere we have seen very little in the way of Colonial military technology. In the season 3 episode "Hero" we saw Adama's previous command the Battlestar Valkyrie. The Valkyrie appeared to be a much smaller ship than the Galactica. The design was interesting but still fit in. This year at WonderFest a model of the Valkyrie was offered by Bad Azz. I had heard about the model before the show and I didn't put the kit on my buy list, but once I saw the model I had to buy it! The model was grown from the studio CGI orthos. The result is a kit with A LOT of detail. It was beautiful in the box in pieces.
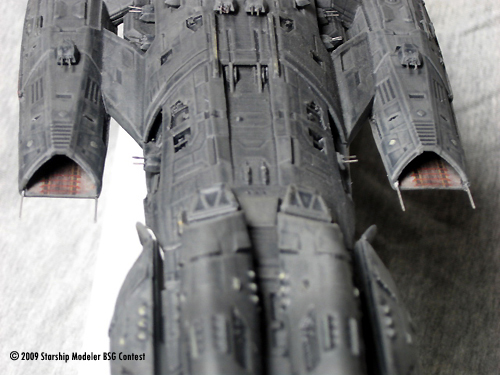
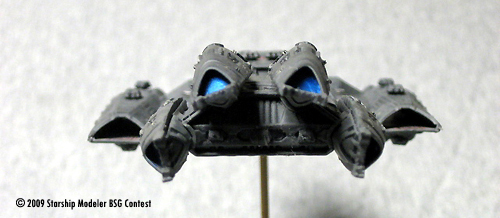
The model was washed and then assembled. Assembly was fairly easy. I built the model out of the box. Before I glued the bottoms to both flight pods on, I applied Future to them and then I applied the landing bay decals. After they set I added another coat of Future to seal up the decals. The kit is engineered so the seams are kept to a minimum, or hidden completely. The model comes with piano wire to make some pipes for the bottom of the ship. I found this to be hard to cut and to bend so in stead I used connection posts off of LEDs. These were easier to work with. I simply drilled some holes for them in the bottom of the model, cut them to length and glued them into place. I did leave the gun turrets and engine pods off of the model to make painting easier and to avoid breaking the small bits off the end of each pod.
I used Euro 1 Gray lightened up a bit with White as the base coat. I stuffed bits of cotton balls in each end of the flight pods to make sure I didn't ruin the decal. After the base coat I sprayed certain areas of the model with straight Euro 1 Gray to add some depth. I sealed the model with a Gloss Lacquer and then I applied an oil wash to the model.
![[Starship Modeler's 17th on-line modeling contest: Battlestar Galactica]](bsgbanner.jpg)