by Matthew G. Crane
Scale: 1/32
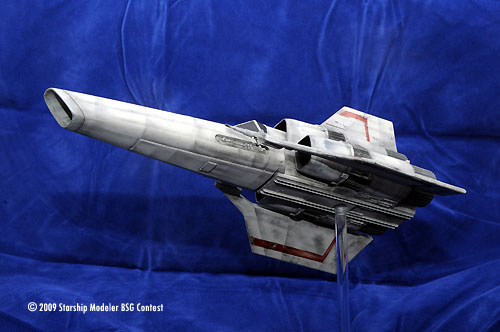
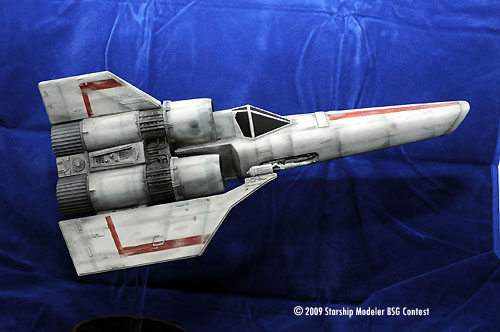
This is the reissue of the Viper from the 90's and yes if you had one
of the originals (like I did) you can still see the molded in parts
where the company had set it up to fire plastic missiles. The
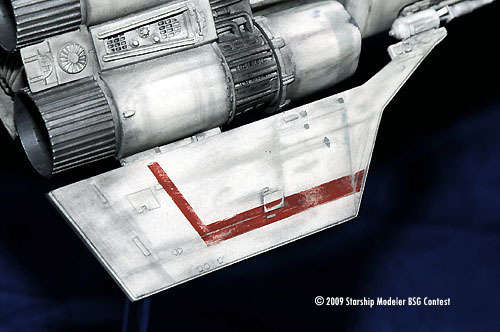
construction was straight forward, I used putty on any seams and
sanded as needed. I did add a strip on the bottom of the fuselage to
cover the hole where the old missile firing hole was. I also had to
add another strip to the top of the fuselage to replace a raised plate
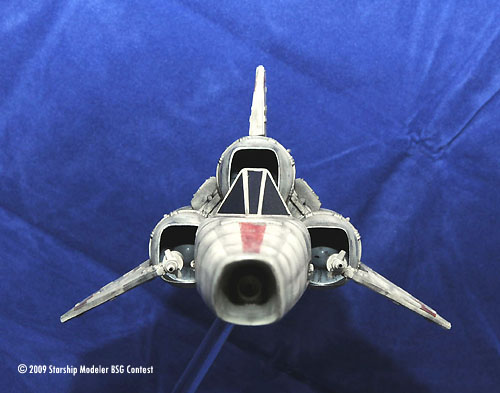
that I sanded off. I dug through my parts box and found part of and
old x-wing cannon to plug the nose cone with as this was where the
missile was fired from.
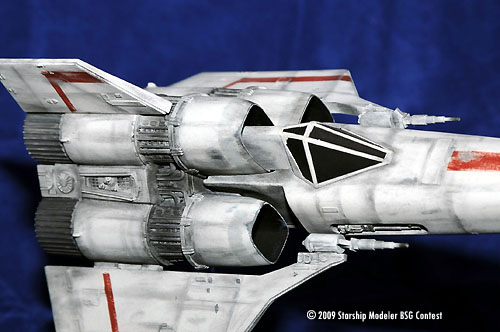
As I was building the Viper I decided not to glue the fuselage to the
engine section, this makes for easier transport. As this point I
decided to mount the ship on the clear rod. I did not want to go
with the typical display of level flight so I cut the rod an 45
degrees an drilled the hole through the bottom of the ship. I did
have to use some sheet styrene to cover up the area around the
mounting hole as I had to do a bit of carving to get the clear rod to
set at the proper angle. Once the super glue was set and I had dug
out an old base from an ebay purchase, I mounted everything and set
about painting.
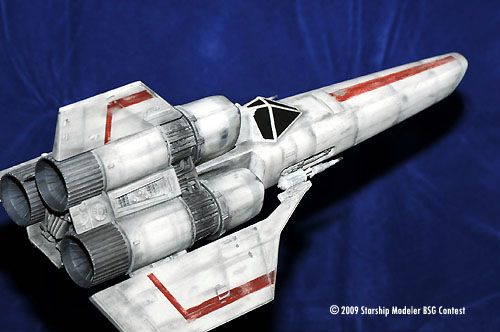
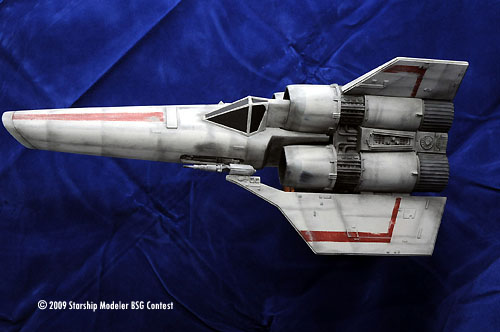
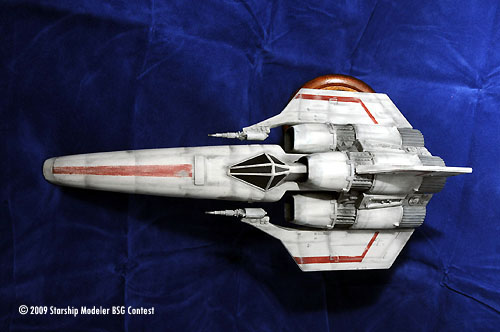
Painting
The base coat is camouflage grey, I think this makes for a good color
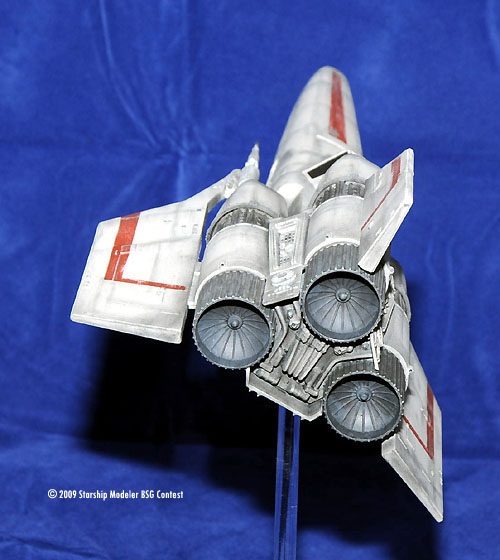
for most space ships. The gray stripes around the engine intakes was
taped off and sprayed with light sea gray as was the nose cone. I also
painted the inside of the intakes flat black. I used regular gray
for the engine fronts with a black wash.
![[Starship Modeler's 17th on-line modeling contest: Battlestar Galactica]](bsgbanner.jpg)
