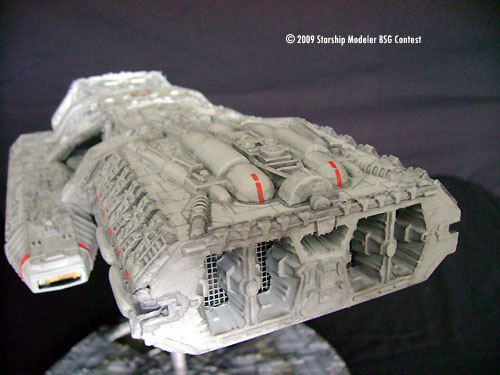
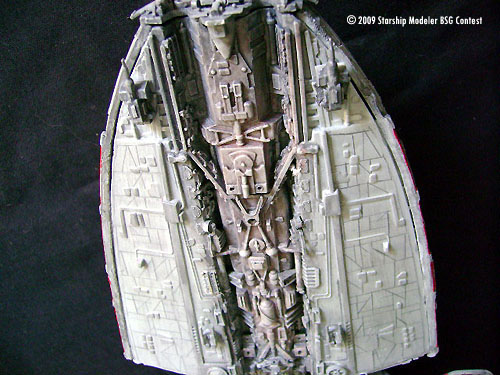
Forced-perspective landing bay decals were added to the rear of the landing bays. Holes were drilled out along the length of the landing bays to simulate the launch tube openings.
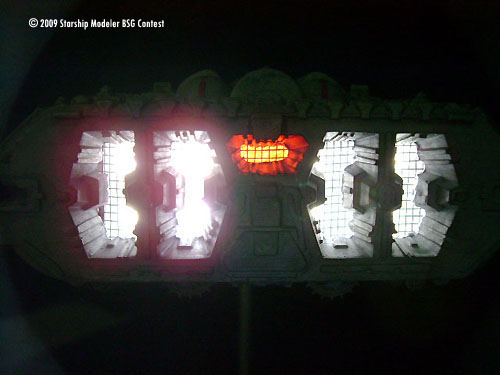
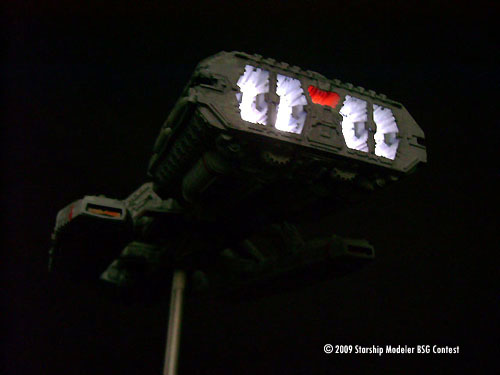
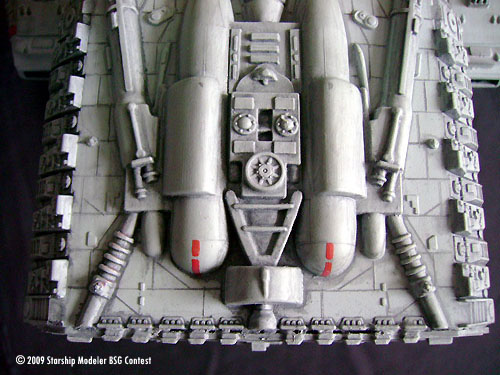
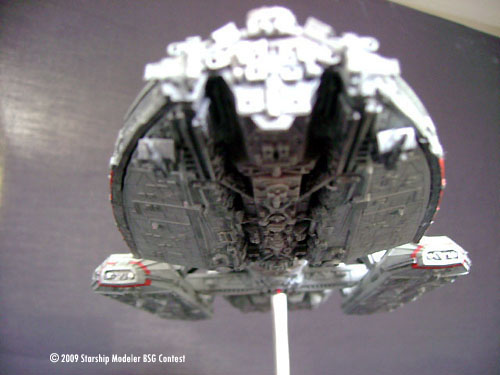
Tiny holes were drilled in the proper locations to accept fiber optic strands for simulating lighted porthole windows. In total 90 fiber optic strands were used illuminated by two separate bright while LED lights. Two bundles of three super bright white lights encased in a reflective covered cardboard box to reflect all the light outward through the engine openings. The red light in the centre of the engines is the same white light passing through clear red plastic glued to the backside of the engines. The wires run downward through aluminum and styrene tubes that are also part of a custom display stand. The base is the top half of a Cylon base star, which houses the two battery packs, accessible via several screws that secure the two saucer sections together. Two micro switches are disguised into the detail on top of the base star. One switch turns on the fiber optic lights, the other switches on the engine lights. All the lighting is not a kit and is all scratch built.
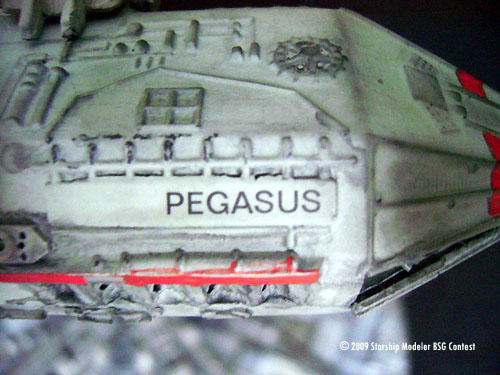
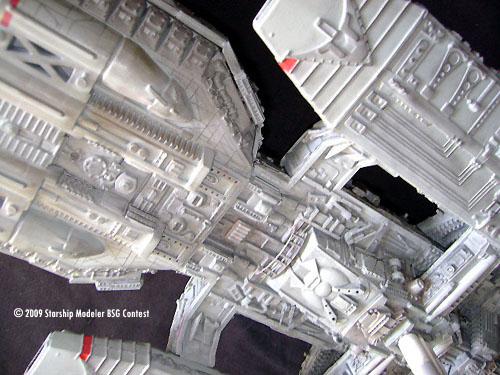
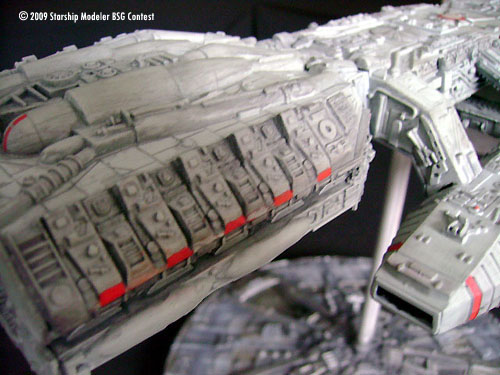
The red circle on the top center section, the Pegasus name, and the forced-perspective landing bay decals are from J.T Graphics. All other markings are hand painted. Acryl acrylic paints were used to paint the model the main color is a custom mix of three different colors: camouflage grey, light grey, and metallic grey. Three coats of gloss clear were applied to aid in the application of the decals. The washes to bring out the detail of the model were made by watering down the custom mixed base color with rubbing alcohol and adding a few drops of interior black to darken the tint. Further heavy weathering and oil staining was achieved with Tamiya's pastel weathering kit. Three coats of flat clear were applied to seal the deal and knock off the glossy sheen.
Overall this was not an easy scale to put this amount of detail in to, but I welcomed the challenge and it was also an inexpensive “guinea pig” to attempt such a dramatic “facelift”.
The end result, I feel, is much more visually appealing then the original subject that I began with. The display stand is also much sturdier and more visually appealing.
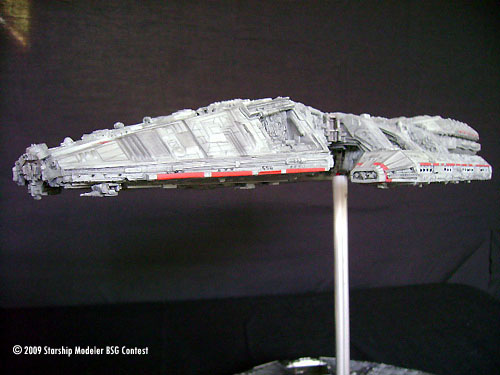
Image: Right/rear view
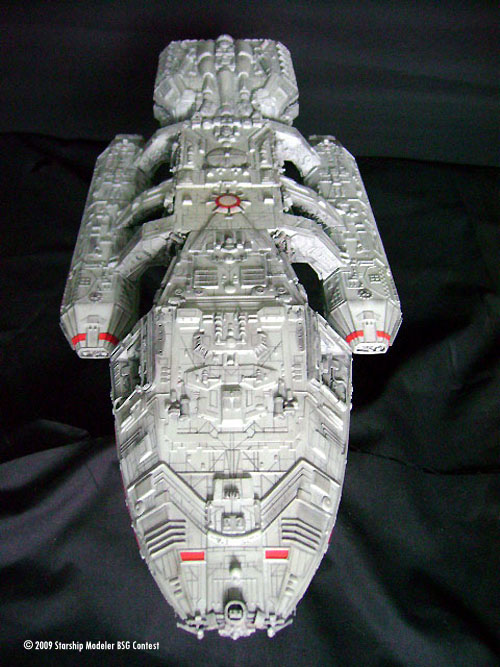
Image: Upper left/rear
Image: Engines lit
Image: Fly past
Image: Detail
Image: Detail
Image: Detail
Image: Detail
Image: Name
Image: Detail
Image: Detail
Image: Detail
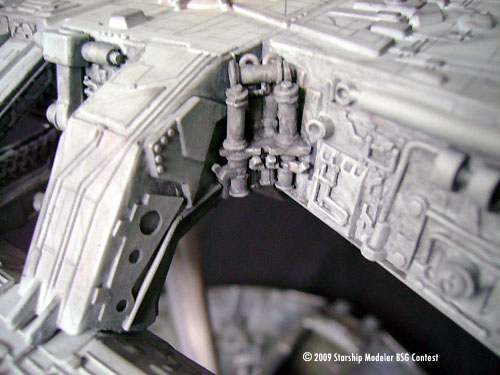
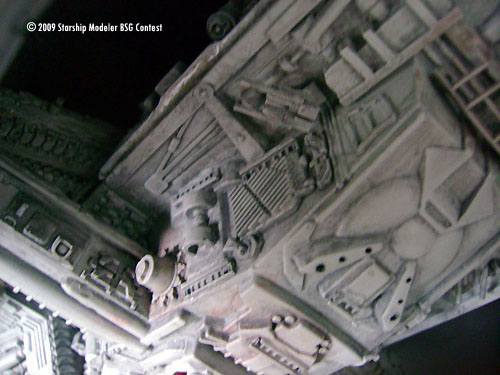
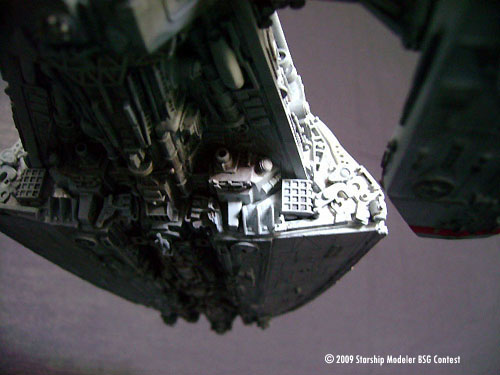
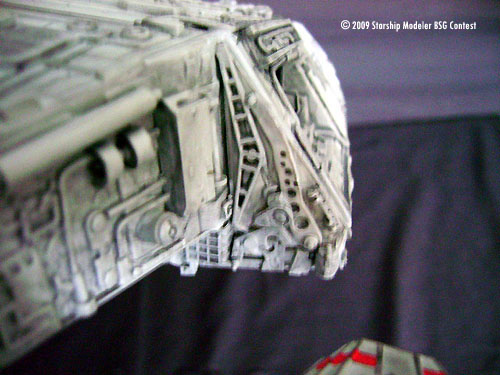
Image: Under the bow
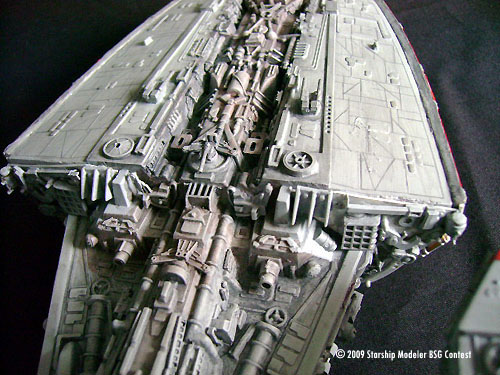
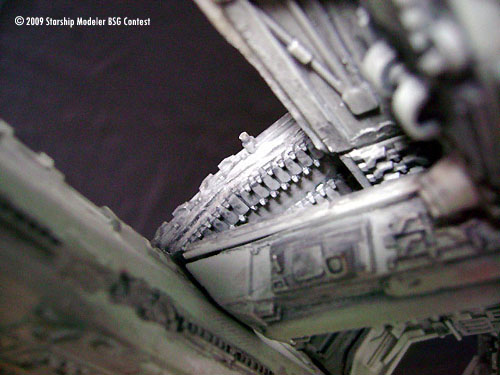
Image: Midship
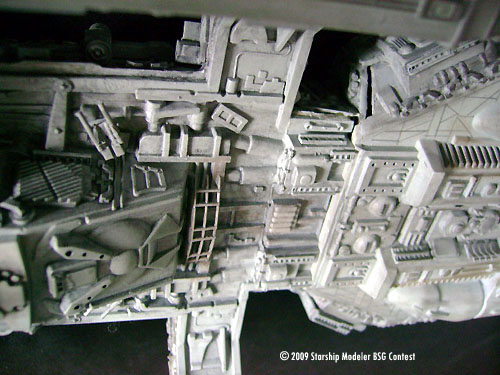
Image: Underneath
Image: More
Image: Detail
Image: Detail
Image: Detail
Image: Left/front
Image: Bow
![[Starship Modeler's 17th on-line modeling contest: Battlestar Galactica]](bsgbanner.jpg)
