by April Welles
Scale: 1/4170
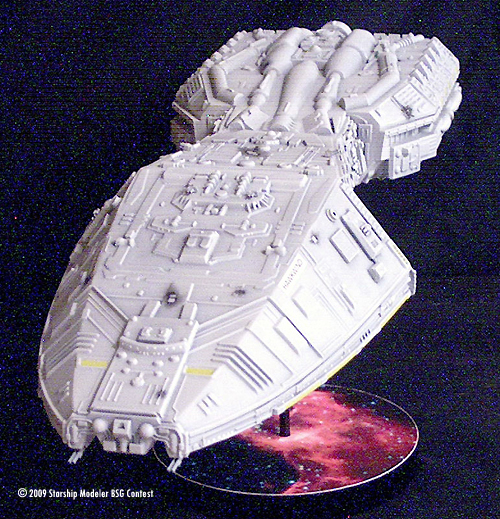
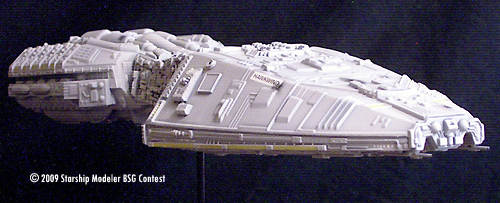
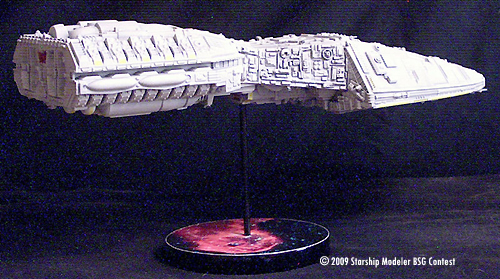
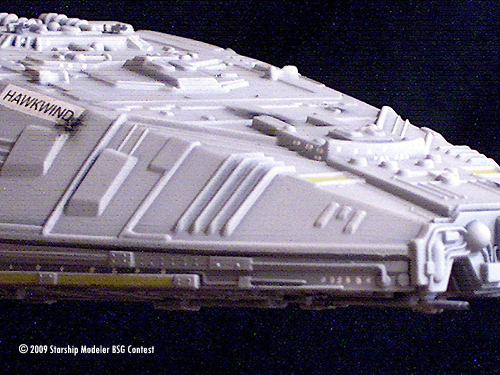
This is the Colonial destroyer Hawkwind. She is one of the few Colonial navy ships that survived the destruction of the 12 Colonies by the Cylons.
They had been scheduled to meet with the 24th Fleet (her designated Fleet, hence the yellow stripes) and patrol for anything untoward that might hinder the Peace Conference - any militant groups who didn't want the peace to occur and rabble such as that.
After a “Divine Accident” with their navigational computer caused them to be late to their rendezvous (many of her crew believe that it was the Lords of Kobol that were protecting them), they arrived to see that the fleet was virtually decimated. They fought off the remaining Raiders and destroyed two of their refueling ships that were nearby as well as a few transports. They received a few distress calls and soon they were able to rescue about 2000 personnel-out of 12,000-from the remains. Also rescued were six Vipers and their pilots. Unfortunately, two of those pilots died from their wounds.
The Hawkwind heard a call from another battlestar that survived the genocide and was rendezvousing at Virgon.
They met the Olympia, as well as the light battlestar Vuldex, and assisted them, plus 120 other civilian ships, with repairs and replenishment before leaving the Colonies in search of a new home.
She is shown here about 8 quatrons later (approximately 8 months).
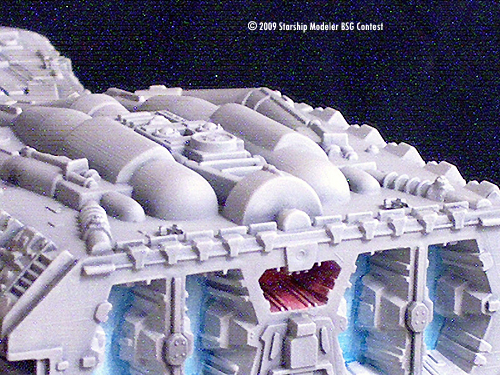
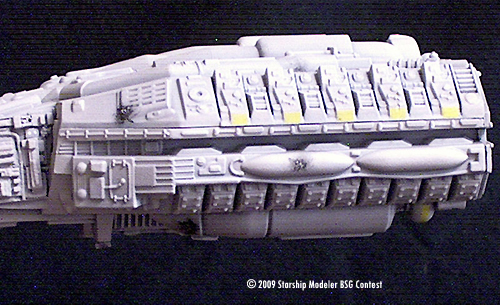
She has received some damage, and the most severe (actual hull penetrations) have been patched up. She now has six Vipers as her standard compliment as well as four shuttles. Though she has no Viper launch facilities, they take off from the main entrance. Not as fast as from a battlestar, but they are still used for support.
The Model
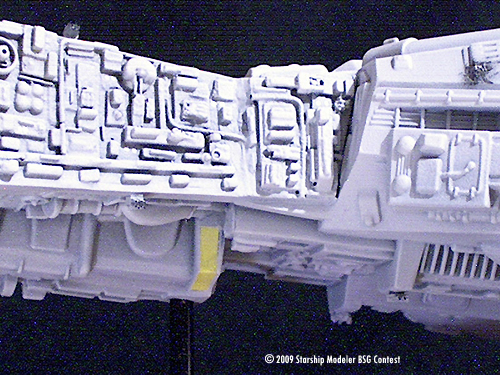
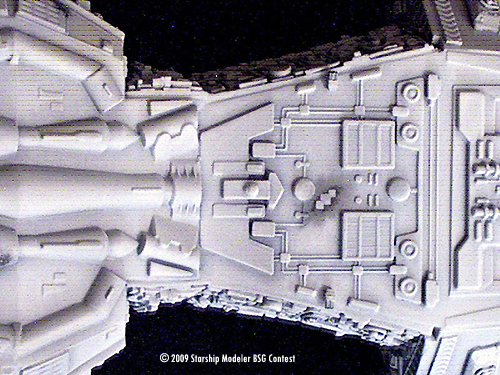
I built this from a Revell/Monogram kit. Essentially, I removed the middle section and attached the 'head' and 'tail' to each other. I used SMT resin detail pieces that I had gotten a few years ago. Using sheet styrene I covered over the large hole remaining underneath facing aft (where the yellow stripe in the mid-section underneath is). That became my Landing Bay. I was dissatisfied with my first effort and stripped it down, re-worked it and added new things.
![[Starship Modeler's 17th on-line modeling contest: Battlestar Galactica]](bsgbanner.jpg)
