by Heiko Petersen
Scale: 1/32
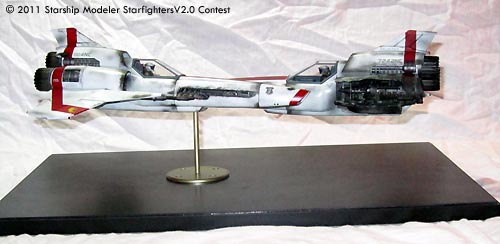
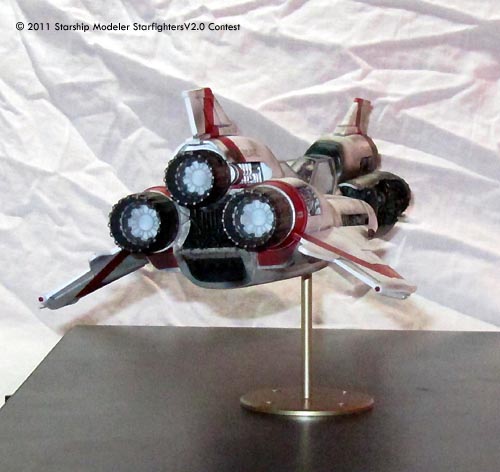
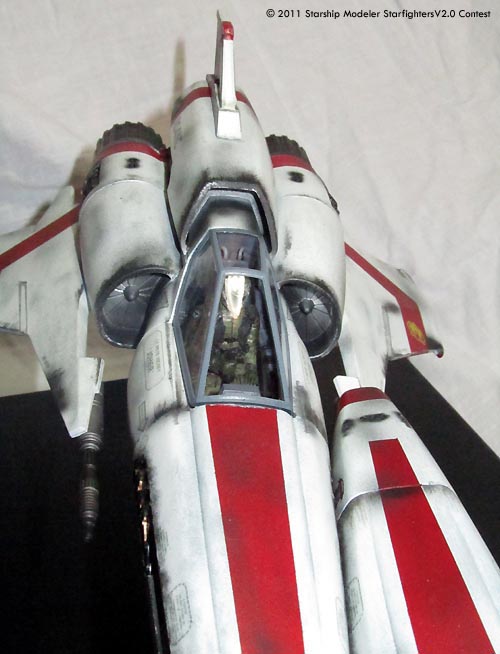
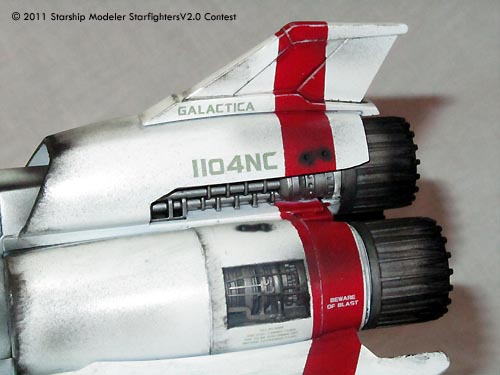
Who doesn't know the iconic scene from the Battlestar Galactica pilot mini series? Apollo's Viper is heavily damaged, and Starbuck picks it up in mid flight, gets Apollo back to Galactica and saves the pilot's life with this crazy maneuver. This is the scene I wanted to recreate.
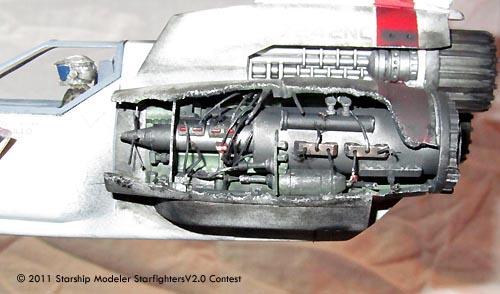
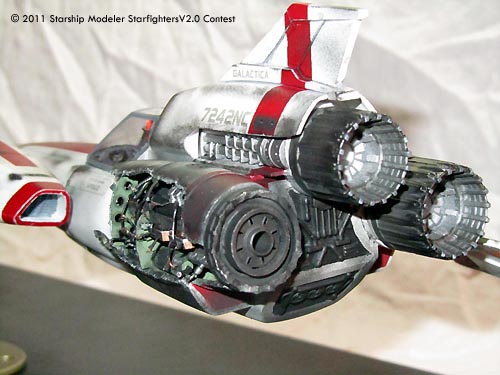
I used two Viper Mk II by Moebius Models for this diorama, which were refined with the addition of two sets of etched parts from Paragrafix. I developed a flicker circuit to get some dynamic into the engine's lighting. Also, I used a modified flicker circuit from the model railway section to simulate the collapsing power supply in the damaged Viper's engine. The position lights on both models consist of optical fibers and the engine lights of white 5 mm LED. The cockpit lighting is also mainly white SMD-LED; the upper DRADIS display is a green SMD LED. For the inside of the damaged engine I used two brass tubes, some leftover etch parts, some piece of cable, wire scraps and some more deep digging in my box of spare parts.
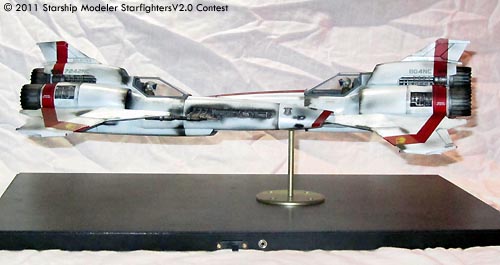
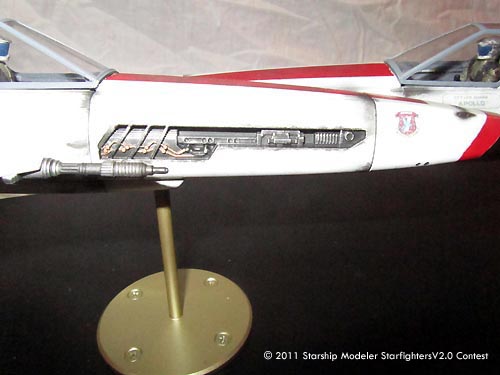
The two Vipers were first assembled separately, filled and sanded. Then I drilled the holes for the maneuvering jets. After that, both ships got a dark gray preshading before I gave them their white painting. The red stripes were masked and airbrushed. After the paint was dry, I sealed them with glossy acrylic varnish and applied the decals from JT Graphics. Then I laid down a second sealing with gloss varnish and a washing with black oil paint. I aged both Vipers with pastels, oil paints and the subtle use of the airbrush. Finally, I drybrushed some spots with white oil paint.
![[Starfighter Contest]](sf2banner4.jpg)