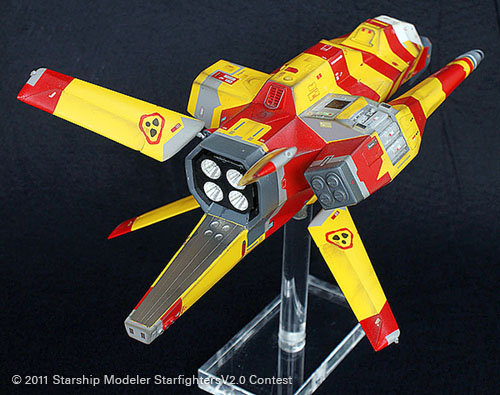
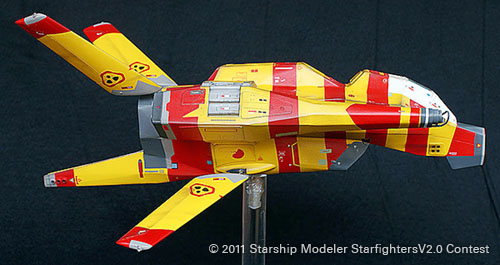
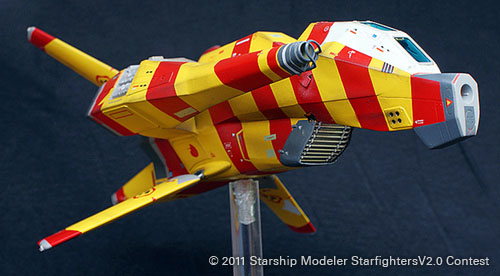
I created one of the 'wings' with styrene and tubing, the molded and duplicated it 3 more times. The engines were from Adler's Nest - I wanted turned aluminium thrusters to really stand out from the rest of the ship, and they did the job.
Finally it was time to paint it - yellow was the base coat, with a lot of tape providing help for the complicated masking job of red, various shades of grey and white.
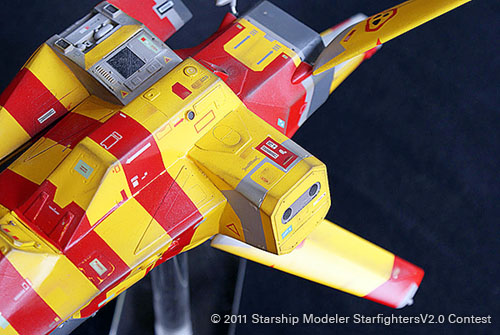
I then raided the spare decal box for most of the decals. I didn't want them to be obviously from other kits, so some decals are an amalgamation of others, for example a blue panel, then another white decal on top, and then perhaps another decal on top of that to create something unique. Even so, I didn't have many of the decals I needed, such as the unusual red triangular with black dots on the wings. So these were produced on inkjet decal paper specifically for the build-up. It was only afterwards that I found out from the Homeworld community that these were actually verniers, rather than decals. This illustrates one of the many problems of working from games - lack of detail in original designs.
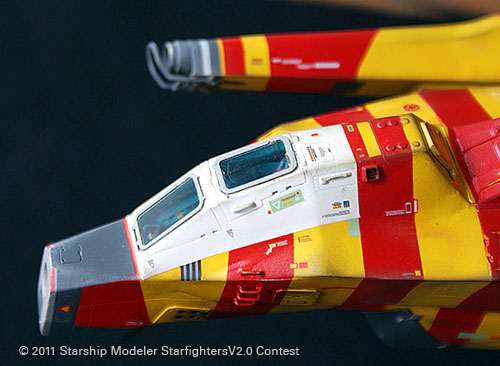
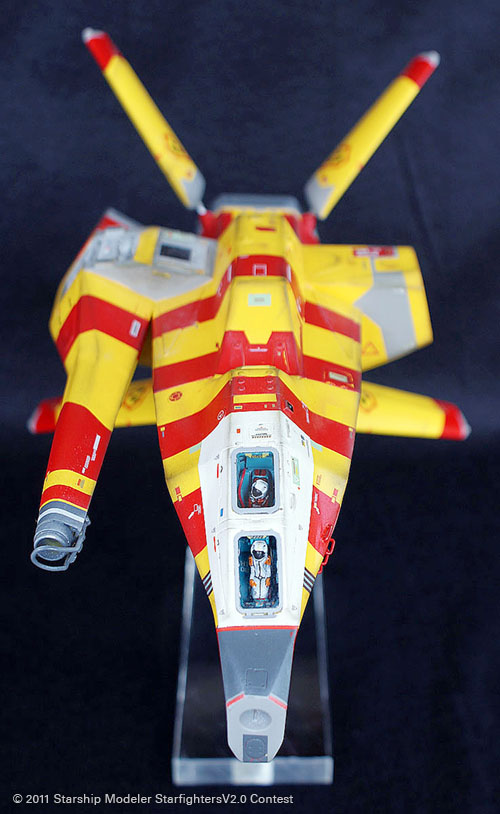
I also created some custom photo-etch for the canopy frames, and a few other details now covered by paint. Although it can't really be seen many of the images, the canopies have a clear piece of PETG plastic. Because they are totally flat, and have been dipped in Future, it's actually very difficult to tell they are there at all unless the light hits it in the right way.
Finally, the build was weathered with a combination of airbrushing, Tamiya weathering sets and pastels.
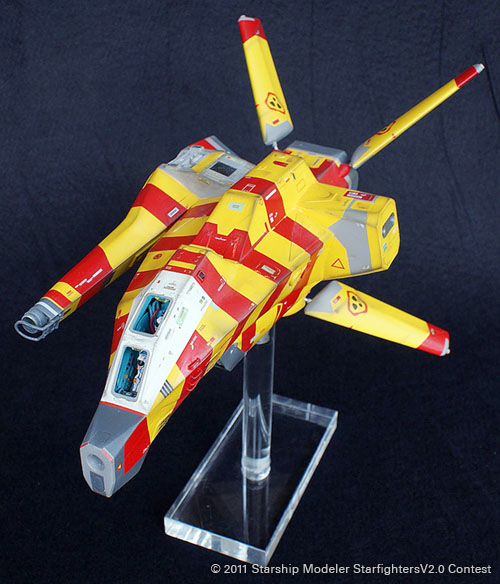
Mounting was on a slab of acrylic and acrylic rod. The bolt went into the top the rod, however it was a bit messier than I liked. Hopefully the dramatic colour takes the eye away from it.
I was very pleased to finish this model - it took a bit longer than I had planned. For for various reasons I had not been able to do much modeling this year, and this project brought back my modeling passion and reminded me why I enjoy this hobby so much.
Image:Canopy detail
Image: Docking area
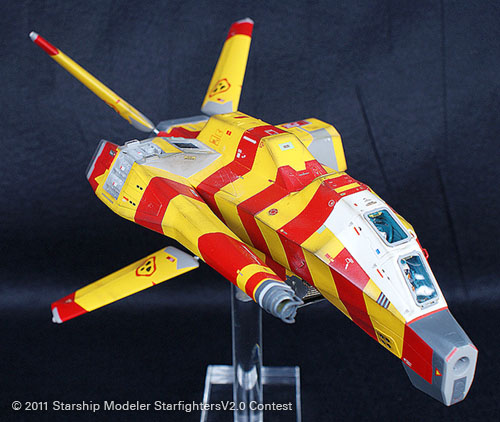
Image: front
Image: Right side
Image: Right/front
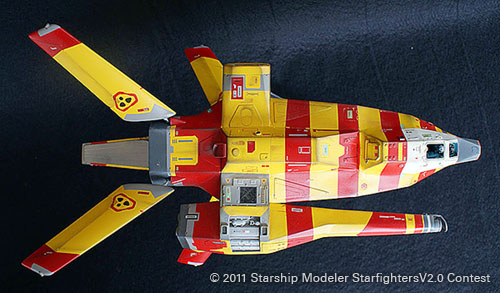
Image: Top view
![[Starfighter Contest]](sf2banner4.jpg)