Also add some innovative offensive and defensive systems you ever wanted to have on a starfighter… this fighter of course has it all!!! That would be a cool fighter in a space combat flight simulator game ain`t it?
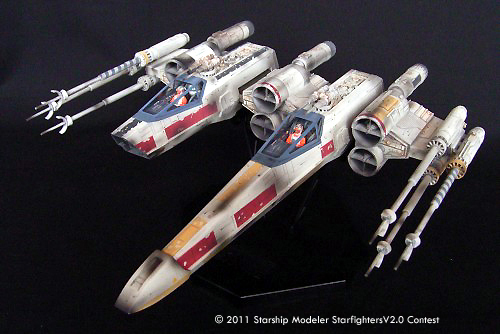
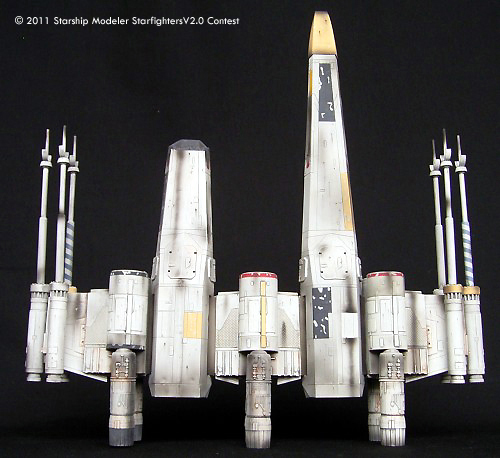
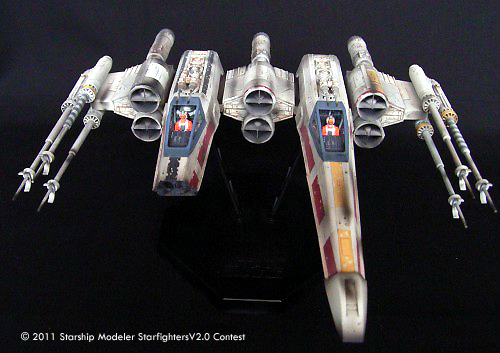
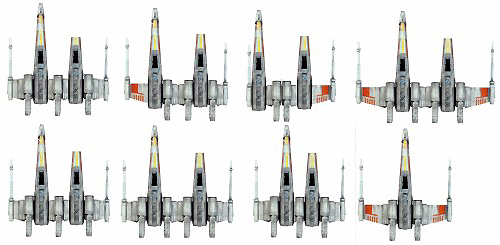
I was thinking about building a Twin Pod version of an X-Wing Fighter for years. I primary wanted to use some cheap old AMT X-Wing kits for this plan. But for some reason I only found one AMT kit but four Fine Molds kits in my storage. I did not regret I used the Fine Molds kits - it was a pleasure to built this creation. When starting this project I first scanned an X-Wing topview image from the Fine Molds “Painting and Marking” sheet which is given to each kit. With a photo editor program I simply created some rough design ideas by copying and pasting hull and wing components. I had to distort the first design idea of my Twin-Pod because it did not look good on paper. But after a few attempts with the “copy and paste” technique I found a new favorite. For this project I used the two 1:48 scale Fine Molds X-Wing kits plus some greeblies. Using up two expensive kits is worth the final result - and I still have a box of greeblies left. I guess many modelers think alike.
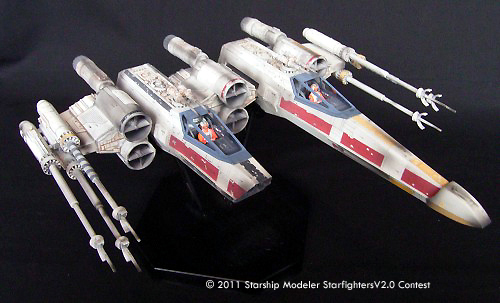
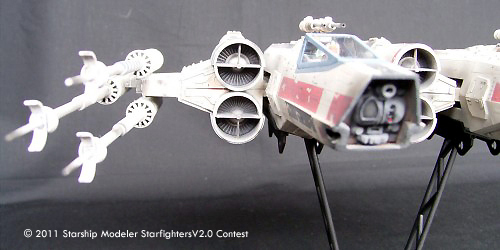
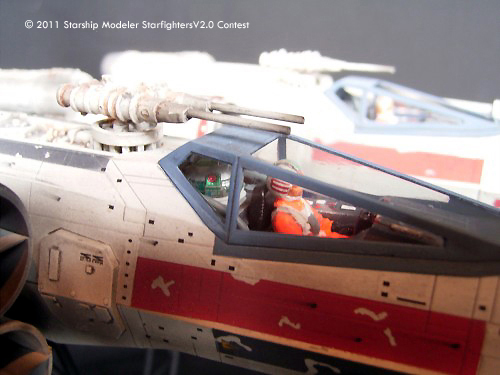
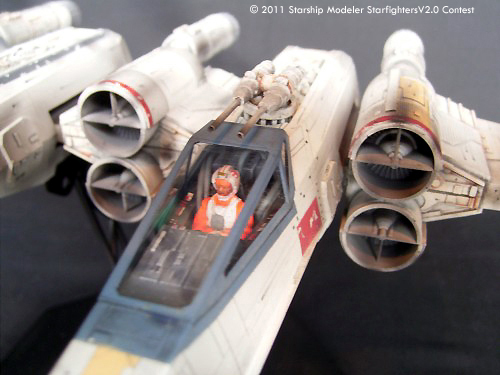
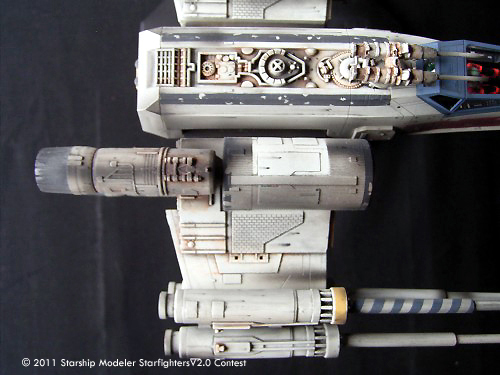
I started with the cockpits. The portside cockpit was not modified that much - just a few cables and some tiny plastic squares were added to the back. The starboard cockpit needed some more work because it should hold an R2-unit in the back. I removed the cockpits back section and rebuilt it to the need to house an astromech droid and additional tubes. I saw some images of an R2 unit in the back of an E-Wing cockpit some time before and I really loved that idea. Both cockpits were painted in dark grey and few highlights in lighter grey and silver. seats are simply black. Cockpit instruments and buttons were painted in red and white to present them enlightened. A very light drybrush job with white followed. With the decals given to the kits and the green markings by JBOT for the R2 units head the cockpit came out very nice. For painting the canopies with a light blue mix I used the Canopy Masks by Graphic Encounters which were easy to work with and bringing out great results. The Vinyl Masks are available in the SSM store.
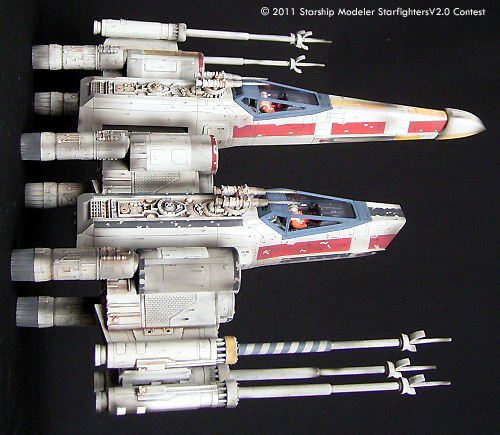
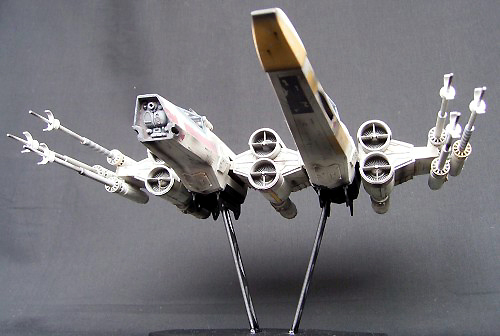
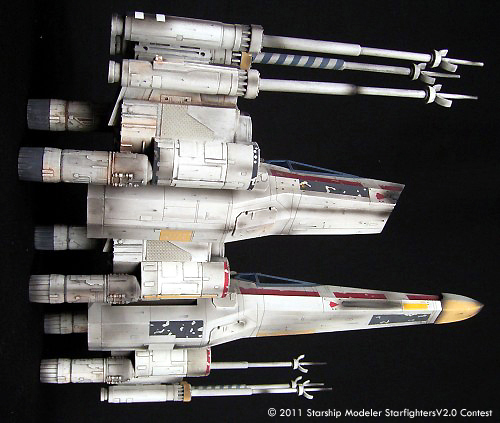
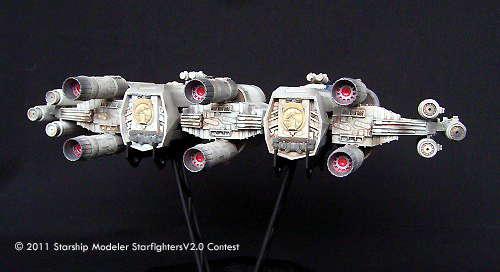
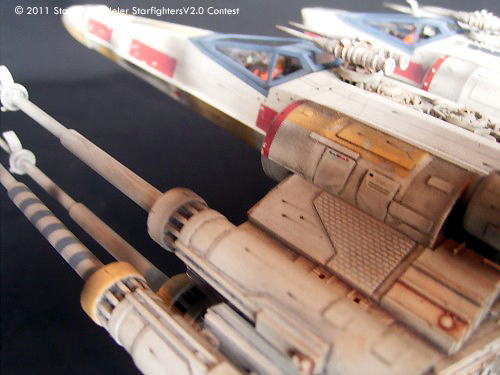
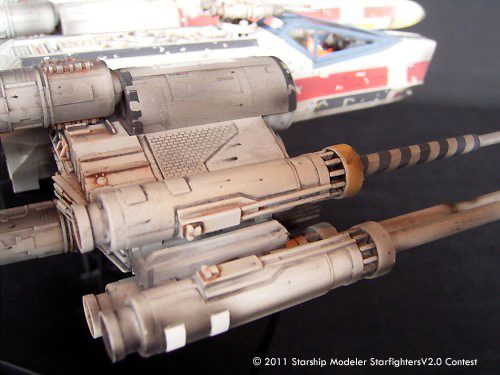
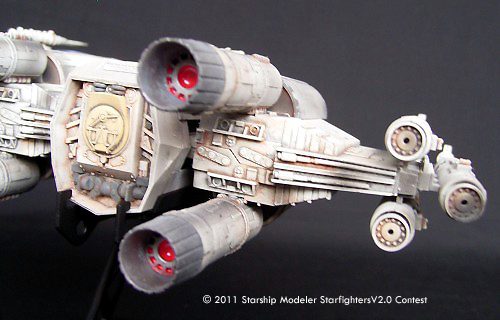
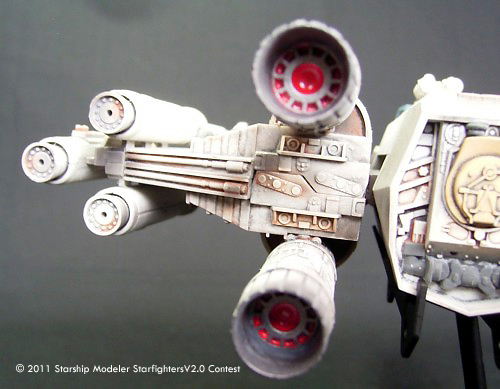
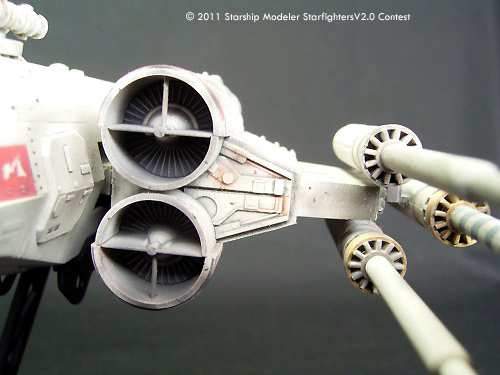
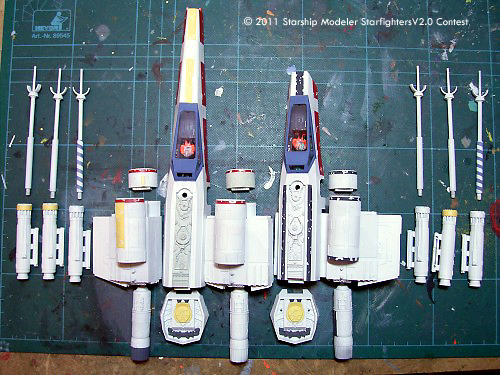
I split the model into five greater building sections like fuselages and wing sections and some more smaller sections like thrusters and laser barrels. (See WIP image.) The one bigger modification I had to do to the kit was the retrenchment of the starboard nose. First of course I love the asymmetric look that can be found in many Star Wars vehicles and vessels - secondary I wanted some new installed pieces of technical and industrial looking parts which are really visible. Not like the “usual” sensors hidden under the nose housing. Cutting that access cover from 1mm sheet to close that great hole was not that easy. It took a few tries til I got a nice fitting cap. These new long range sensors are mainly modified parts from a 1:48 apache longbow kit together with some parts from my spare part box. The ion canons were scratch built mainly from 1:24 scale messerschmitt or hurricane landing gear parts together with injection needles. (Will use these ion canon for my 1:48 Y-Wing as well someday!)
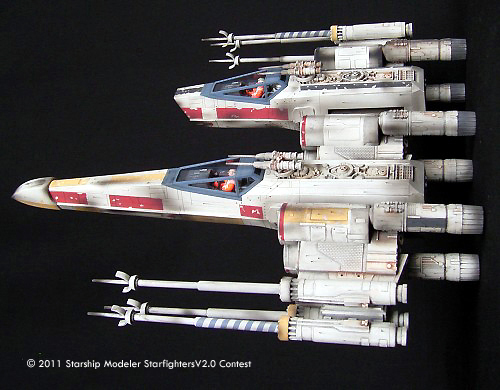
All parts first got an overall coat with Revell semi-gloss white. All colored areas on the model were masked with tape and airbrushed with own mixed colors. I mainly used Revell Email colors and mixed them with black or white to get darker or lighter shades of the specific color. The red markings on the fuselage sides get a drop of black to make them look more luscious. The light yellow markings all over the ship is a mix of yellow and white. I also mixed three various grey shades in different thickness for markings and effects like smoke residue on thrusters and air intakes. For more dirty areas I used thinned black Revell color. To simulate wear on the markings I painted liquid latex with a small brush onto the related areas before marking color was airbrushed on. After drying I carefully removed the latex from the surfaces - a good technique to get this effect. All parts of the kit got an wash with thinned artistic oil color ivory black. While doing the washing and all other weathering works I tried to pay attention to the fact that the rebel technicians took ship parts from various disused fighters. If you have a look to a top view of that model you may notice that the starboard side of the ship has little more intensive smoke residue and rusty areas than the portside parts. Different colored markings on the engine housings (red and grey) do for the same reason. Same on the ion canons. The display stand was made from the display parts given to the Fine Molds kits. A weathering with artistic black chalk and a protecting dull coat concluded my model.
![[Starfighter Contest]](sf2banner4.jpg)