
By Dominic Handl - images & text © 2010
|
![[Please click to enlarge]](dh_070210_astrayhero0.jpg) |
|
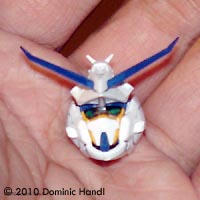
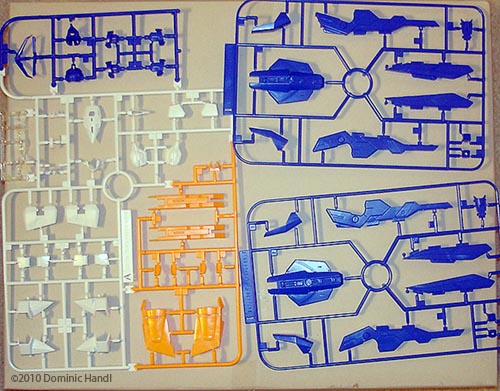
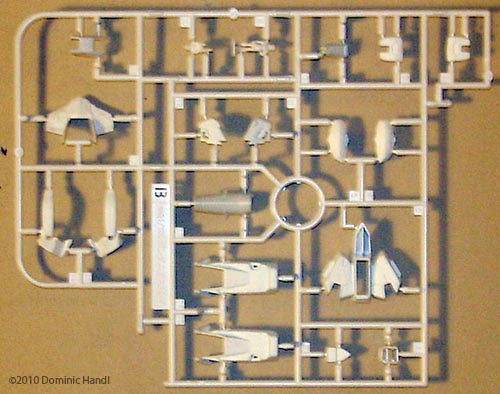
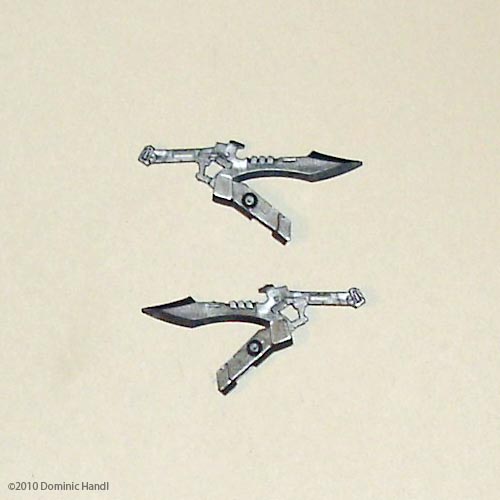
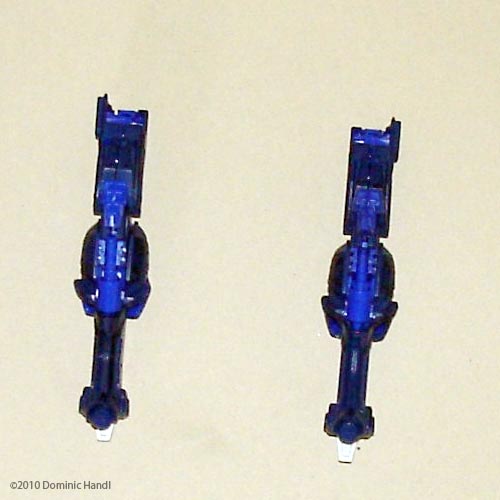
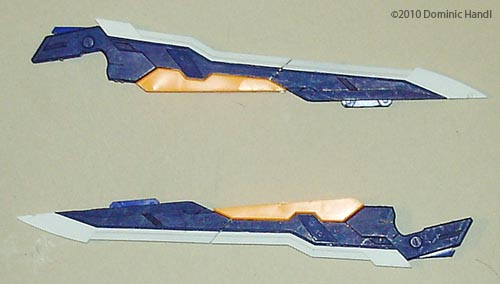
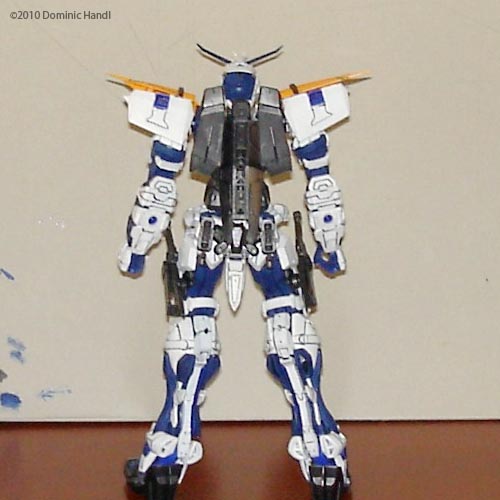
Image: Multiple colors on one sprue Image: White bits painted Image: Basic arms assembled Image: Torso, from behind Image: Blades Image: Main body, inner frame Image: With outer covering Image: Skull
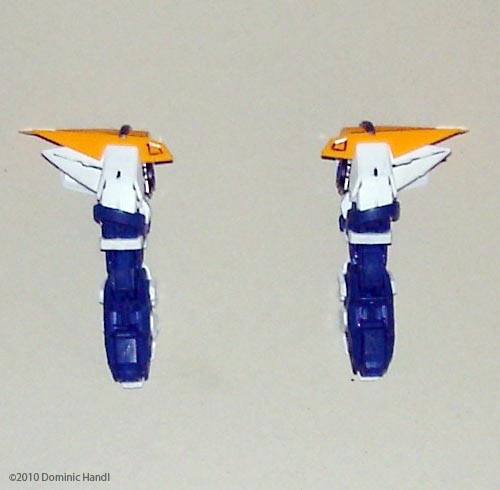
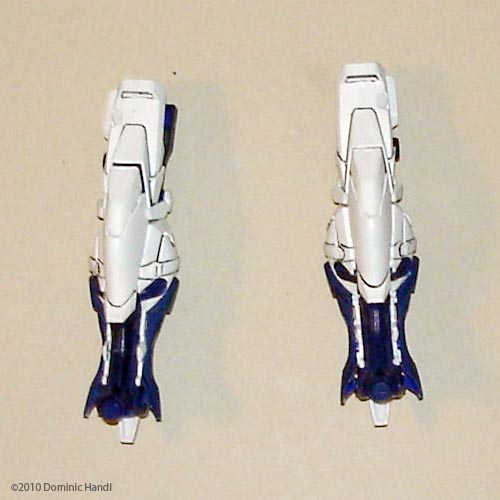
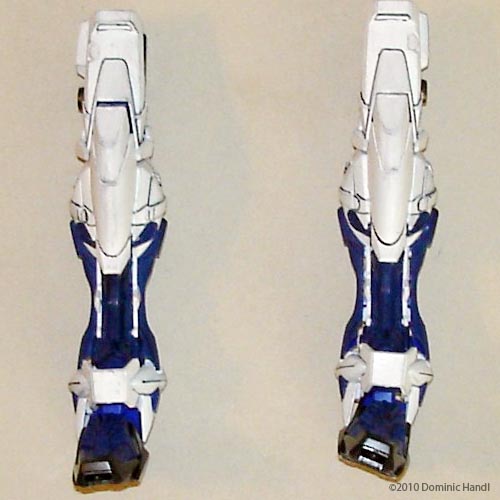
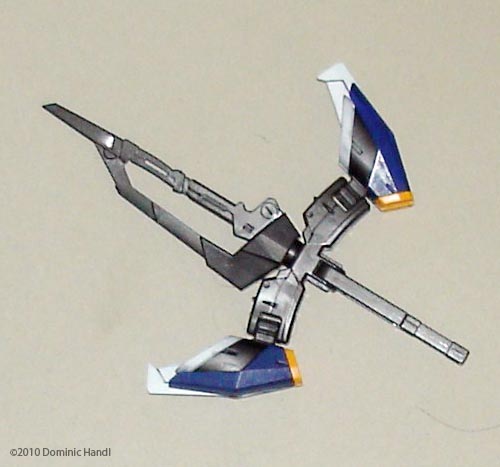
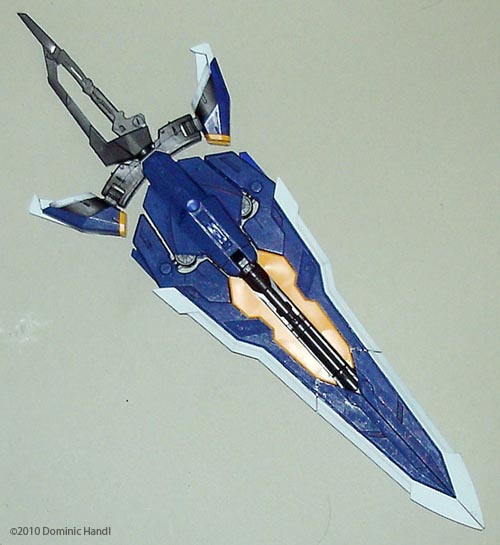
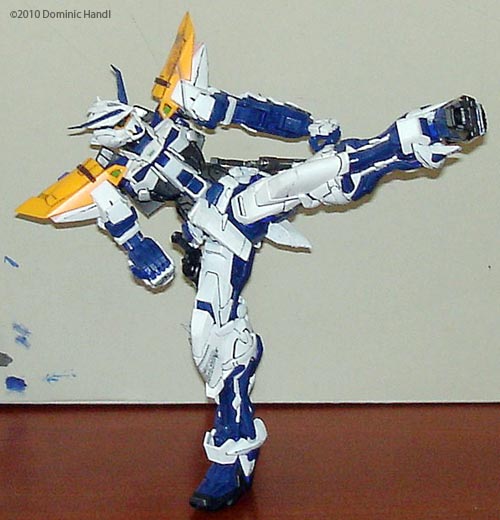
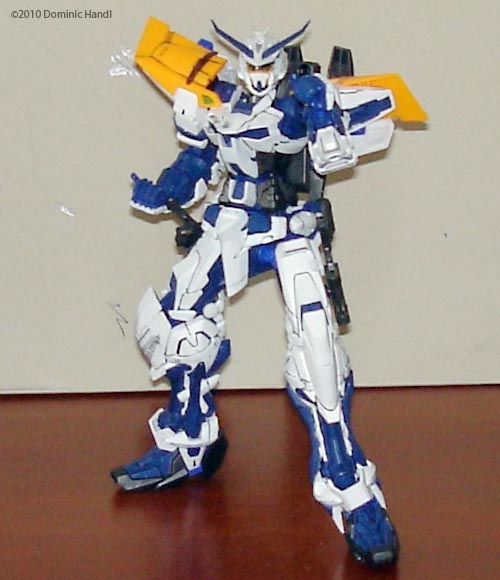
Image: Leg "bones" Image: Completed legs Image: With feet Image: Wings Image: Gatling cannon Image: Framework Image: Completed Tactical Arms II Image: Another front view Image: Not the front Image: Hi-YAH! Image: Bring it. |
The Gundam Astray Blue Frame, Bandai's new addition to the Master Grade model line from the Gundam Seed series, was released in late October of 2009. The Kit I got this model as a present for my 39th birthday. I wanted the recently released MG Red Frame Astray but it was sold out so I got the Blue Frame Astray. My first favorable impression came from the nice cover art, a good image of the Astray Blue Frame in battle, holding the Tactical Arms weapon. Upon opening the box, all I was able to see was it was crammed with plastic. There were about four layers of sprues stacked on top of each other. Each sprue is packed individually in a plastic bag to prevent the pieces from being scratched while the kit is being transported. I like that Bandai has always paid attention to the smallest details. And the quality of the models is always consistently high. This model has a sleek design to it. Its quite streamlined in some areas. The proportions are to scale to the original in the series. I was excited to get this model done. I removed each sprue out of the plastic bags carefully laying them on the table lined up. I took a closer look to see if anything was broken or if any of the pieces were missing. I was surprised to see how much detail the pieces had. After having to remove all the sprues from the plastic bags I have a stack of about 14 sprues next to me. Seeing that, it looks like I have a challenge a head of me. I've always liked the Master Grade Gundam kits. I can already see this model is going to be complex. But that's the fun in putting an MG model together. Preparation When it comes to making a model, I am always prepared. Common supplies are brushes, toothbrush, q-tip (cotton bud), paint bottles (in this case, flat blue and flat white), micron pen for details, Swiss army knife, and scissors. It took a while to decide where to start. The majority of the pieces are in blue and white, so I eventually decided to start off with those. I know this will take a long time, but I don't like to rush when I put these models together. Painting I find painting to be the fun part of making any model. As fun as it is, it's a lot of work. I started off with the biggest pieces that were molded in blue. At this point you really don't know what piece is what. Everything is determined by size. One coat even if it was a little thick would not cover the pieces evenly. Always I apply two to three coats of paint on the pieces. After each coat I let the paint dry overnight. With the white pieces I did the same thing, but white is a bit thinner as a paint, so I had to put four coats on to be sure the pieces were covered evenly. The fact that the whole kit is molded in color is okay too. I mean, I could assemble the whole thing with out painting it, It would still look good, but it would look too much like a show piece. That's not may aim here. Detailing I like to add as much realism as possible. This is very painstaking work. The first thing I did was something that is almost like dry brushing. I apply a thin ink wash on all the raised areas on the pieces. Some of the ink will go into the recessed areas of the pieces, that's OK. The wash helps accentuate the details. After that's done, I used a fine tip micron pen to accentuate the panel lines. The detail shows up more in the finer areas. The panel lines are crisp so it's easy to add the black line. It doesn't end there, however. To add realism to any model like this, it has to look a bit dirty -like its been in a bit of action. To do this I dipped the bristles of a toothbrush in some flat black paint and streaked the parts that would normally have the burns on them, like vernier thrusters, the body, and the tip of a gatling cannon and along the barrels of the weapon. Assembly First I had to study the instructions carefully. The manner of assembly is different from most MG kits I've done. The first part I had to do was the chest/upper body which has multiple components. The top half is connected by a joint that I had to put in the middle of each part. Most MG kits I've built in the past do not have this kid of joint movement but, I guess I'll find out what it does after I put the whole kit together. Each sub-assembly has the same manner of assembly, starting with the inner frame first. The legs had some intricate machinery to them. This is another first for me with MG kits. I had to put the whole knee assembly together first: ligaments, knee caps and a cover that goes over the whole mechanism. The shin and thigh frames go over his whole unit. I had to close the parts over it. Then I had to try the whole mechanism to see if it worked properly. |
|
It's almost 10 years since the first Astray Blue Frame was released, but the engineering on this one has come a long way. What I saw was the knees were double jointed, giving the extra movement. I was impressed. I made a mistake on assembling one of the legs, though. The whole thing was not flush when in its fully extended position. So I had to take the thing apart and reassemble it after making the corrections to the knee joint. After I got that done, I put the assembled legs aside. I still had a long way to go. Assembling the feet seemed pretty straightforward. There were added features to the toes and the heels, though: a knife that comes out of the toes and a blade that extends out from the heel. It looks like an axe blade. I thought that was pretty neat. The ankle joints went together without issue: two ball joints on the top and bottom for the legs and the feet. The arms were also straight forward to assemble. No details needed to explain how it was done. At this point I had pretty much all of the skeleton completed. The lower body was designed differently. It still had that big piece in the middle but it was two pieces that the hip joints were encased in. The rest consists of the usual assembly of the back skirt, forward skirt, and side skirt armor, with a center piece that goes on the front holding the front skirt armor in place. The shoulder armor looked pretty good. The top plate sticks out on either end of the shoulder armor some distance giving it an appearance of having a more broad look to it. It had a sleek look to it too. The head had a skull. Literally. This is not a joke. I was amazed with how much detail and the number of pieces this one part had. The skull had almost an organic look to it. I can say the same for the rest of this kits body parts. I had to paint the eyes during assembly, with the recessed parts black and then the raised parts with a metallic eye green color. After that dried, I put that into one half of the skull then closing the other half of the skull over it. Okay now I had a face. That was put aside for later. Now its time to put the outer covering on to each part, starting with the legs and working my way upwards. After the cover was on all the parts I connected the feet to the ankles. I connected that to the legs, working my way up. Now I had a half-complete model. The major portions of it were done. I let that stand to the side for later. The weapons were next. I started with the Tactical Arms 2, which is quite big. According to the illustration it's a gatling gun and a gigantic sword. I had to start with the center piece which is the gatling gun. That is the main weapon. A multi-purpose grip goes and hilt, on the back. This grip is for the weapon to be used in either mode. Assembled in the next step were the blades, two of them on each side. When the blades are extended, its pretty long. They do fold when the weapon is not being used. After putting the whole weapon together, I repeatedly transformed the weapon between modes a few times to be sure it worked properly. The sword looks pretty good but in height it's literally taller than the Astray. Talk about big. I mounted the Tactical Arms on the back of the assembled model after transforming it to its flight mode. Then I put two scabbards on each leg. In addition to that big weapon on its back the Gundam had a pair of knives. This bad boy is really decked out. Decals I used a separate sheet of waterslide decals for the markings and details. To avoid any problems putting the markings on, I had to take the model apart. After the decals dried it looked a lot better, showing its identity more. Joint Movement and Features Lets see what this thing can do. I'm not going to talk about the articulation on every joint but only on certain parts. This thing does have a good amount of joint movement. How good? It can stand on one leg and do a kick. Even high-kick with the heel blade extended out like its going to axe the enemy with that blade. The blades of the Tactical Arms can come off and become a pair of energy blade weapons. The clear pink plastic that comes in the kit, representing the beam energy of the blades when they are on the arms, is for that purpose. I though it was a neat feature. The knives can be held in either hand with no problem. Or the Tactical Arms can also be mounted on its back in sword mode. I thought that was a pretty good feature. The Astray can hold its sword on its shoulder quite well. I have it posed like that on my shelf. Conclusion I have to say Bandai did a good job on this model. It can pass for a Perfect Grade model. Well almost. I had fun putting the model together. It had a lot of good features to it. I would recommend this to the more advanced modeler, due to its complexity. This won't be the last MG model I'm going to build - there's more coming. I would like to thank Art Molina and the crew at Toys n Joys for helping me acquire this model. |
![]()
This page copyright © 2010 Starship Modeler™. First posted on 12 August 2010.
![[Please click to enlarge]](dh_070210_astrayconspruepaint3.jpg)
![[Please click to enlarge]](dh_070210_astrayconfront.jpg)
![[Please click to enlarge]](dh_070210_astrayloaded.jpg)