
|
By John Lester - images & text © 2008
|
 The 'Chariot' was an all-terrain, amphibious transport used by the "Space Family Robinson" to travel around distant planets in the 1960's TV series Lost in Space. |
|
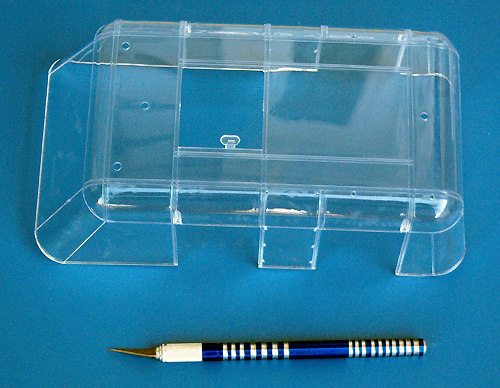
Image: Clear parts are very clear ... |
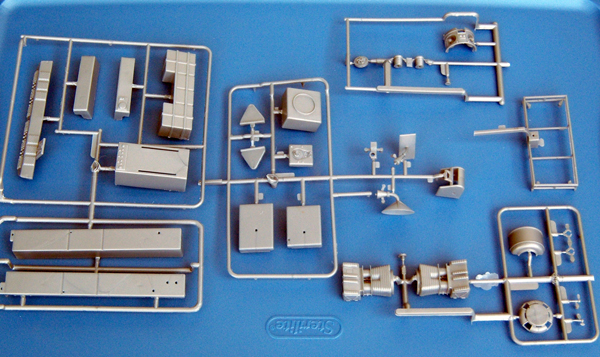
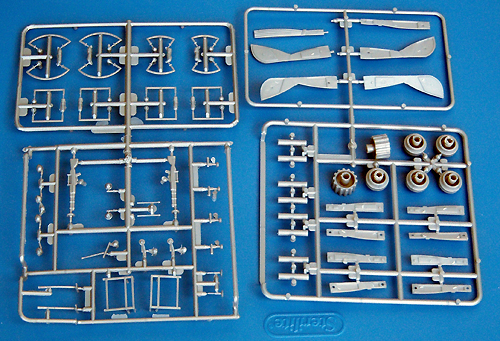
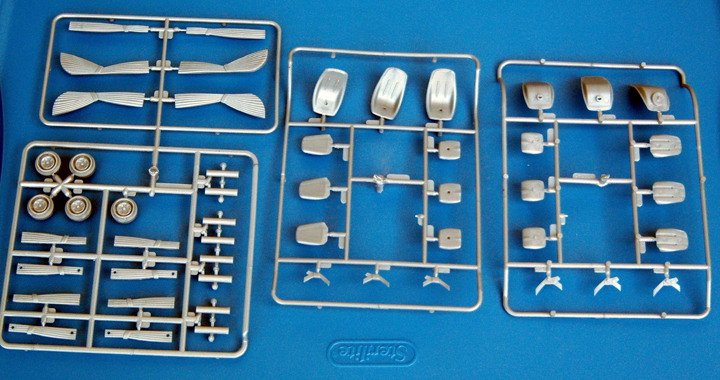
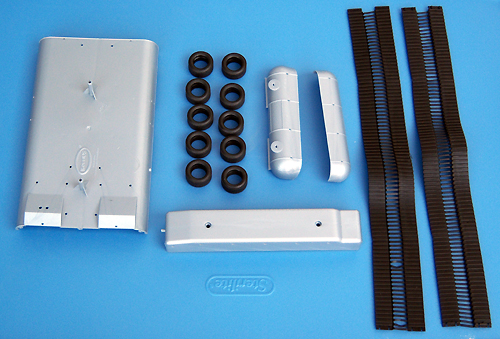
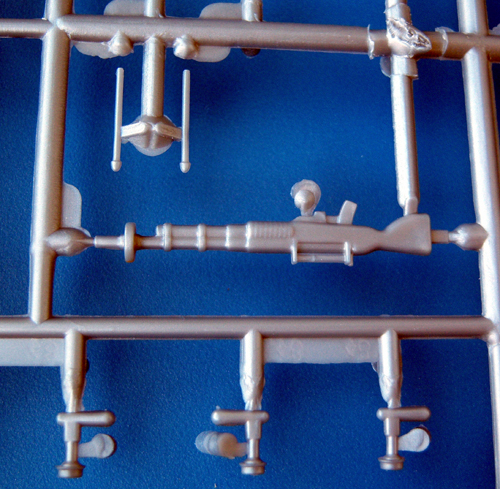
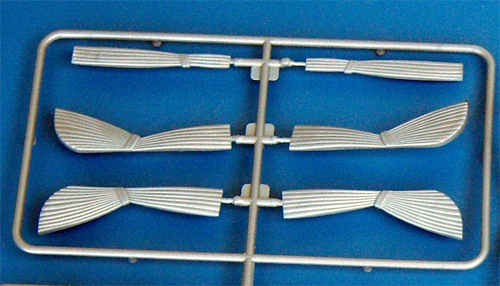
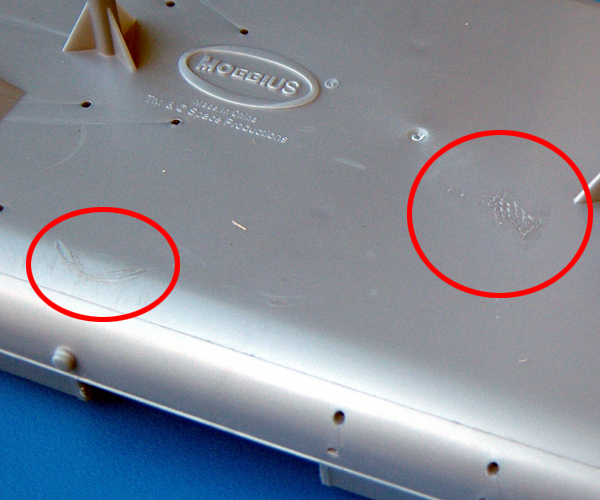
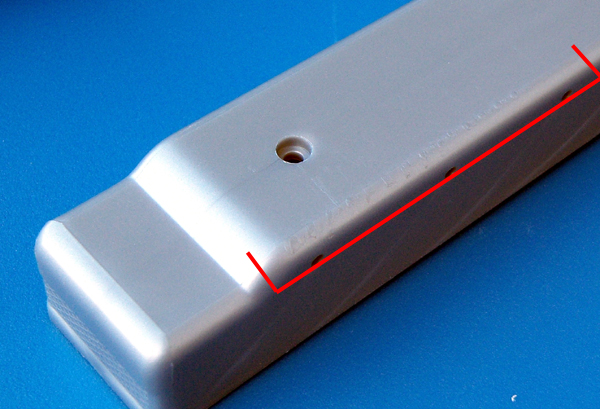
It made its first appearance with the pilot episode and was seen throughout the run of the show. The full-sized Chariot was fully functional, based on the chassis of a Thiokol Spryte 'snow cat' with a new metal and plexiglass cabin. Three models were also built in smaller scales for special effects sequences. After the series was cancelled, the full-sized machine was apparently sold back to the ski lodge from which it had been bought, where it soldiered on for years hauling logs. The Chariot has been available in various kit forms for years, most notably in the Aurora and Polar Lights ōCyclopsö plastic diorama kits (though there have been other resin and die cast versions in various scales as well). Moebius' new model is the largest plastic kit of this subject of which I am aware. What You Get Inside the box are over 175 plastic, vinyl and metal parts - all bagged to cut town on scratches and breakage -- plus a full-color instruction pamphlet and an errata sheet. There are ten sprues of silvery-grey plastic parts in 2 bags, plus another bag containing the body, chassis and end caps. Clear parts include one sprue of lights, windows and robot detail parts, plus the complete upper cabin in its own bag. Black vinyl parts, for the tracks and wheels, are included with the chassis. A small bag of metal axels and screws for the chassis rounds out the parts. There are no decals. The kit provides a full interior and a separate, 1/24 B-9 Robot. Also included are some items of personal gear, most notably a couple laser rifles. Clear parts are used for the doors, cabin roof, dome, the Robot's bubble and neck ring and the large headlight covers. Smaller lamps are solid grey plastic. he running gear is provided as styrene hubs with vinyl tires, all of which are surrounded by one-piece vinyl tracks. A note about these: I noticed that the vinyl parts had appeared to 'eat' into the surface of the styrene parts in the same bag when I first inspected them. The marks are mostly faint, except on the center of the cabin floor where a tire left a sizeable welt. This is not at all uncommon; anyone who built the old AMT F7F Tigercat model probably saw the plastic landing gear hubs dissolve after contact with those vinyl tires. I understand that Moebius is aware of the problem and replacement parts will be available to customers with kits that are damaged by the vinyl tires and tracks; just contact their customer service folks at customerservice AT moebiusmodels.com. The damage in my case is really minimal, and can be sanded away easily. I would suggest that if you take the vinyl parts out of the original packaging and store in a separate bag you can avoid any serious damage to your plastic parts before building. |
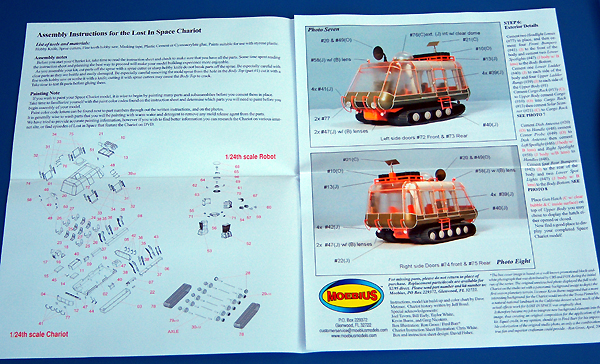
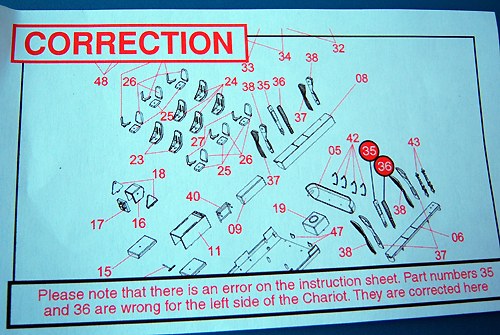
|
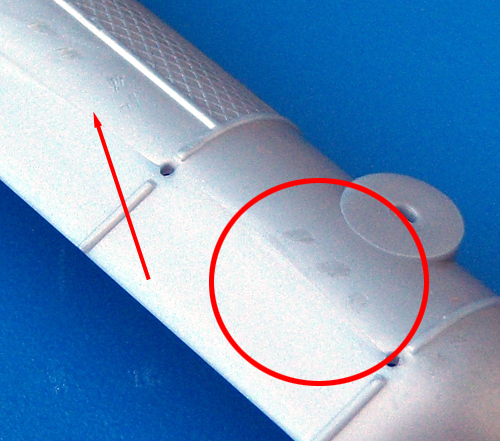
From my experience with the AMT airplanes, you can avoid the whole ōmy vinyl tires ate my plastic wheelsö issue by painting a barrier coat of Future (or similar clear acrylic) along the edges where the tires and hubs meet ģ. or ditch the tires and get resin replacements (which I'm sure the aftermarket will soon provide for the Chariot), but Future is a less expensive alternative. Back to the kit - Molding is generally good throughout, with some easily-removed flash and mold seams evident. Detail is average; the majority of the parts look good enough, but smaller parts such as the laser rifles and curtains are soft. The vinyl 'track' appears simplified, more akin to the 'hero' effects model's than to the full sized vehicle (you can see this in the width of the cleats across the outer surface and the 'teeth' - or lack thereof - along the inner surface). Instructions are similar to those that came with the Space Pod: a thorough history of the subject, an exploded diagram showing a lot of parts, followed by assembly steps as narrative text and pictures of the model at each stage (this time in color), wrapped up with a paint chart using Testors' paints. In my kit there was also a small sheet correcting the assembly diagram. It's not as clear - in my opinion - as the more standard series of diagrams other kit manufacturers have used since at least the 70's, but with patience and an elementary grasp of written English you should be able to muddle through. After all, this is a straightforward model kit, not brain surgery. Assembly & Finish Looking at the instructions and the parts, I don't foresee any major assembly problems. The instructions would have you build this from the ōground upö, as it were, and that seems like a sensible plan to me. Other thoughts, in no particular order:
A casual web search turned up a couple of references that should help:
Conclusions Despite some flaws, this looks to be a decent kit and one that can be made into an impressive showpiece with some extra effort. The completed model will be big, and the expanse of clear windows will reward any extra effort you put into the interior. Plus there are any number of accessories in 1/24 scale - it's a common car modeling scale - with which to personalize your model. Due to the sheer number of parts I wouldn't recommend this as your child's first glue kit, but it should not be overwhelming to anyone who has a couple plastic models under their belt. Recommended. Many thanks to my wallet for providing the review samples. Manufacturers and retailers, interested in getting your wares reviewed and publicized on a site averaging 3500+ readers a day? Contact us! |
![]()
This page copyright © 2008 Starship Modeler™. First posted on 19 August 2008.
![[Please click to enlarge]](chariot_wyg_0918.jpg)
![[Please click to enbiggen]](chariot_hull_0916.jpg)