
By Robert 'Eagle-1' Hobby - images & text © 2005
|
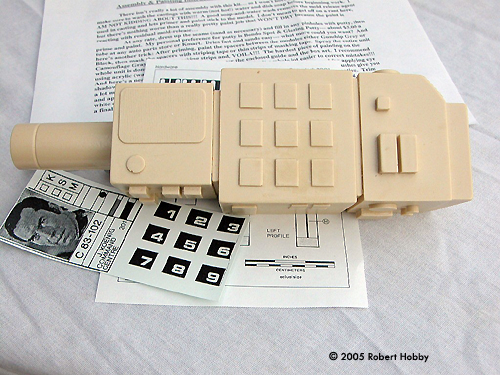
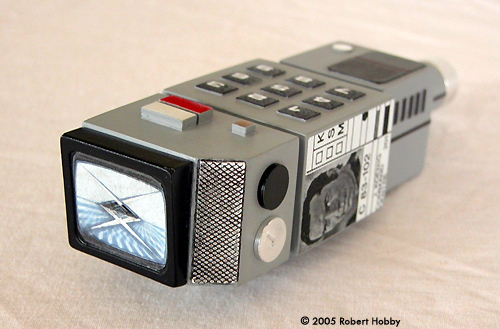
![[Click to enlarge]](rh_comlock_004a.jpg) Here's a build review of the Space:1999 Commlock offered from WILCO! models. |
|
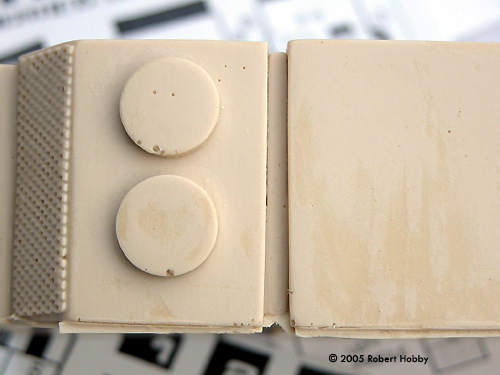
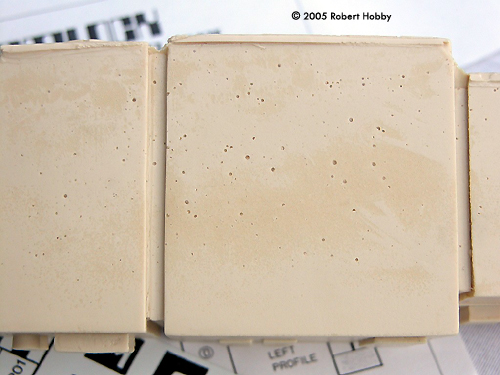
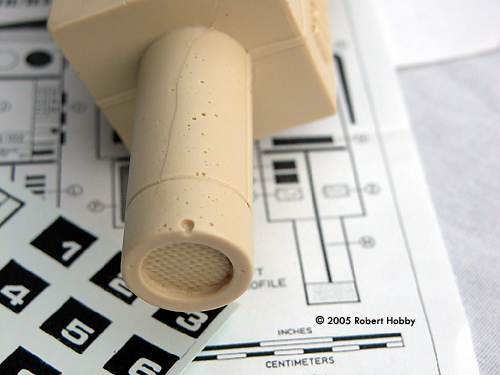
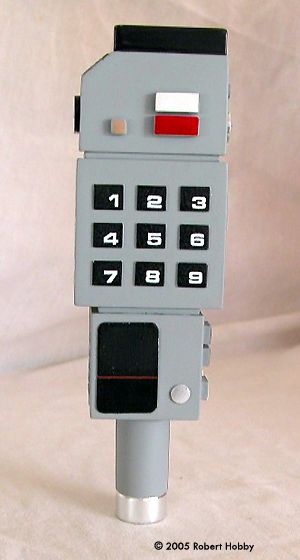
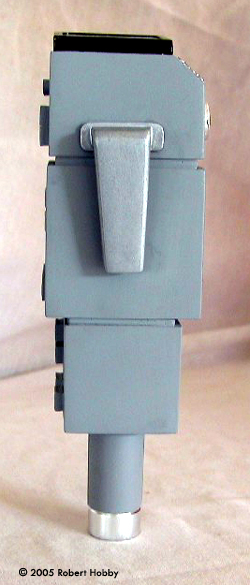
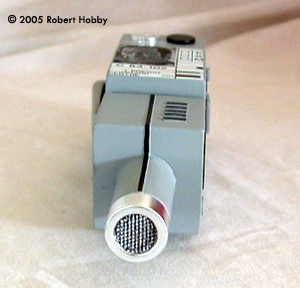
Image: Pits mar the sides ... Image: ... and the back Image: More pits Image: The screen is a bit rough as well. Image: Keypad side ('front') Image: Left Image: Clip side Image: Bottom |
This should be a relatively easy build for even the novice model builder especially if you've ever worked with resin. There are only five items included in the box from WILCO!. They consist of:
Upon inspection right out of the box, the unit is solid resin and appears pretty well casted and detailed. There are quite a few pinholes in the resin and on the review piece for this build. There were several slightly larger than pinhole size too. Ok, no bad problem. Simple enough fixes even for the novice and I'll explain how I fixed those in a bit. Assembly & Painting Following the resin preparation instructions, I washed both parts several times with warm water and dish soap and allowed the pieces to thoroughly dry. I then started the pinhole patching. They were pretty much all over kit and I simply spread a little BONDO brand glazing and spot putty over the holes and lightly sanded the excess. Several of the holes took another application of putty to fill, but were finally filled using the same technique. After I was satisfied with the finished surface of the kit, I primed the entire thing with rattle can sandable primer and allowed that to thoroughly dry also. After a bit of finish prep of the primer, I was ready to paint. To prep the primer and smooth everything down, I used a 3-M Scotchbrite scouring pad. These work VERY well as a finish sanding tool on both primer and paint. For the finish coat of paint, I used a light gray, again from a rattle can, and metallic silver for the belt clip. I deviated from the instruction suggestions here and found a few reference pictures from the web and went with a light gray that most closely matched what I saw in the pictures. For the rest of this build, I used the same reference for the general markings and detail painting to try and match an original prop as closely as I could. Once the base coat paint had dried, I attached the belt clip to the unit. Since they were both resin, I drilled and pinned the clip to the unit using a couple of cut finish nails for the pins, which really made the attachment of this resin belt clip very strong. Details The kit was now ready to paint details. I painted the details with TAMIYA paints that most closely matched what was on the reference. As a note here, the reference I found and the suggestions included in the kit are a very close to a match, so when I say I deviated, it wasn't much. |
|
Some of the more noticable items from the actual commlocks used on the show are the shiny aluminum buttons, and things seen on the actual props. I used "Ultra Bright" bare metal foil on these areas to more closely simulate these details. On the grid type piece seen near the view screen and at the bottom of the commlock inside the rounded end of the kit, I gave the entire grid a black wash of paint over the bare metal foil and then wiped over them with a cloth to rmove the paint from the tops of the grid leaving black only in the recesses, for more realism. I then applied the supplied decals which came with the kit to the appropriate areas as indicated in the instructions and the reference material. Be very careful with these decals! They are very brittle and will crack and tear VERY easily, so you have to be careful. On the kit I received, the John Koenig insignia decal was too large for the kit and had to be trimmed on both sides to get it to fit well. I actually had to trim both sides well into the decal markings. Trimming from all sides a bit at a time kept everything well proportioned and appearing decent. WILCO!, if you read this, adjust your decals and use some less brittle material. As a finishing touch, I found a graphic of the "stand by" screen as seen throughout the series, sized it appropriately and placed it in the view screen portion of the kit, again, for a little more detail. Conclusions That's it! It was a very simple build with most of the assembly consisting of painting and detailing. As you can see from the pictures, the finished kit displays very well indeed! Many thanks to WILCO! Models for providing the review samples. Manufacturers and retailers, interested in getting your wares reviewed and publicized on a site averaging 3500+ readers a day? Contact us! |
![]()
This page copyright © 2005 Starship Modeler™. First posted on 11 March 2005.
![[Click to enlarge]](rh_comlock_928a.jpg)
![[Click to enlarge]](rh_comlock_007a.jpg)