
|
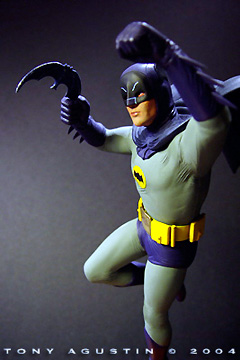
By Tony Agustin - images & text © 2004 I went to my very first Wonderfest in 2002 and was immediately floored by the availability of all the kits and aftermarket add-ons that was to be found in the dealer room. It's a true Sci Fi/Fantasy modeler's paradise. During one of many trips to the huge dealer room I managed to come across a Dice Creations Adam West replacement head made specifically to replace the head of the recently re-issued Revell Batman kit. I thought it was a decent likeness to Adam West so I bought a copy. Figuring out What to Do I started out by discarding the absolutely awful original kit head and dryfitting the new Dice Creations head to the body. The fit of the part was perfect. The head was sculpted beautifully with realistic wrinkles in the seams of the cowl, but the styrene kit body was sorely deficient in the wrinkle department. The wrinkle problem to the body would need to be solved by using epoxy putty, and the figure needed to be re-posed in the arm areas. A new Batarang and Utility belt needed to be made, plus I also needed to make a new base. |
 |
|
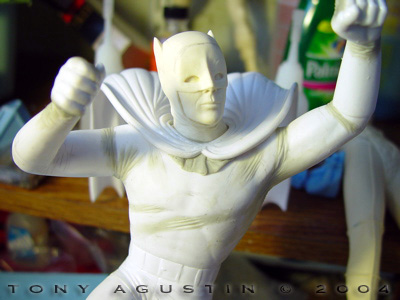
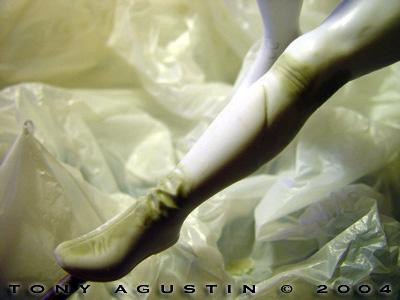
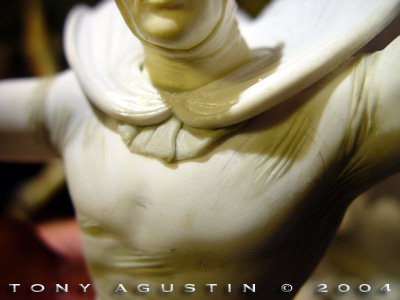
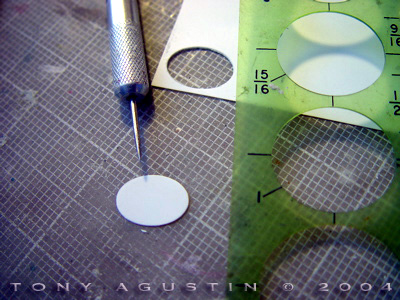
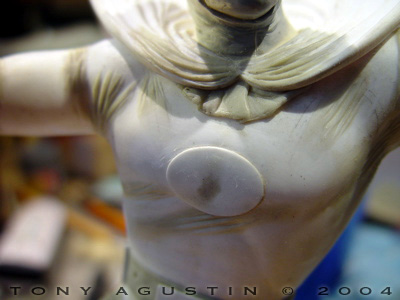
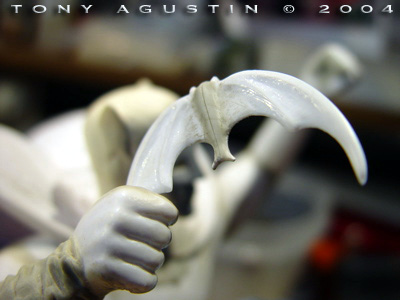
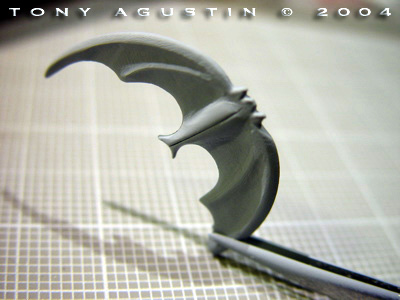
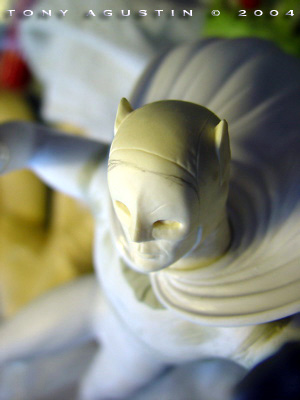
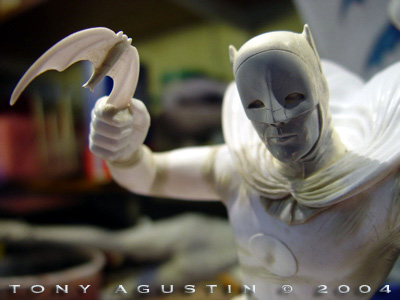
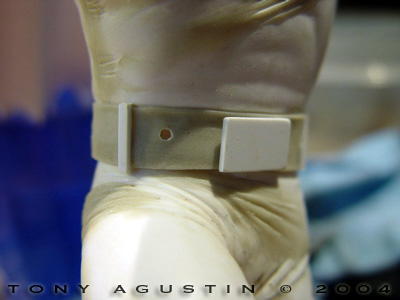
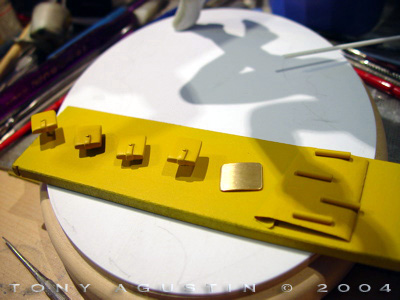
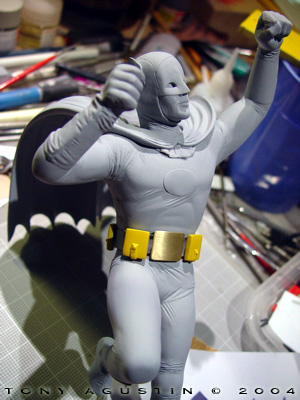
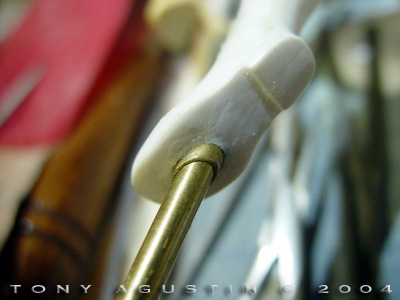
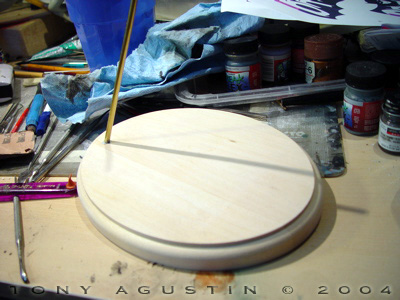
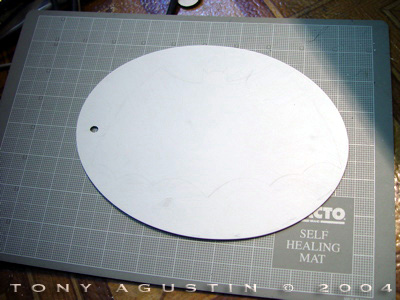
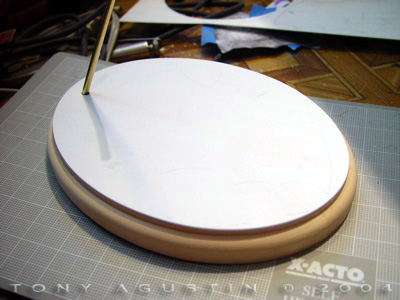
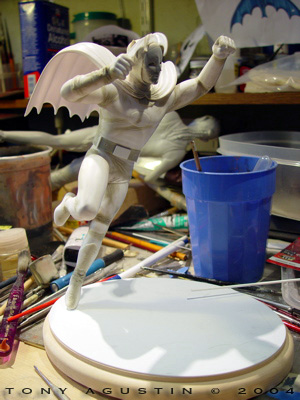
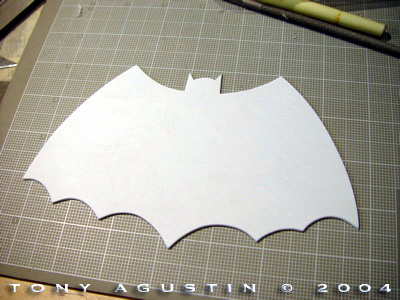
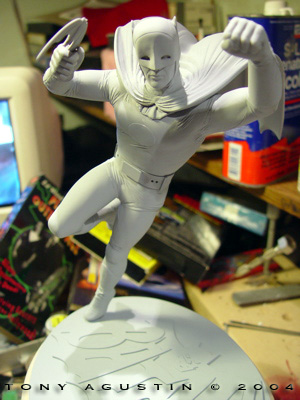
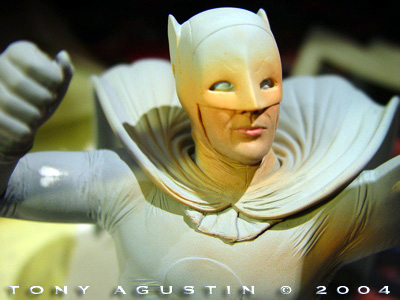
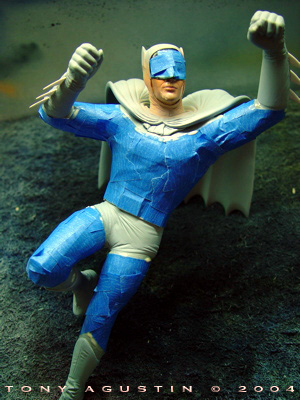
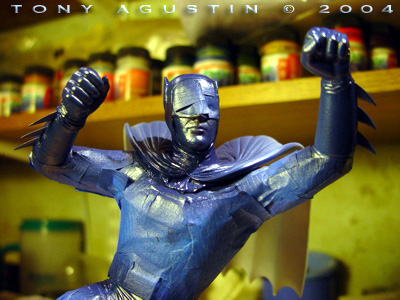
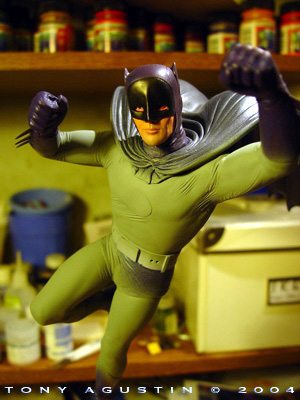
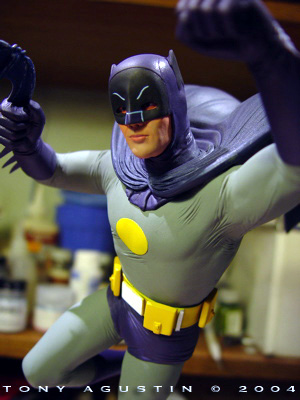
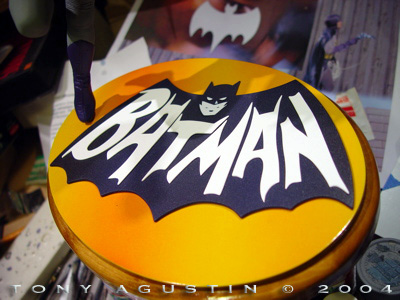
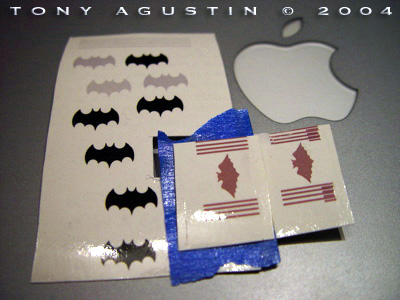
Image: I mainly use MagicSculpt epoxy putty for all my emergency sculpting needs. Image: The head and cape is attached and the wrinkles are added one by one to the newly reposed figure. Image: Heavy wrinkles are applied to areas where major bending occurs like the fronts of the boots. Image: The lower half of the cowl is made of a crescent shaped piece of epoxy putty folded under the cape. Image: An oval of styrene is cut out for the chest logo using an oval template as a guide. Image: The chest logo is glued in place. Image: The fins along the gloved forearms are cut from styrene. Image: The fins are attached to the forearms and are very sharp. Image: A new Batarang is made from the kit supplied one. Image: The new Batarang is primed in Floquil primer. Image: The cowl is corrected by lowering the seam on the forehead..... Image: .....and lowering the nose area. Image: The old belt is covered over with a new Epoxy putty one. Styrene bits are added on as attachment points for the buckles and pouches. Image: All the parts needed for the Bat Utility belt. Image: The Bat Utility Belt is temporarily installed on the primed figure. Image: The mounting point made of brass tubes. Image: The base is a simple oval wood plaque. Image: An oval is cut from styrene to be epoxied onto the wooden base. Image: The styrene piece is tested for a snug fit. Image: The figure is also attached temporarily to check for fit. Image: A Bat logo is cut from thick styrene sheet. Image: Letters are cut out with an exacto knife. Image: The logo pieces are finally cut out. Image: The base is stained and given several coats of polyurethane. Image: The figure is placed in the spray booth for priming. Image: The figure and Bat Logo are primed. Image: Eyes are painted first and masked with liquid latex. Flesh colors are then airbrushed on. Lips are brush painted. Image: The figure is masked for painting the dark metallic purple costume colors. Image: The dark purple colors are airbrushed on. Image: I’m unhappy with the gray tights color so I repaint it ruining the purple paint job masking. Image: I’m finally happy with the colors and the detail painting is started. Image: The Bat Logo and background is painted and dryfitted onto the base. Image: Painting is done. Decals to come. Image: I used SuperCal to make my first decals. Image: I was surprised to find the decals I made worked just fine. Image: A custom decal is attached to the buckle. |
Re-Posing The Kit The original kit had Batman hanging onto a tree branch with his right hand and wielding a Batarang with his left. I decided to ditch the original kit base with the tree and have Batman in a pre-landing pose wielding the Batarang with his right hand, ready to bludgeon evildoers. This meant performing a slight reposing of the arms to look a little more naturalistic. To do that, the arms and wrists would be cut at the joints with a razor saw and cemented back into place into more naturalistic positions. I also added an oval piece for the chest out of thin styrene sheet for the Bat Logo. Wrinkling The Costume and other Details To fix the wrinkle discrepancy of the kit body to the new head, I had to do some ‘wrinkle’ research. I looked through all my old magazines which had a lot of TV Batman references, and studied the wrinkle effects on the outfit. With Magic-Sculpt epoxy putty I slowly sculpted the wrinkles in the appropriate areas especially near bended joints. I also added costume seams down the arms and torso of the figure. The bottom cowl piece under the front of the cape below the chin was also made from a crescent piece of epoxy putty with wrinkles added. The fins on the Bat Gloves were cut from styrene sheet and shaped with a file and sandpaper. Even though they were just plastic, they were sharp like knife points. I cut myself several times. The Batarang I found some decent references of Batmans batarang on the internet and transformed the kit supplied batarang by grinding away at it with a Dremel and building up areas with epoxy putty. Correcting the Replacement Head After a while I started to have a problem with the Adam West likeness of the replacement head. I thought the nose was too high, as was the cowl seam at the forehead. To fix it I filled in the cowl seam and re-scribed it slightly lower. I then lowered the nose by re-sculpting the nostrils with epoxy putty. I also had to lower the nose piece of the cowl in a similar fashion. Re-creating Batmans Utility Belt To start making the belt, I rolled flat, a piece of epoxy putty and cut it into a long band to wrap around Batman's waist. The boxy utility pouches were also made with epoxy putty and shaped into flat squares. Once cured, I sanded them to shape. The straps and snaps on each pouch were cut from epoxy putty and chopped styrene rod. Styrene tubes were used to recreate the tube detail between the square utility pouches. The buckle was the hardest thing to make because I had no idea how to go about doing it. At first I was going make it from epoxy putty or styrene, but the problem would be the final paint finish. I have never seen a convincing metal paint finish ‘ever’ that looked like metal, and I knew I would have to make the buckle out of brass. I found a scrap piece of flat brass from a variety-pack of brass shapes from K&S and used a Dremel with a metal cutting wheel to cut out the buckle's shape. I sanded the buckle's rough edges and rounded off the corners but I had another problem with the buckles shape. The buckle had to be curved to form fit Batmans waist. I took the buckle and layed it onto the thick carpet in my hallway. I placed a thick wooden broom handle over the part vertically and took a hammer and whacked at it hoping the brass would bend to a nice curve. It still didn’t bend after several tries and I ended up with a ruined broom handle. I got pissed and whacked at it with the hammer directly. Sure enough I finally got it to bend. I sanded the blemishes off with rough sandpaper and further smoothed out the frontal curve. For the final finish I wet sanded the piece with medium grit sandpaper. To my utter surprise it looked just like the real thing. Building the BaseI found a nice oval wooden base at a craft store. I then stained it and sealed it with polyurethane in several coats. I found a Batman Logo reference on the internet and cut it out of styrene sheet. The most time consuming part was to individually cut out the letters and face for the logo. To mount the figure I epoxied a large diameter brass tube up Batmans leg that would connect to another tube that was epoxied into the base. Painting I primed the kit with Floquil gray primer and airbrushed the colors with Badger Freakflex acrylic paints which I also bought at the Badger Wonderfest table. Decals The kit supplied decal was useless for my project so I had to make my own Bat Logos. This was going to be my first project where I had to make my own decals. I found a decal kit called SuperCal which had several decal sheets and a can of clear lacquer spray. The Supercal was made specifically for inkjet printers with water soluble inks. Fortunately I had just purchased an Epson C80 which used water resistant inks. I used Adobe Illustrator and Photoshop on my computer to recreate the Bat Logos tracing over zoomed in picture references of the actual Bat Logos. |
|
The chest Bat logo was simple to make by drawing one side and flipping the image over for the other side, but the buckle logo was a bit more complicated because the Bat figure was a bit more detailed stylistically and also needed thin bands that framed the Bat Buckle Logo. I printed out the chest logo in solid black and the buckle logo in a brownish color to be slightly darker then the brass color. The decals were sprayed with the clear lacquer and dried overnight. Future acryliv floor polish was used to prepare the surface where the Batlogos will go. Several coats were used to get a nice glossy surface so the decals would adhere perfectly. Conclusions With a little tweaking of the the replacement head and a few modification to the Revell kit, I think I ended up with a pretty good 1960's Batman replica. This 'Adam West is the Batman' project won Silver at the following Wonderfest in 2003. 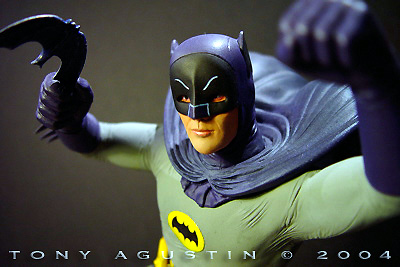 |
![]()
This page copyright © 2004 Starship Modeler™. First posted on 10 November 2004.
