
|
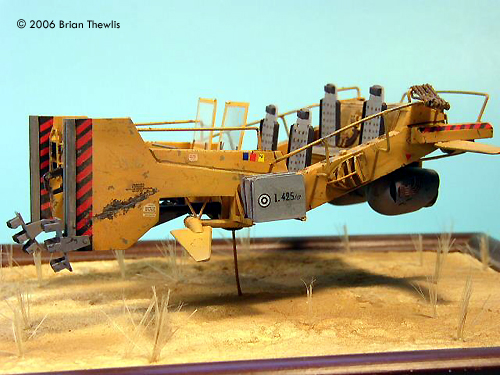
By Brian Thewlis - images & text © 2006 The movie Serenity is a follow up to the fantastic, but short-lived Sci Fi series, Firefly. The spaceship 'Serenity' had a utilility vehicle named The Mule. In the original series it was a 4 wheel ATV, but in the movie it is the totally "wow" piece of ant-gravity hardware. |
![[Click to enlarge]](bt_mule_cmpl_front.jpg) |
|
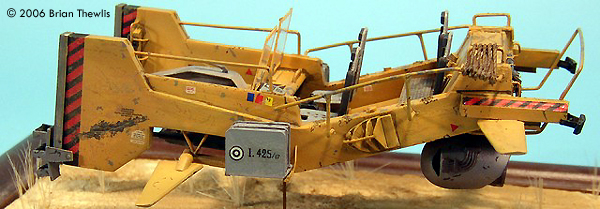
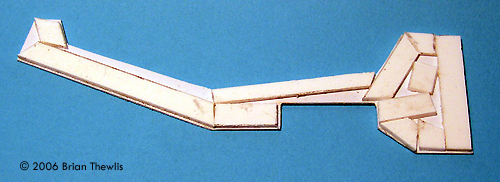
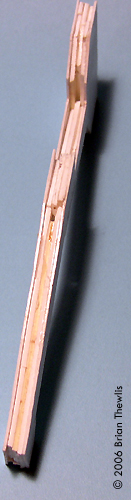
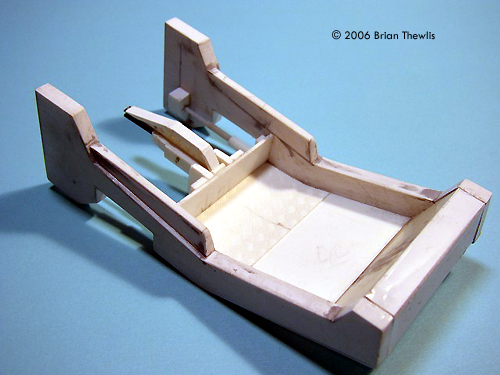
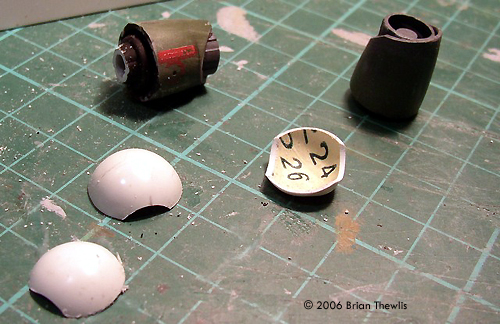
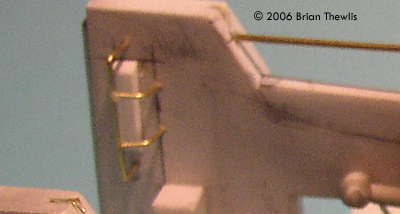
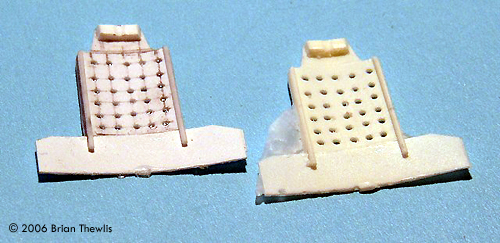
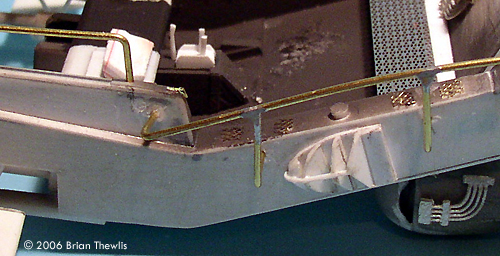
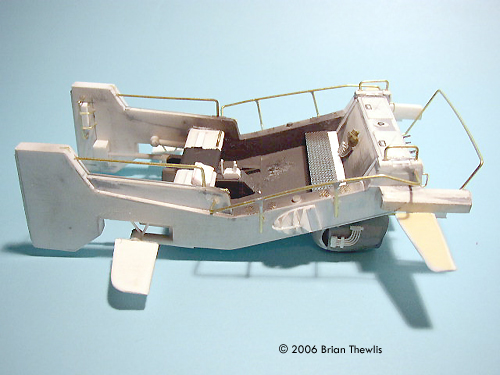
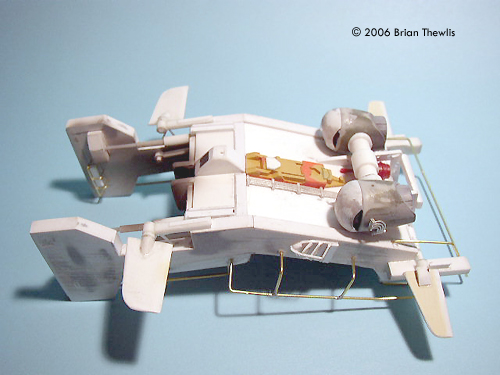
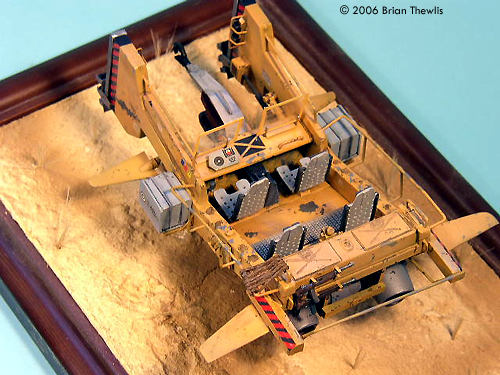
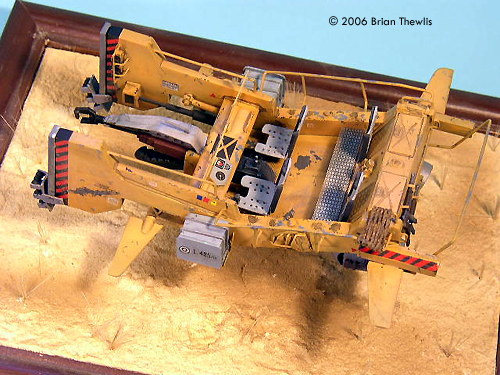
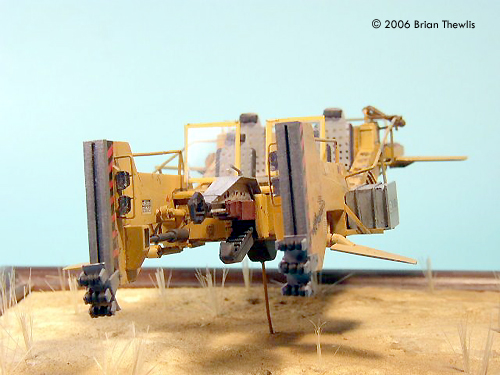
Image: Completed 'beam' Image: Basic body, front view Image: Rear view, completed shell Image: Engine basics Image: Light guards formed from brass Image: Seat master and resin copy. The bottom tab aids casting. Image: Soldered rails Image: Side view, before painting Image: Underneath, before painting Image: Completed model, top view Image: Above and left Image: Left side Image: Front/left |
Building This model is a totally scratchbuilt piece, with some kit parts, as there are no known kits of the machine. Firstly I had to find out how big it was. The general description on web sources has the vehicle at approximately 14 feet, which when scaled down to the desired 1/35 scale comes to approximately 12.5cm in length and about 5cm wide. From there I found a lightwave side view on the web somewhere, which I then tinkered with to come to approximately the correct size as far as I was concerned for this project. This then became the plan to work from, using this to work angles and as a template for cutting out the shape of the craft, firstly as a template and then to the working card examples. The basic structure is plastic card, which eas then packed out to the beam (for want of a better word) width of the main structurals. The basics of the floor were then added along with the tops of the beams. This was done fairly roughly as final trimming and sanding removed any overhang. The rest of the main body was put together while looking at the basic structure from screen captures, again using card. I also started on things such as the docking arm and associated structures, added in the thinner structurals to the top of the arms and looked toward doing the guard rails. The safety rails were created using bent and soldered brass rod, after the soldering the joints were filed, sanded and shaped to suit. Soldering of brass is not that tricky, practice required, but the basics are easy to master and by soldering you get a really, really strong joint. I can't see myself going back to superglue as a joiner for brass. I also added various bits of PE left over from AFV kits that appeared to suit. The side venty things were fashioned from card, along with the rear seat and the beginnings of the controls. Here the diversions started for the bits to flesh out this beastie.. all the hard stuff. Firstly the seats. From some card I mastered up what I thought the seats looked like and drilled the quadsquillion holes (ok there were only 30) and thought… now way I am doing THAT 4 times! So I gave it to my buddy Troy Fosbender, the Resin Genius, to make a few. To make the holes manageable, he put in a light smear of PVA to fill the hole which is wafer thin (One tiny little wafer, M'sieur). This is then very easy to remove from the copies. As far as the bases of the seats go, luckily there were only 2 needed for the front 2 seats so I copped doing them on the chin. I then proceeded to the Engines. These were constructed from a pair of 1/48 scale helicopter drop tanks sectioned off to what looked right. Some internal greeblies were added, plus the vac-formed dome to the front and then filed to shape after a liberal application of filler. Cheers to the 1/72 Russian SB-2 turret that was used as the master. Finally I got to the last stage of construction: putting it all together. The last of the rails were added, some more greeblies and bits of train detail sets were put on, the engines, wings and boxes test fitted. The front wheeled bumpers are card with the wheels being crafted from beads, like you can buy at a craft shop, darn handy little doovers. I added the side racks for the boxes, etch tool mounts for the M1 Carbines on the rear. Painting & Finishing At this stage I did the initial painting. First undercoating, then adding some masking fluid for chips then a base coat in a striking yellow colour of no distinct FS number, masking off and doing the red/black safety markings. These were then, in turn, masked off and the final painting done using post shading, washes and like. Also at this stage the large clear windscreens were cut out, masked and sprayed the yellow. Some etch frame used as the mounts and added to the model, perhaps the final additions being the boxes, the carbines and the rope around the rear handle. And with that, the model was finished. Shiny, lets be bad guys! |
![]()
This page copyright © 2006 Starship Modeler™. First posted on 12 October 2006.
![[Please click to enlarge]](bt_mule_cmpl_top.jpg)
![[Please click to enlarge]](bt_mule_basic.jpg)
![[Please click to enlarge]](bt_mule_top.jpg)
![[Please click to enlarge]](bt_mule_painting.jpg)
![[Please click to enlarge]](bt_mule_comp_4.jpg)