
By Jack Wendt - images & text © 2003
|
![[Box art]](jw_trontankreviewnbox.jpg) The year is 1982. The place…. is inside your computer. |
|
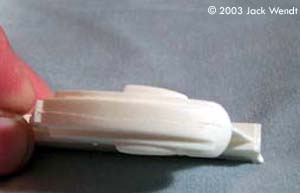
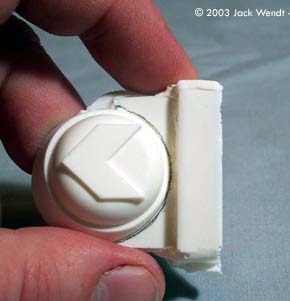
Image: Lightcycle, top view Image: Driver's cupola Image: Instructions are comprehensive and clear |
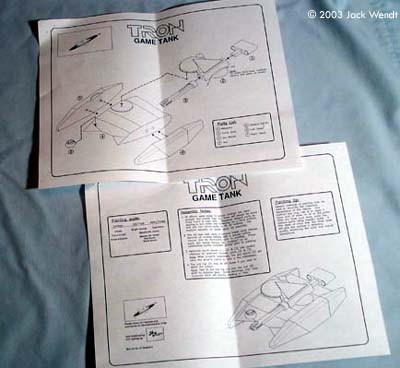
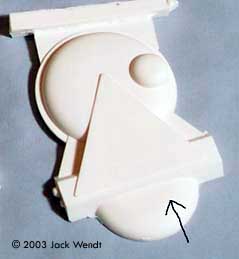
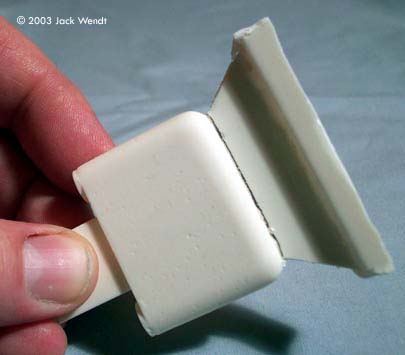
The movie Tron first came out in 1982. It was as unique then as it is today. Tron set some milestones in CGI and cell animation. It is a story of a hacker who is literally transported inside a computer environment and must fight to get back to the "real" world. This is the first kit of the tank as seen in the movie. The original sculpture is by Planet V. The hull was molded and cast by Blap models. The box art is by JTGraphics. What You Get You get the parts to make 1 tank. The tank consists of 7 white resin pieces. With one modification, as shown in the interactions, this tank can be converted to the character's CLU tank. There are also 3 light cycles in the same scale. Each cycle is one piece. A black and white 2 page assembly guide is provided. It also contains detailed information on painting and working with resin kits. Any problems with this here kit? This is one of the best cast kits I have seen. In the kit I received there are a few very small pin holes that would have to be filled. A couple of coats of primer will do the trick - just be sure to sand between coats. There is clean up along the mold line on most of the parts. As seen in the pictures, the pencil line is where to cut and sand. The only major flaw in my kit was a divot on the sponson. This looks to be the result of shipping the model rather than casting. The damage is at the bottom of the tank. The hull is heavy, and though the model was well packed, damage can still occur with the beating the US Mail gives to parcels. Fortunately, the damage can be easily fixed once the tank treads are attached. A little filler will fix the problem quickly. The only tools needed for clean up and assembly are an x-acto knife, razor saw, sanding sticks, sand paper and paint. Assembly Building the beast appears straight forward. Alignment stubs are found to properly attach the tank treads to the hull in the correct orientation. The barrel of the gun attaches to the turret via alignment stubs and a wedge is the guide for the "magazine part number 1" that attaches to the turret. Painting Painting can be done to match the color box art, although the instructions provide details on finishing other character's vehicles. Subassemblies such as the tank treads would best be painted before assembly. The only masking required is for the 3 tone "drivers cupola, part # 5." Conclusions I can highly recommend this kit to anyone that has an interest in TRON. This is an excellent kit for the beginner or pro. Many thanks to Jack's wallet for providing the review sample. Manufacturers and retailers, interested in getting your wares reviewed and publicized on a site averaging 3500+ readers a day? Contact us! |
![]()
This page copyright © 2003 Starship Modeler™. Last updated on 8 May 2003.
![[Click to enlarge]](jw_trontankreview.jpg)
![[Click to enlarge]](jw_trontankreview11.jpg)
![[Click to enlarge]](jw_trontankreview2.jpg)
![[Click to enlarge]](jw_trontankreview8.jpg)