
By Larry Strickland - images & text © 2000
|
|
|
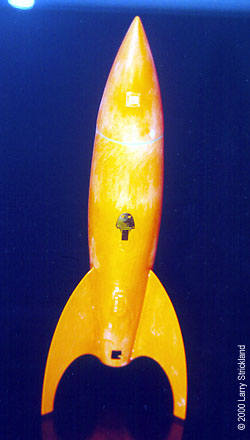
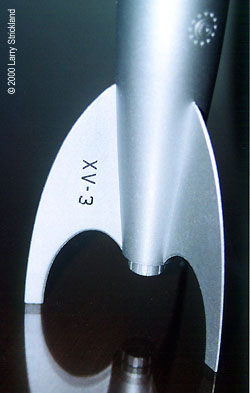
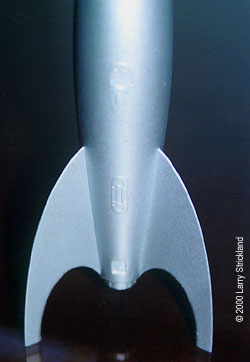
Image: Other side, before painting Image: Lettering on the fin Image: PE details add depth |
The kit First of all, the kit is not a static model. It is actually an Estes© rocket; a type you can buy engines for and launch into the sky. I originally won this rocket as a door prize at the 1999 IMMA National Model and Hobby Show in Chicago. Since I have no interest in launching rockets, I thought it might be interesting to use my imagination to turn it into a static model. The kit in itself only has 2 basic parts: a nose cone and the main body. As far as the parts themselves were concerned, the castings were very nicely done with few flaws or mold seam lines. Assembly After washing all parts in a mixture of Simple Green© cleaner and warm water, I attached the nose cone to the body using Crazy Glue©/CA. After the parts had dried, most of the time on this kit was spent sanding away all visible lines to achieve a smooth finish. Then I added approximately eight fine detail pieces, using a few left over photoetched pieces from various aircraft kits to add detail to the surface of the rocket. These can be seen to resemble hatch covers, compartment doors, etc. After everything was given two hours to dry, I was ready for primer and paint. Painting First of all, I started off with two light coats of primer, using Krylon™ sandable primer gray. After this had dried for approximately two hours, I then applied 4 light coats of Krylon metallic silver. These were applied in about 15 minute increments. Once the Krylon paint had dried overnight, the entire model was fine sanded with 600, 1000, then 1200 grades of sandpaper. Once this was completed, I rewashed the entire model with a mixture of Simple Green and warm water again. After this was allowed to air dry for approximately 2 hours, I applied 2 lights mistings of Future™ floor polish as a sealant , and to provide a smooth surface for any decals that I would apply later on. The floor polish was applied using a 150 badger air brush. (I use Future floor wax on all my models as a base coat for the application of decals. It can be used straight out of the bottle, and is very inexpensive.) The only detail painting done to this model was to paint the nose cone window a semi-gloss black. This was done using drafting tape to mask off the outline of the window. I then used a water based acrylic paint and the air brush to fill in the window. |
|
Decals From reference pictures, I noted that 1950's rocket ships had very little marking or detailing. Because of this, the only decals that were added were the letters XV3 (experimental vehicle #3) on one of the fins. These letters were found in my spare decal box, and cut out individually. Final thought This was a great weekend project. I enjoyed it because it was simple, and it gave me a chance to practice my painting and masking techniques. It was also fun since I didn't have many reference photos of a 1950's sci-fi rocket ship, to use my imagination on the final style and detail of the ship. |
![]()
This page copyright © 2000 Starship Modeler™. Last updated on 13 October 2000.
![[Side view - click to enlarge]](ls_rocket_4.jpg)
![[Stripped and ready for paint]](ls_rocket_1.jpg)
![[Cockpit window - click to enlarge]](ls_rocket_3.jpg)