
|
By Mark Yungblut - images & text © 2007 Oil colors for figures give the best finishes and most realistic color transitions (IMHO). Many people feel intimidated working with oils because of the nature of the paint. I have developed a technique over the years that makes using oils a lot easier. I will not cover painting flesh tones in this article as that in and of itself is a subject that needs to be covered separately. Preparation The technique involves mixing media. The figure is first painted using enamels and/or acrylics. The key at this stage is to make sure that the color you are applying is the mid range tone for the finished color. If you are using an enamel-based paint, you will want to make sure it is thoroughly cured (48hrs) before you apply any oil based paints. I usually undercoat my figures with a white primer, and also make a chip card with all of the base colors applied to it to aid in mixing the oils. |
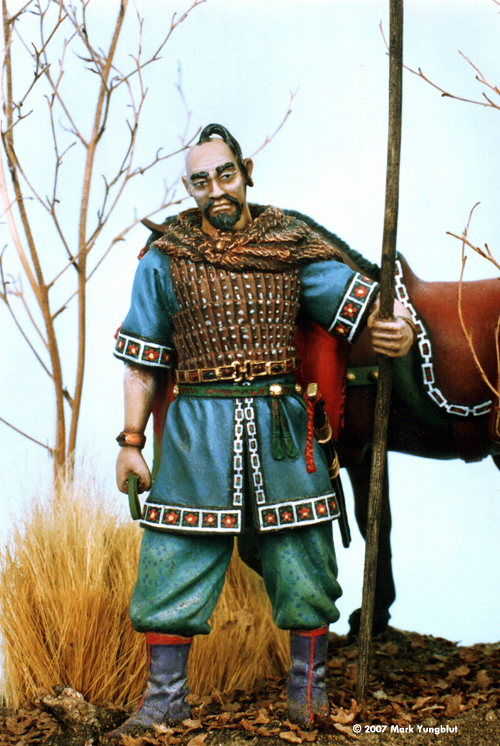
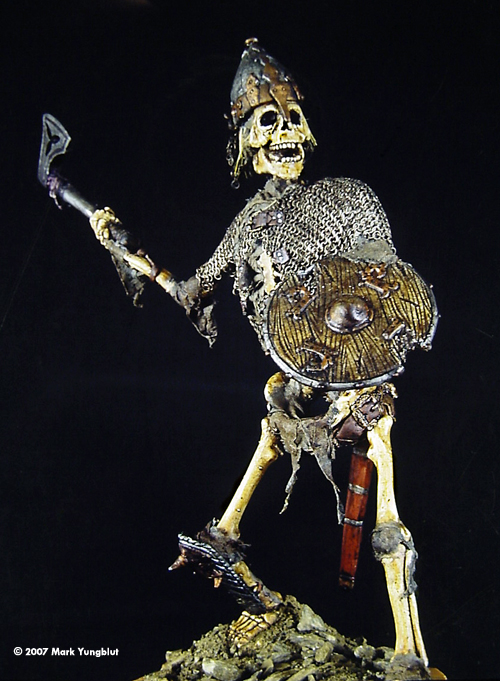
![[Please click to enlarge]](my_oils_Photo_1.jpg) ^ This Carolingian Scola 150mm figure was painted with enamels and Oils. |
|
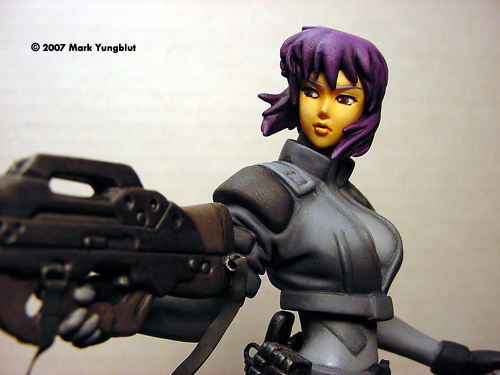
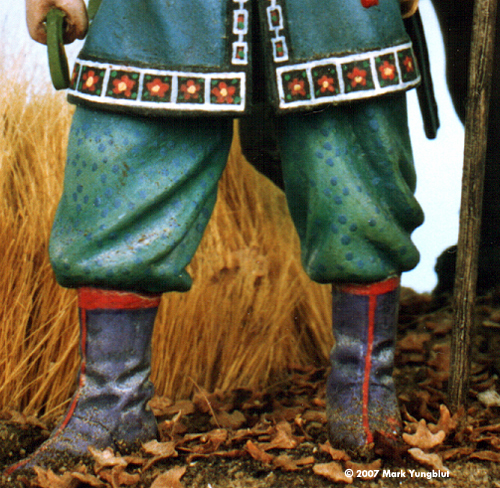
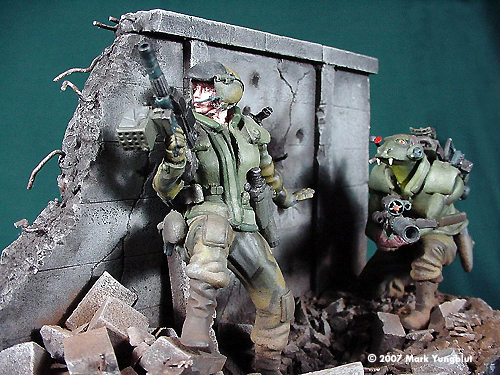
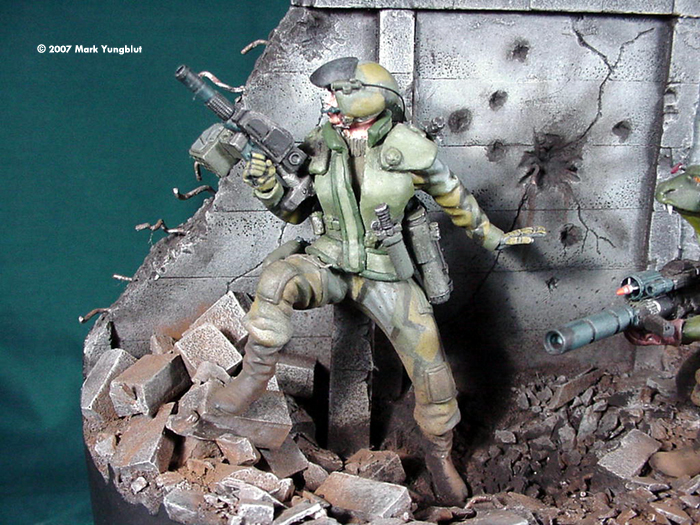
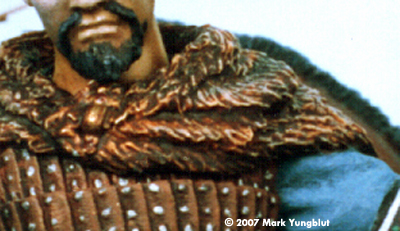
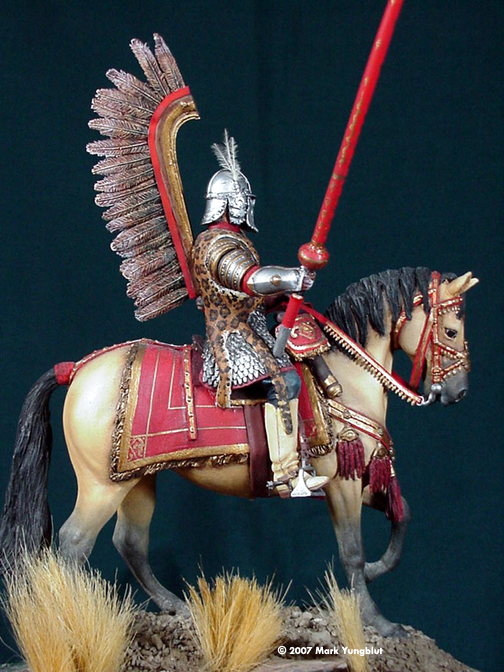
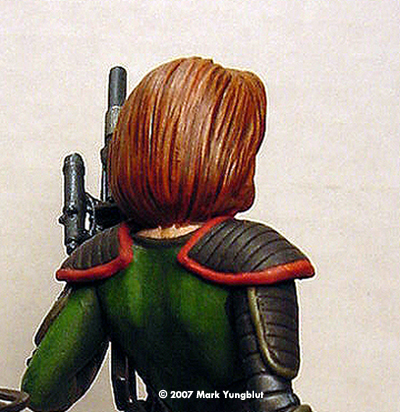
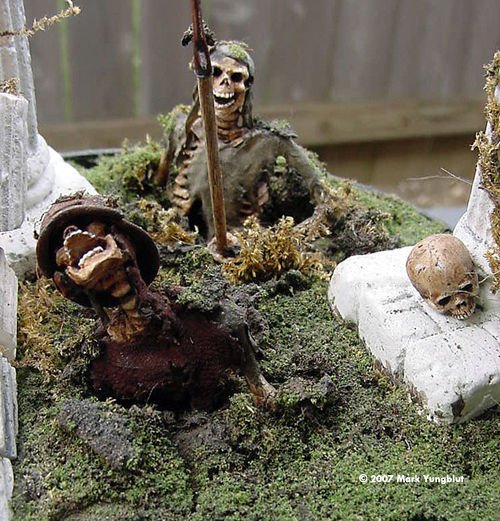
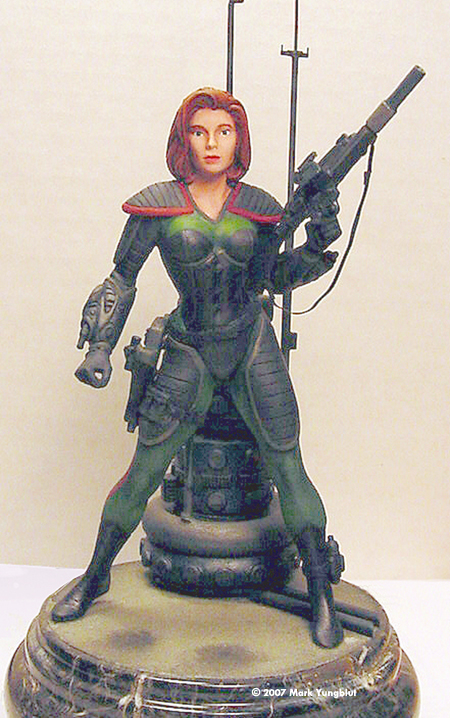
Image: This bust of Boba Fett was painted with oils over enamels. Image: Here you can see the results of blending the highlights, mid-range and shade areas together. Image: Here we see a pattern that has been shaded with the transparent oils. Image: In this picture you can see how a camo effect can be shaded using the Photo Oils. Image: A closer look Image: The fur in this shot was done with the staining technique then the highlights were "picked out" with the Kneadable Eraser. Image: Both the feathers and the main and tail of the horse were done with the staining technique in order to bring out the sculpted detail. Image: With this figure you can see how the staining effect works quite nicely to make the hair look realistic. Image: In this and the following you can see how the staining is done quite a bit less than was with the fur and hair the idea is to “tint” the white to a bone color. Additionally, a heavier wash was used in the recessed areas and in the joints. Don't forget to go back after it is dry and hit the teeth in a skull with white paint as teeth generally don't darken as quickly. Image: More bones Image: Another combination of techniques Image: Even the most garish color schemes can benefit from oil painting Image: Drawing the ground color up into the lower portion of the figures help tie them in with the base. |
The next step is to mix up your oil colors to match the mid-range base coat that you applied to the figure. I generally mix my oil colors on a piece of cardboard. This serves two purposes. One is that it is easy to clean up after, and the other is that the cardboard will help pull some of the oil out of the pigment. This is a significant step to getting the oils to a stage where they are easier to use. It is particularly important that this be done with some of the colors like crimson, which have a tendency to be “runny” and translucent. I always mix more of the “base” color oils and store it in sealable glass jars. That way, I'll have plenty of color for mixing various shades needed for the finish. Now take a small amount of the oil that matches the base color, and paint on a thin layer over the entire area that needs finishing. This will lay down a semi-translucent layer of the base coat to which the shade colors and highlight colors will be blended. It will also prevent the oil from building up too thick, which is a common problem for beginners. Typically, I paint this layer using small (1/8” wide) flat or chisel brushes. Allow the layer to sit for 20 min, before any highlight and shade colors are applied. Tip: While painting, I use a square of white bathroom tile (3" x 3") as a pallet. This can be placed in an airtight container between painting sessions and will keep the colors going longer. Shading & Highlighting Shade colors are the next to be applied. I mix a moderate amount of the shade color so that some can be stored for later touchup. I usually mix two tones of shade color one dark and one very dark. The shade colors are applied to the appropriate areas in small amounts. Remember that it is always easier to build up an area than it is to go back and lighten it up. The technique I use here is very similar to dry brushing. For this I generally use a small round brush sometimes even as small as a 20/0 brush. I load the brush with color, and then remove a great deal of it on a spare paint rag. I then take the brush and apply a stripe of the shade color in the middle of the shaded area, where the tone should be the deepest. This is done to all of the areas that need that shade color, before any blending takes place. Once that is done, I wipe the brush off (do not clean the brush with turpentine, as it will be too wet and will not blend the colors properly) and carefully begin blending the shade color in with the surrounding base color. Be sure to leave a good amount of the mid-tone showing after the shade area is blended. Also, if an area is deeply recessed, then after the initial shadow color is blended I take the darkest shade I mixed and add that to the recessed area and then blend it into the previously blended colors. The next step is to tackle the highlight areas. This is done in two stages. The first stage is to mix up a highlight color that is one or two shades darker that the brightest highlight you want on that area of the figure. This is applied to the highlight areas in a traditional “dry brush” method. Using this technique will automatically blend the highlight into the base color. The key here is to be careful not to let the highlight area blend directly with the shaded area. There needs to be a transition between the highlight, the mid-tone and the shaded area. After the entire area is highlighted, allow the oils to sit for 20-30 minutes. The final step is to mix a highlight shade that is the brightest highlight you want to achieve for that colored area. This is applied in very thin ribbons (unless the area is very large) to the “peaks” in the highlight area. It is then blended into the first highlight area. Tip: Cconsider a light source direction when applying shading and highlights, in order to make highlights/shadows as the natural light would fall on the subject. A good way to reference this is to take a picture of your sculpt while it is in white primer with a light source directed like you want to emmulate. You can later reference this when applying colors. Once these steps are completed, you should allow a proper amount of time for the colors to start drying. Typically, it will set overnight, as you have not applied a really thick layer of paint. You can then move on to another area. Patterns & Textures There are a couple of additional techniques that can be used for areas that have a painted texture (i.e. fabric patterns, wood grain and texture like “dappling” on a horse). The base color is painted as stated above. Once that is set, you start applying the texture. This can be done in one or two shades (highlight and mid-range). The texture should be allowed to dry, and then the shading can begin. For instances where a texture needs to be shaded, I use a different oil color. These oils are used for tinting black and white photographs. These oils are similar to water colors in that they are designed to be translucent (The brand I use is Marshall's Photo Oils). I use these colors to mix a shading tone and carefully use it to tint the shaded areas including the texture. This significantly aids in making the textures blend with their surroundings. This is also a good way to shade a camo or fabric pattern. Fur, Hair & Bones The last technique is for fur, hair and bones. I always start with a base coat of white (preferably the white undercoat). I then mix a series of oil washes (paint + turpentine) to be used similarly to wood stains used on furniture. These stains are applied to the sculpted fur texture and with darker colors applied as needed for shading or depiction of darker fur. I allow this to sit for an hour, before I start working the highlight areas. The highlights are accomplished using an artist's kneadable eraser. A dabbing technique is used to remove some of the oil “stain” and allowing the white underneath to show through. Note: This staining technique works best if the white primer is given several days to cure. Lastly, I use the staining technique to simulate bones. Again this is done over a white primer. I highly recommend that the primer be given at least three to 4 days to full cure and gas off. The wash I use for bones is a bit thinner and less intense than that for fur or hair. The idea here is to make the white primer work to your advantage. Tip: If you are painting a figure that will eventually end up is a specific setting, make sure to pull some of the natural background color up into the lower Ľ to 1/8 of the figure. This is particulary important if the figure is in an outdoor setting. Conclusion Painting with oils is not as daunting as some might think. It simply takes some practice and patience and getting use to the medium. Once you do you'll never go back to any other types of paints for figures. The results achieved with oils are quite simply unattainable with other painting mediums particularly on larger figures where color transition is much more noticeable. I highly recommend that you practice on a metal figure to start, as they are easily stripped and that can be done multiple times if needed. Also start simple do go getting a figure that requires a ton of fancy textures etc. Go for simple and elegant then work up to the more complicated paint jobs. Once you get the hang of blending and creating color transitions within a figure, you can explore more complicated techniques and textures. Enjoy painting with oils - it's a lot of fun and quite rewarding. |
![]()
This page copyright © 2007 Starship Modeler™. First posted on 31 July 2007.
![[Please click to enlarge]](my_oils_Photo_3.jpg)
![[]](my_oils_Photo_4_lil.jpg)
![[]](my_oils_Photo_6.jpg)
![[]](my_oils_Photo_10.jpg)