by John Hartley
Scale: Not stated
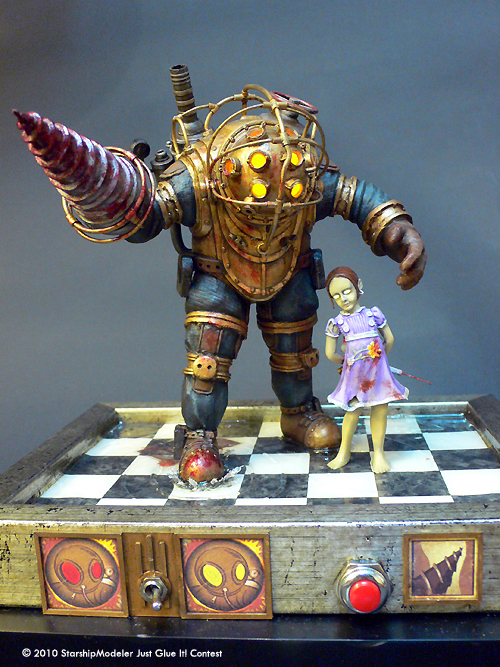
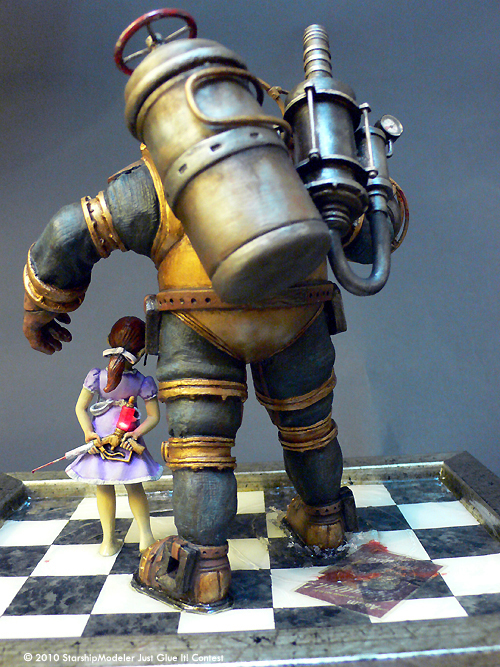
This vignette is based on the video game Bioshock. For those unfamiliar with the game, Bioshock is arguably one of the best video games of all time, set in an underwater city called Rapture. It combines Art Deco styling with futuristic weaponry. Without going into the game in too much detail, a great deal revolves around Adam which is a substance which is harvested by the demonic Little Sisters and which you need to get your hands on to survive in Rapture. The only problem is that each Little Sister is guarded by a Big Daddy and you have to go through him to get to the Little Sister and her Adam.
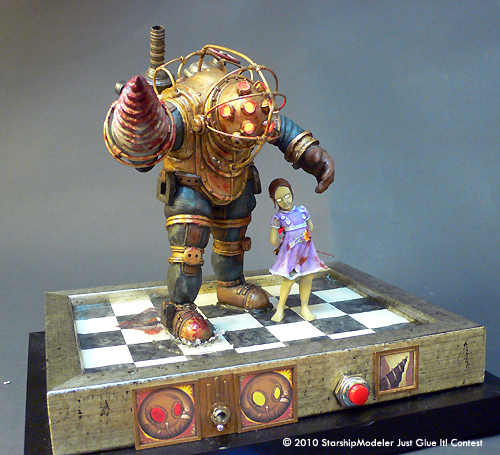
Having played the game, I really wanted to get a figure of the Big Daddy. Alas, when I searched on the net, it seemed the only figure available was the figurine that shipped with the collector’s edition of the game. I grabbed one of these on eBay and also discovered that someone had also produced a Little Sister figurine to accompany it, so snagged one of these as well. I was quite surprised by the level of detail on the Big Daddy figurine but the pose was very dull and the paint job was pretty awful. I decided I’d like to alter the pose and place the two figures on a diorama base with the Big Daddy standing guard over the Little Sister. Thus began what was to turn into a major project which took me almost a year (on and off) to complete.
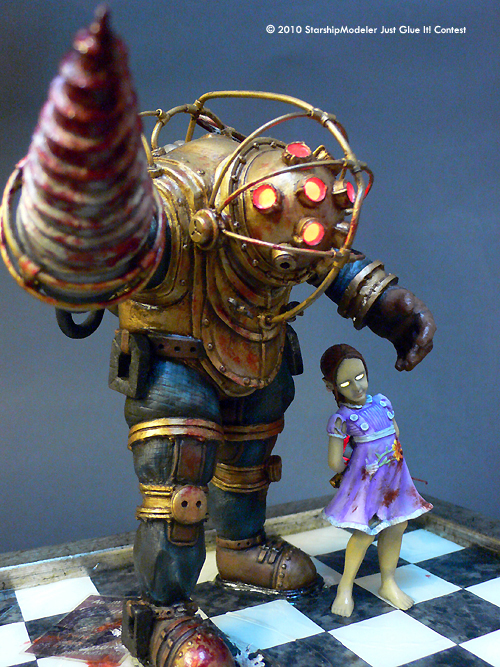
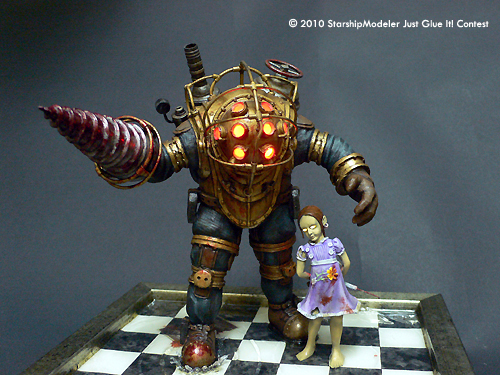
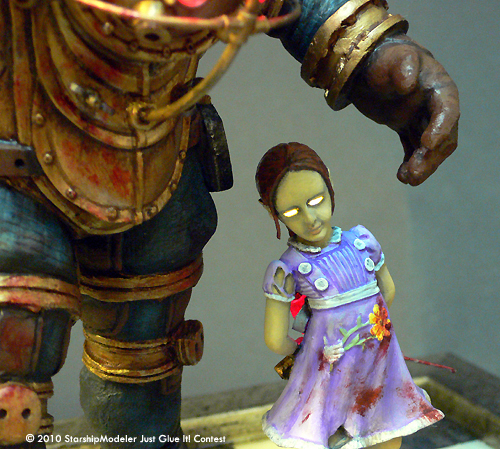
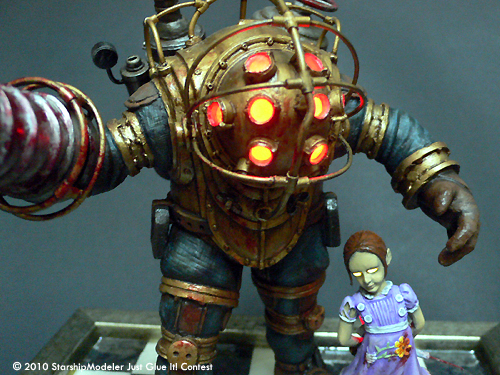
I figured that since I was going to chop the Big Daddy figure to alter the pose I could also add some custom lighting to give it more life and maybe also light the Little Sister to give her eyes the same eerie glow they have in the game. I designed a custom lighting kit and also provided for an ability to switch the Big Daddy’s lights from yellow to red – in the video game the Big Daddy’s eyes usually glow yellow and switch to red once you provoke it into attacking you, scares the hell out of you in the game when you see those eyes change colour and know this thing is coming for you. As I was going to hollow out the figures to add the lighting I also decided to take things one step further and add a small motor to drive the Big Daddy’s drill arm. You can’t really see this from the pictures but when you flip his eyes to red and start up the drill it looks very cool.
Once I started cutting into the Big Daddy figurine I realized this was going to be a major undertaking. This thing wasn’t cast out of resin like I expected but some kind of polystone. I had to use some serious power tooling to cut it down and got through a fair number of saw blades and drill bits, I wouldn’t recommend anyone following in my footsteps on this. The Little Sister was easier but not by much. At least she was cast in resin but despite her being only three inches tall, some genius had decided to cast a wire armature into her. I spent a fair while pulling bits of wire out of the parts I was trying to hollow. Eventually I had both figures in bits and hollowed. Lighting in the Little Sister was very tight and I barely managed to fit all the wiring inside her left leg (although being slightly mad I also managed to squeeze in a 2mm red LED to light the Adam in her syringe).
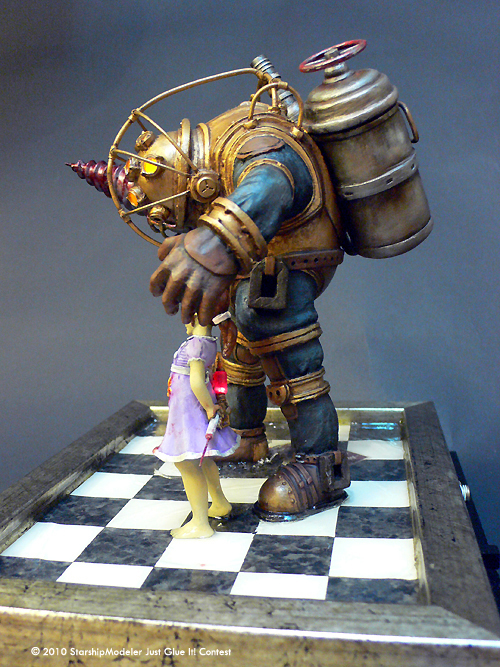
The figures were re-assembled with the lighting inside and the big Daddy re-posed with a fair bit of re-sculpting, including sculpting a new right arm to incorporate a mini motor with a gearbox which I found on-line. I also remade the Big Daddy’s back pack to make him more accurate to the video game version and re-sculpted the Little Sisters hair to give a bit more room for the lighting.

![[Just Glue It!]](contest_justglueit_banner.jpg)
