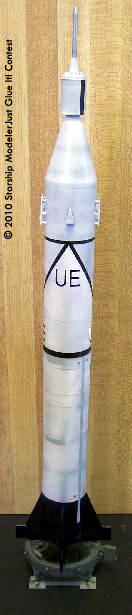
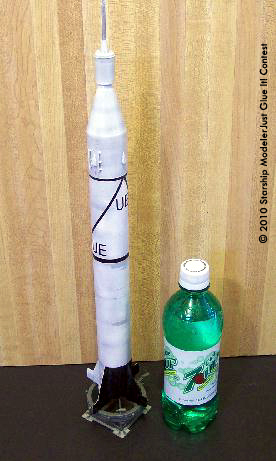
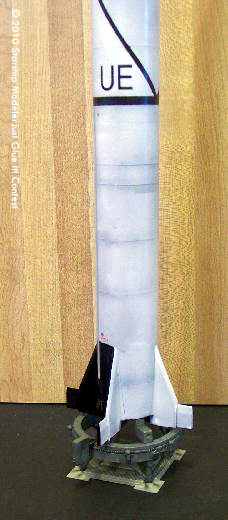
[Just Glue It!]

Contest Rules | Entries | Home

Jupiter C


by Rich Dula

Scale: 1/48

“January 31, 1958, 10:58 p.m. EST - Cape Canaveral, Pad 26A

Technicians wait nervously as the countdown to launch nears completion, and all hope that this launch goes as planned. The launch of America's first artificial satellite has been a long time in coming. The launch had been scheduled for December 6, 1957, but an explosion of the U.S. Navy's Vanguard rocket on the pad prevented the launch.

Now, using the U.S. Army's Redstone missile as the launch platform, the United States is poised to enter the history books on this day . . .”

The rocket, designed by Werner von Braun, originally lost out to the Vanguard in 1955, but the Army continued to develop the design under the Jupiter intermediate range missile program. The first Jupiter C was test-flown on September 20, 1956 carrying a sand-filled dummy fourth stage in place of the satellite.

The January 1958 launch went without a single problem, and at 12:42 a.m., a receiving station on the West Coast confirmed that the satellite, Explorer 1, was successfully in orbit. Five more Jupiter launches were attempted in 1958, with two being successful (Jupiter III on March 26 and Jupiter IV on July 26).

The Model

The Glencoe Models Jupiter C has been sitting on my shelf for a while, and I finally decided to "just glue it" for a bit of fun. The kit is 1:48 scale, and ends up being close to 19 inches tall from the base of the launch pad to the tip of the Explorer 1 satellite. To give an idea of the size of this kit, the pop bottle in one of the photos is a 16.9 ounce 7-Up bottle.

I decided to build this straight out of the box, without any modifications other than trying a few new painting techniques. This is the first time that I've tried pre-shading. I primed with gray auto primer, then pre-shaded with flat black acrylic, and airbrushed on a couple coats of flat white acrylic. I added some panels and the vertical marking strip by masking and airbrushing custom-mixed light gray.

After sealing with Future, I applied some of the kit decals, but had to mask and hand-paint the diagonal black lines as the supplied decals seemed to be too long. I also added some decals from my spares box, as there didn't seem to be enough markings to match my reference photos. One final coat of Future sealed the decals, and then I applied Testor's DullCote to give the rocket a semi-gloss finish.

The launch pad was painted Model Master Faded Olive, dry-brushed with silver, given a fairly heavy black acrylic wash, and then "blasted" with straight flat black to simulate the scorching due to repeated test-launches. I sealed with DullCote.

Image: Payload section

Image: Bottom

Image: On the 'pad'

Image: Another look

Image: Markings

Image: Launch base

Image: Another look


Go back up | Starship Modeler Home | Site Map | Feedback

This page was last updated 29 January 2010. © 2010 Starship Modeler