by Rich Dula
Scale: Non
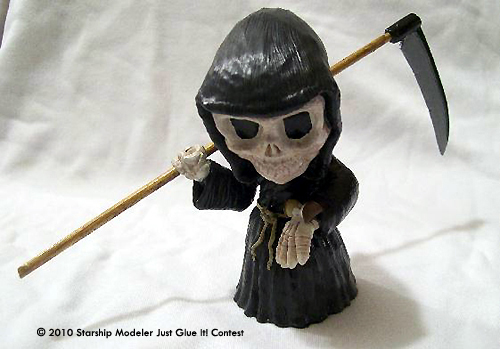
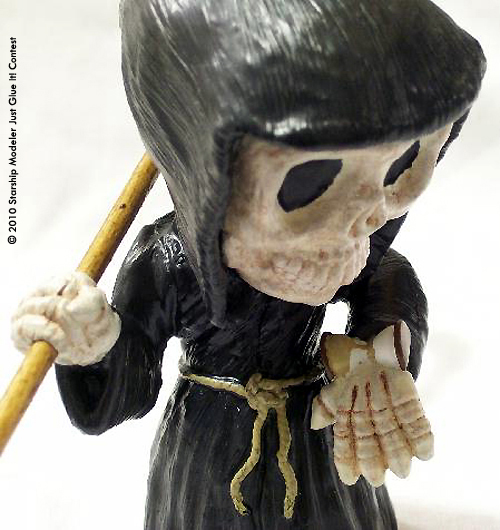
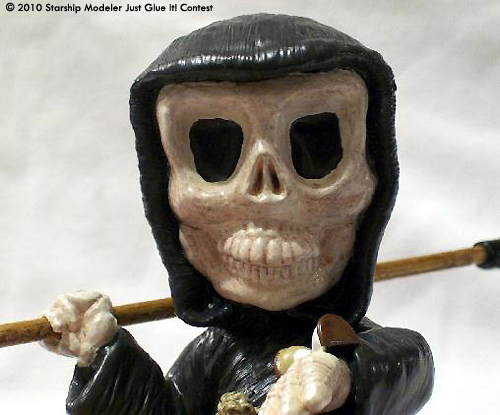
I'd seen this kit by 2 Fat Guys and decided that I would pick one up. It was mastered by Steve Kundrat and is a really neat sculpt. I have no idea what the scale is for Cuddles, but he's about four and a half inches tall.
There are six parts - main body, two arms, an hourglass “watch” for the left arm, the scythe blade, and a wooden dowel for the handle. The casting was well done, and I didn't have any major voids or bubbles that needed attention. I did have to sand down the locator pin for the left arm so that it would fit into the socket, but that was about it.
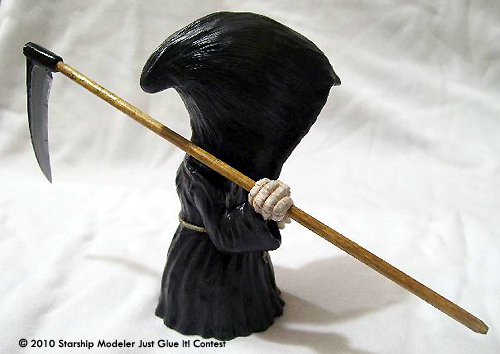
After giving the parts the traditional warm water/dish soap bath, I let the parts air dry overnight. Assembly was easy, and the kit went together in about an hour, including time for dry-fitting, sanding, and sealing gaps with super glue. I drilled out the right hand with a pin vise, checking the drilling against the dowel to make sure the handle would fit without scraping the finish off. It's a little loose, but not so much that the scythe shaft flops around in Cuddles' hand.
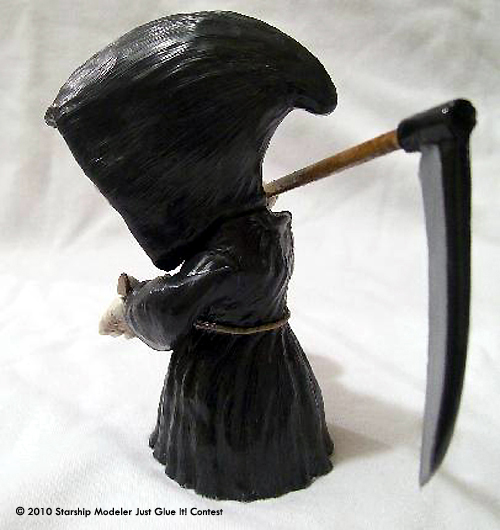
I used light gray auto primer, and then started mixing paint. I didn't want to go with a black robe because it would make it more difficult to do any shading to show off the texture that was cast into the surface. I mixed Tamiya Gunship Gray and Flat Black to get a nice, dark charcoal gray. I decided to brush-paint this kit, and it's the first time in a while that I haven't used my airbrush. I have to admit that it was a nice change. I painted the rope with Tamiya Buff, using a toothpick to carefully work my way around the waist.
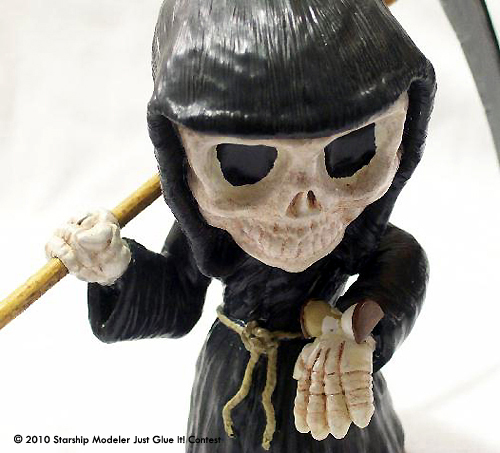
I couldn't find a good color for the skeletal bones at my local hobby shop, so I mixed my own. I started with a mixture of Tamiya Buff and Flat White for the base coat, and then dry-brushed three coats of the same mixture lightened with more Flat White. Finally, I mixed a small batch of Tamiya Sky Gray and Flat White, to provide a slight gray tint and to give highlights on the raised parts of the skeleton. The eyes were done with Tamiya Flat Black to give a “bottomless” feel to them.
The hourglass was painted with a very light gray and white mixture, and the “sand” is buff paint applied with a toothpick. The bases were toothpick-painted with Tamiya Red Brown.

![[Just Glue It!]](contest_justglueit_banner.jpg)
