This kit is designed to have operational landing gear and landing gear bay doors. The instructions leave a lot to be desired. Anyone who has ever taken anatomy knows the pretty pictures in the lab books look nothing like the real thing. The landing gear portion of the instructions is about the same as the anatomy book. It took me several tries to get the main landing gear bays and struts to function properly. Fortunately Pegasus provided three gear springs. I totally destroyed one trying to figure out what they wanted me to do.
With the landing gear painted, weathered. and dry brushed I was on to joining the fuselage halves at the start of February. Why did it take a month to get to this point? You know; family emergencies, long days at work, required car and house maintenance, etc. Well the big Saturday came and I was excited. The whole operation was going smoother than I thought. Then, as every modeler has experienced, the Universe conspired against me.
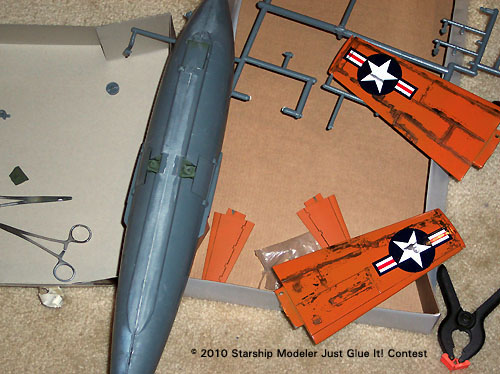
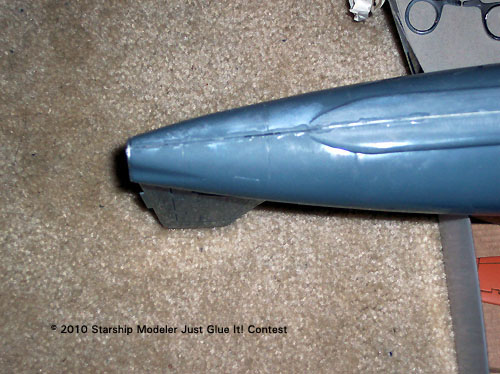
There was nothing I could do to get the two halves together. I had this on the floor of my room with me in a CPR position trying to get the halves to set. No amount of body weight or super duty clamps would do the trick. In the end I seated the top seam, but the bottom had huge gaps. Now understand, I build 1/72 and am used to gaps, but small gaps. A gap in 1/18 scale looks like the Grand Canyon comparatively.
I tried the old superglue filler standby, but this resulted in disaster due the width of the seam gap. In the end I had to stretch sprue and jam it in there. After the addition of glue and sufficient drying time I sanded this down. The fuselage was finally ready for paint.
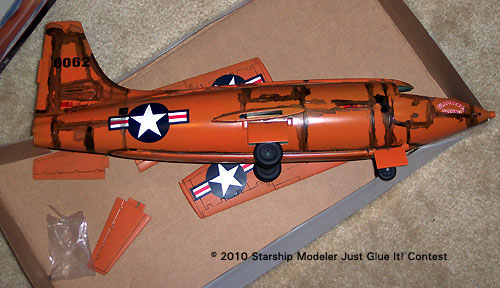
A word on painting. My intent was expediency so I used the 97-cent gray rattle can primer form Wal-Mart and a 4-dollar can of Krylon pumpkin orange from Home Depot. Despite the wind tunnel conditions in Austin the few times I tried to paint, the wings and horizontal stabilizers came out well. I found a small wind block in between the house and the trash can where only 90 percent of the spray ended up in my eyes.
The fuselage however was another story. The few days I had free to paint turned out to bring 1,000 mph turbulence where I wound up collecting more paint that the model. The primer coat went on fine, it only took the whole can. The pumpkin orange however did not go so well. I ended up with a few runs under the nose. So decision time; strip the whole thing back down and start over or sand the runs. Since I wanted to finish this on the contest time line I chose to spot sand and repaint. Mistake.
Everything looked good when the paint was re-applied, but the next day the new paint was “orange peeling” on me. So again: strip the whole thing and start over or gut it out with spot corrections. I was in the middle of February looking at the calendar, losing days, and beginning to question making the 28th deadline. So I decided to spot sand and spot paint. This time it worked better.
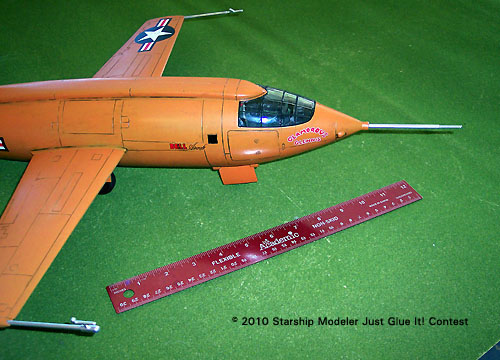
On to the decals, which turned out awesome. The pumpkin orange was a gloss so I applied the decals directly overlaying a sludge wash after they dried. Then I applied a coat of Testors gloss coat lacquer, and finally a coat of Testors dull coat lacquer. Great results.
The decals work exceptionally well with micro sol and micro set. They snug right down into the recessed panel lines. This combo works a little too well. After letting the fuselage insignia dry overnight I noticed what I thought was a crease in one. It turned out be a hair form my gray cat who was “helping” the night before. The decal snuggled down around the hair. I would have been mad if I was not so impressed.
So I went out the Friday before Valentines Day to shop for my wife. I needed to pacify her because I was on a deadline with this model. She had to understand I might disappear every now and then over Valentines weekend. Turns out I did good, scored some points, and was allowed to work on this project. My plan was to be 90 percent complete by the following Monday. The best laid plans of mice and men…
With all the major sub assemblies painted, weathered, and dull coated I eagerly began final assembly. This is where not fully test fitting the wings bit me in the you know what.
The wings just would not fit. So after cogitating on the situation and a few beers later the solution came to me in flash, use a rubber mallet. Again, mistake.
All I succeeded in doing was splitting the seams on the wing and the fuselage while knocking all the internal weights loose. Needless to say I was angry at this infernal kit and myself. Then my brother dropped by out of the blue on his way from Dallas to Corpus Christi. He saw I was struggling and took me to happy hour. What a great brother.
After a few more beers I decided something had to be done to rectify this situation. So I sanded all the parts involved and did some more mallet work. Long story short, I got the wings in. Then I let it rest for a week.
The next weekend was set aside for repairs and painting the canopy glass. The canopy glass is nice and big. I dunked it in future a few weeks before and it turned out great. It was very easy to mask because of the large molded in frames. I airbrushed this part and was successful despite the change in wind direction directly into my garage. Some more super glue and several clamps later I had repaired the fuselage and took the final pictures.
All in all a good kit. A word to the wise, TEST FIT EVERYTHING on this model. You might want to even mate the wings before painting. That is what I would do if I ever built another.
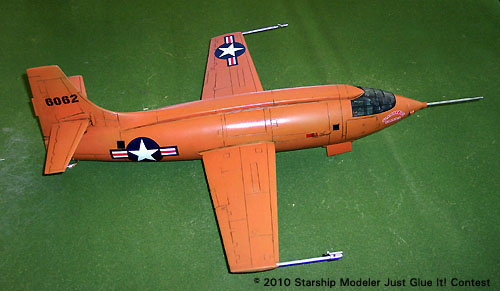
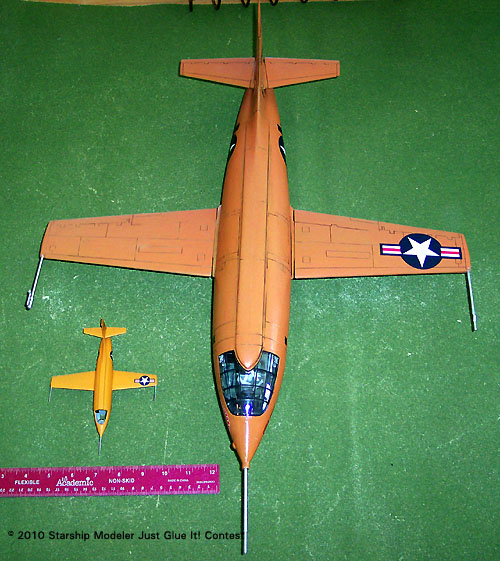
Hope you enjoy the pictures of the build and the finished kit. I included a ruler and a 1/72 Bell X-1 for size comparison. This is now hanging in my room with my other 1/18 planes. Thank you Starship Modeler for inspiring me to get off center and just glue it.
Image: Ouch - that's a seam!
Image: Fixed
Image: Sludge wash

![[Just Glue It!]](contest_justglueit_banner.jpg)
