[Starship Modeler's 18th on-line modeling contest: To the moon]

Contest Rules | Entries | Home

Retro Lunar Landing

[Proudly Sponsored by BLAP! Models]

Sponsored by BLAP! Models


by Joe Cassidy

Scale: 1/72-ish

This is my version of a retro- style Lunar Lander. I basically kit-bashed Glencoe's Lunar Lander with Revell's Lunar Module.

I opened-up three of the existing portholes on the upper stage in an effort to try and make the scale appear larger than the stock Lander. I wanted this to be a two man lander at most. I relocated four of the lower stage engines to the upper stage as ascent engines. I also added two RCS thruster units (from an old Pilgrim Observer kit) to the sides. In addition, I relocated the landing radar to a side wall. The various antennae are from the Revell LEM kit as is the upper-most “hatch”. The biggest problem I had to solve was how to get the guy to the surface once landed. That's no “small step”! I decided to scratch-build a mechanism that would lower the guy down by cable via a bracket attached to his backpack. The whole tunnel/tube mechanism would be jettisoned prior to ascent stage liftoff. A also ran a few umbilical cables (from and old Revell Mercury and Gemini kit) down to the lower stage in order to tie the two stages (literally) together.

The first thing on the lower stage I did was to remove one of the big fuel tanks. That kit always seemed too tall anyway. In its place, I scratch-built two outboard cylindrical tanks. I used some plastic round stock and LEM leg struts to mount them. Taking out the tank required me to shorten the four main support beams on the lander as well.

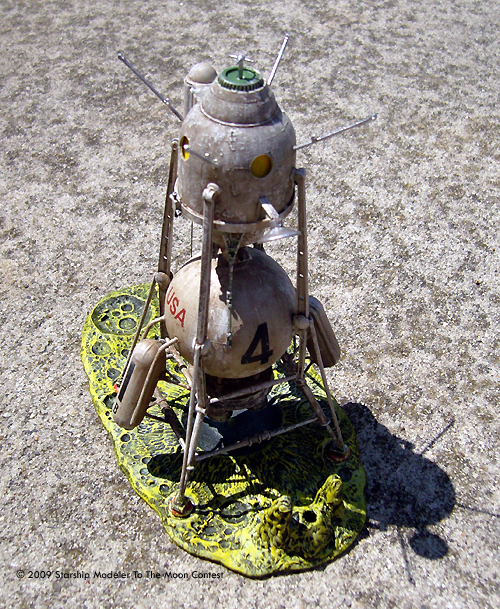
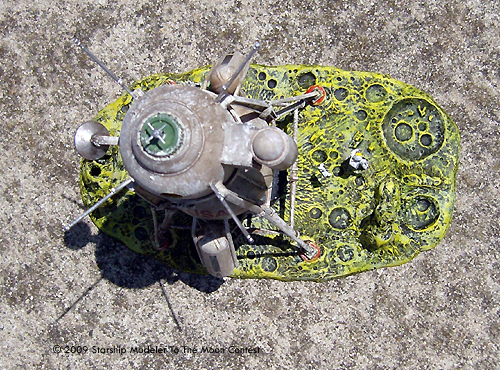
While doing so, I used some of the Glencoe upper stage portholes at each strut joint. Once painted, they blend in to create what I envisioned as the pivot point for the struts when they rotate back during upper stage lift-off. I also chose to re-enforce the landing struts with some more plastic round stock. To power the lander I used four larger engines (pilfered from my spares box) in place of the smaller Glencoe engines. Finally, I inverted the Revell LEM landing pads and attached them to the rectangular pads of the stock lander.

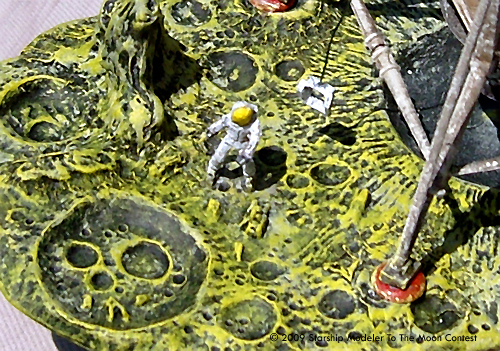
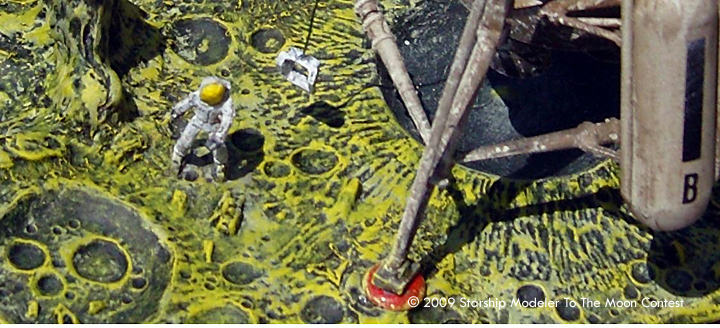
The base is from Revell's LEM kit. I added some 60-ish rock formations just to give it some personality.

The lone astronaut depicted is nominally 1/72 scale. The only thing I had around at the time was a generic male figure. I doctored him up with a back pack and helmet and he was ready to go.

I painted the entire lander with a white primer. I then applied the decals, including a few from the spares box on the cylindrical tanks. Next I applied a burnt sienna wash (a bit too much in retrospect). After that, I painted some of the smaller details and applied a dull coat finish. The base was first painted flat black followed with green and yellow dry brushing. The astronaut was white with a gray dry brushed finish.

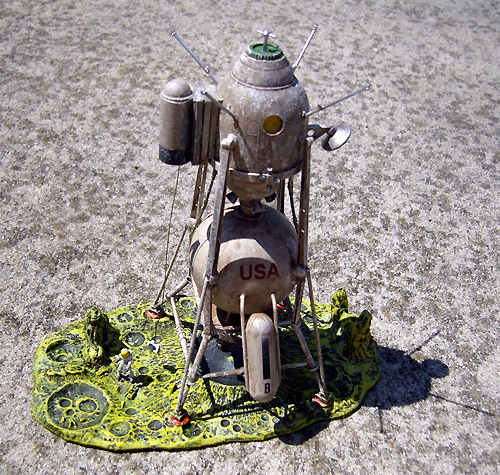
Image: Overall, back
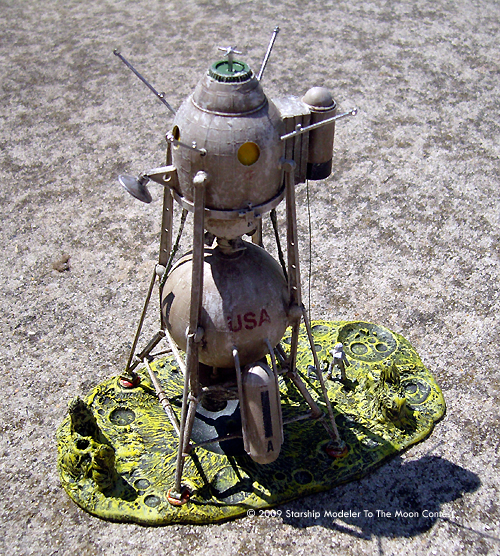
Image: Side

Image: Top

Image: One ity-bitty step for a man ....


Go back up | Starship Modeler Home | Site Map | Feedback

This page was last updated 17 June 2009. © 2009 Starship Modeler