by Colin Smialek
Scale: 1/48
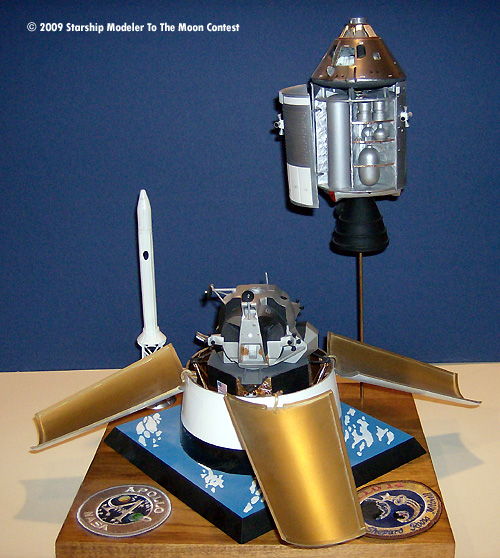
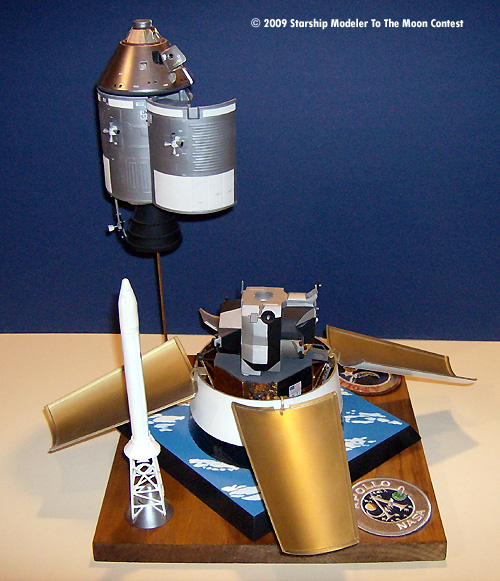
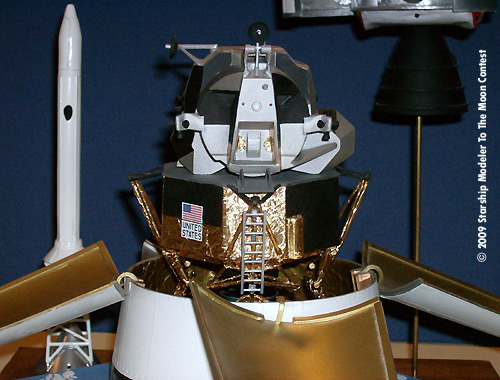
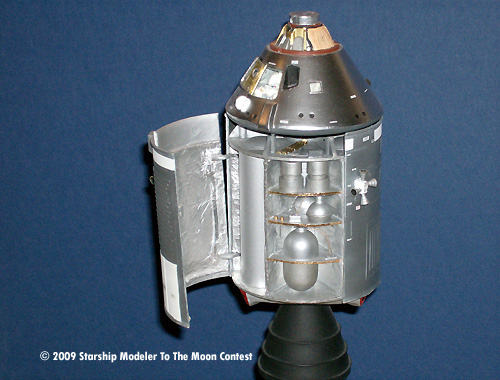
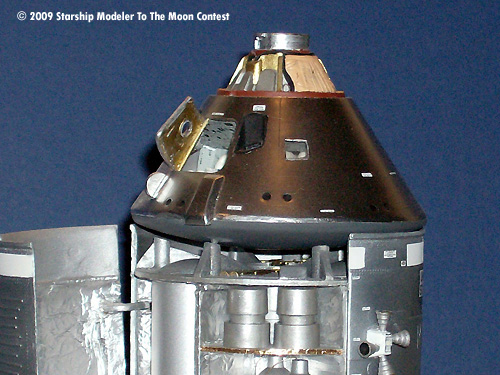
My entry for the “To The Moon” contest is the 1/48 scale Apollo Spacecraft released by Revell. The scale of this kit shows great detail and is a great display piece for any space enthusiast, including me, as I grew up during the thrilling Apollo era.
I have wanted to build this kit for many years. Since it has not been in production since 1994, and the only way to purchase an unbuilt kit is through eBay for around $100.00, this has been an unfulfilled dream of mine. In September of 2003, I found an auction on eBay for a built up 1/48 Apollo Spacecraft that also included several other built space/ sci-fi kits. I ended up bidding on it and won the auction for about $40.00, including shipping. I was in business!
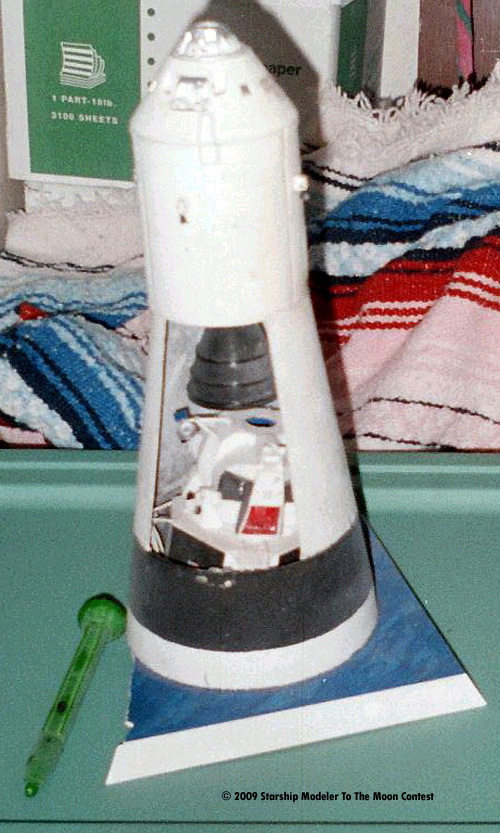
But I was in for a challenge also, as you can tell by the picture showing the kit as I received it. I have never attempted a reconstruction project before this, and this project would soon turn into a “test” right from the start. Beginning with the initial disassembly (seemed like a whole tube of glue was used in the initial assembly), then to the removal of the paint (some of which I was never able to remove, no matter what I used), the research as to how to recreate certain missing parts, then to the long process of careful reconstruction and detailing, this project was a very exciting journey!
My goal was to remain true to the original 1/48 Apollo Spacecraft kit as if it came out of the box. Unfortunately, this became impossible because I had to either repair or scratch build some critical parts that were missing or broken and beyond repair. Some of these parts included the bottom cover of the service module (around the engine bell), hinges on 3 out of 4 of the SIVB panels, the service module main antenna, several connecting struts of the launch escape system, and the time consuming effort of making the connecting pins that attach the command module to the service module as the original kit had. Replacing these items did take a lot of time, but also taught me some valuable techniques such as scaling dimensions from photographs, bending plastic using hot water, and how to integrate modeling clay into plastic models. I hope to use these skills on the next reconstruction project that I take on.
![[Starship Modeler's 18th on-line modeling contest: To the moon]](to_the_moon.jpg)