The decals were home-made using Testor's inkjet decal film, sealed with Krylon UV Matte. I did the best I could to replicate the actual text using scans and hand-drawn copies of the instructions from various web sites, especially Karl Dodenhoff's. I even found the EVA cuff checklists online! Though the Testors film took the ink well, applying the decals was a nightmare; the Testors film didn't stick well at all, and it reacts poorly to Testor's own decal solvent (the decals curled up like dead leaves). Eventually, I got them on, though for a few I was so desperate I stuck them on with thinned white glue.
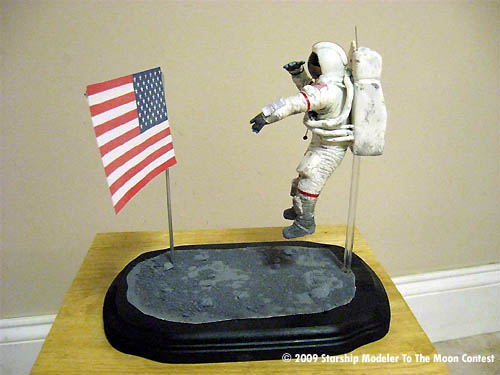
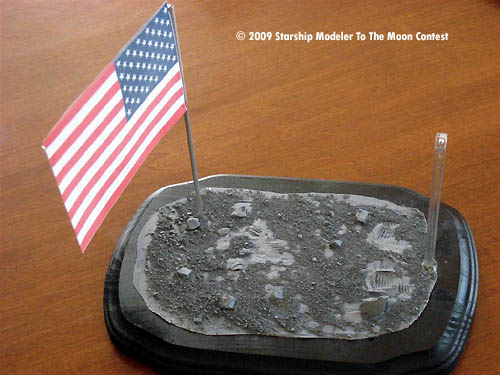
I made the base by first painting a little pine plaque black, then masking off the edges and putting ordinary drywall spackle on the central part. I stuck a few small rocks in the spackle while it was wet. I then coated the spackle with thinned white glue, and poured some playground sand over it. I sprayed the completed “lunar soil” with Krylon UV Matte, then airbrushed it with a couple of grays, spraying again with Krylon to seal things. Unable to find a simple clear rod to support Young, I used a window blind rod from the local hardware store. The flag was very simple to make. The flagpole is just 1/8” aluminum tube, and the crossbar is a small tube I found in the parts drawer. The flag itself is a US flag printed on adhesive paper (regular and reversed, to get both sides) then the two sides were stuck together. The clear rod and flagpole were set into holes drilled into the base using epoxy.
For my first attempt at making a figure from scratch, I was very pleased with the result. I had no idea that I could do this. Don't say you can't make your own figures, unless you've at least tried! I could've done better with the painting and the decals, but the level of detail is about as good as I could manage, given the available reference material and my own skill level. Just as I finished taking the pictures, I realized I need to build a geologist's tool to put in Young's right shin pocket. Ah, well. Maybe next week.
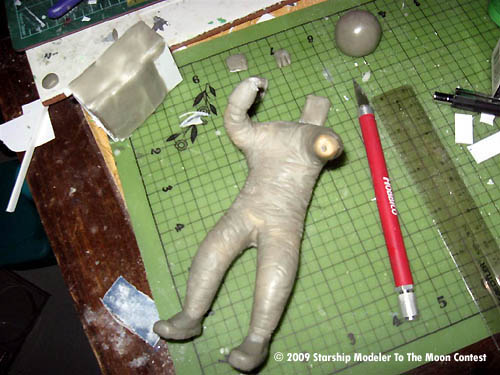
Image: Basic figure in Sculpey; helmet and early backpack are also shown
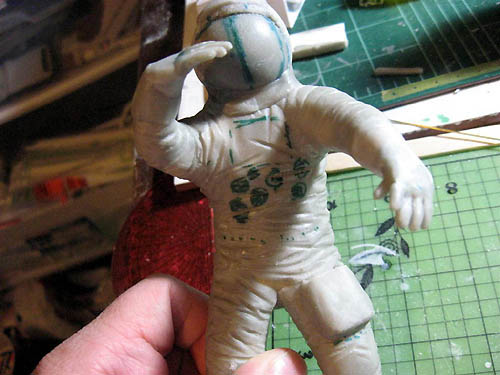
Image: Figure with outer layer of Aves-looks much better!
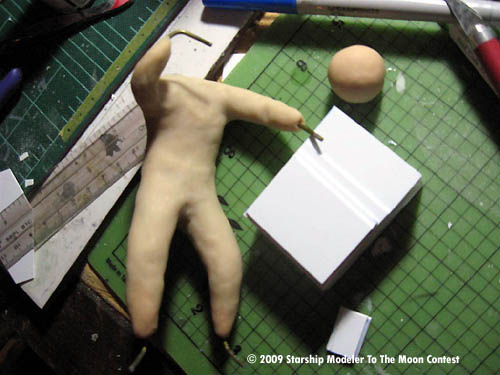
Image: Head and hands where they belong
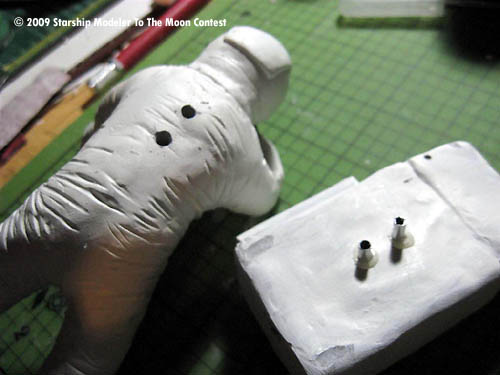
Image: PLSS backpack pinned on using aluminum tubing and epoxy
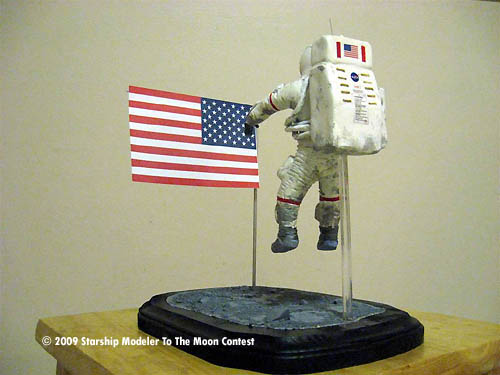
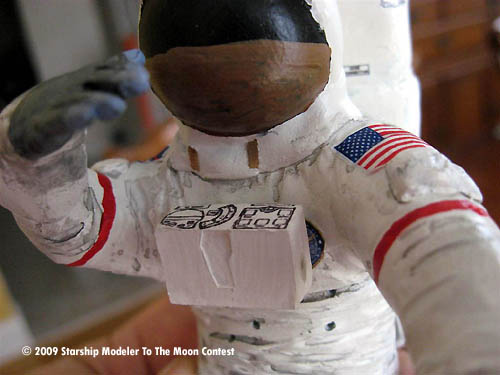
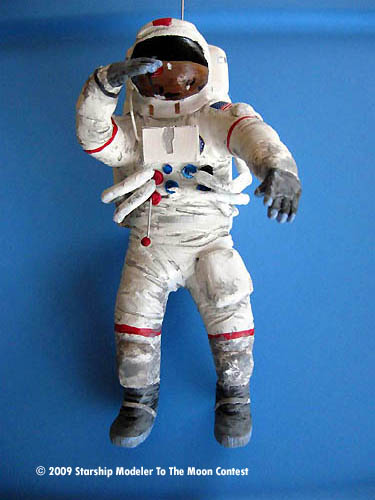
Image: The best decal, the mission patch, is mostly hidden by the EMU's control unit
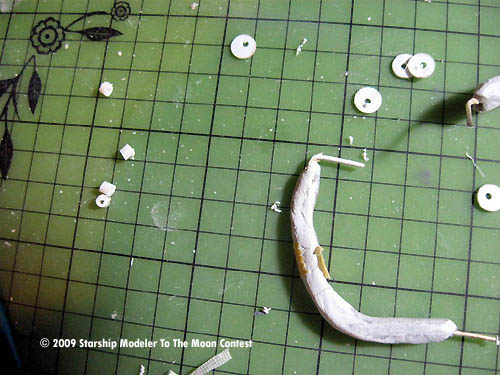
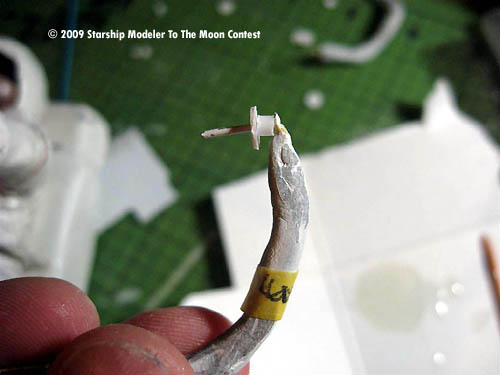
Image: Raw components for the umbilicals: Aves-coated wire, plastic tubing, and 0.02” thick plastic discs
Image: The suit end of one of the umbilicals
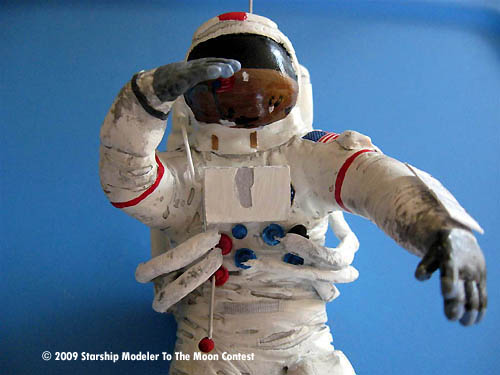
Image: Front view
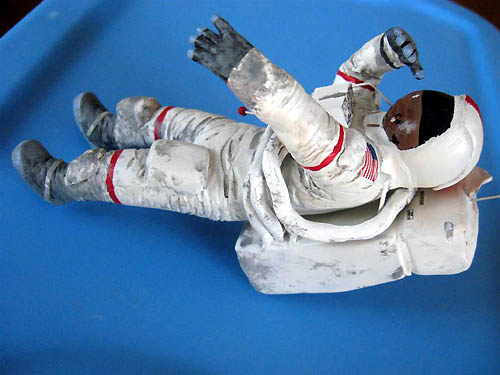
Image: Left side
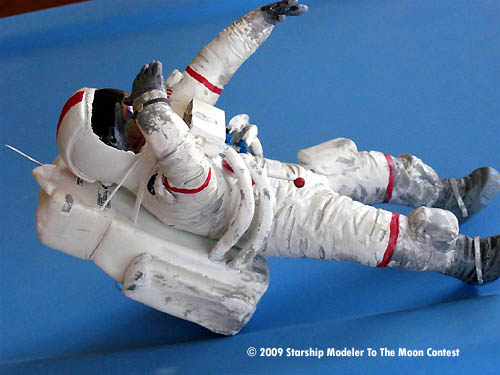
Image: Right side
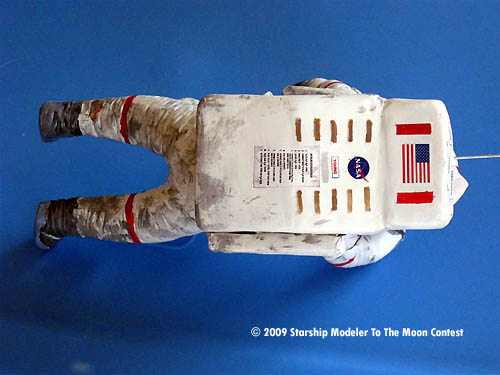
Image: Rear, showing backpack
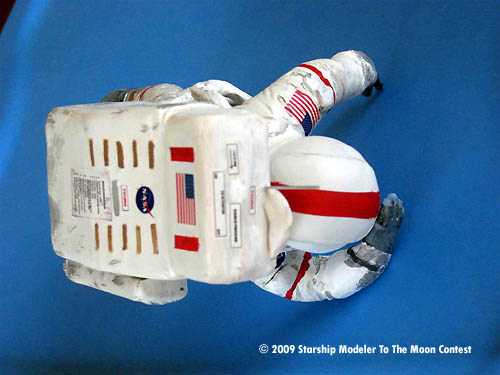
Image: Top view
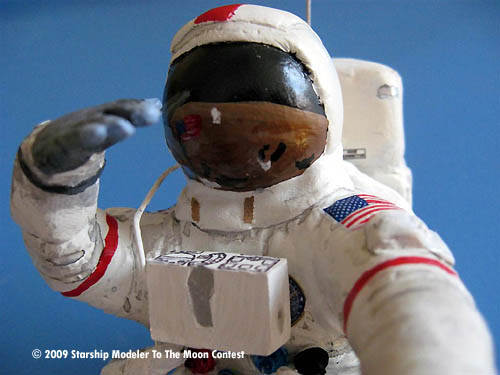
Image: Close-up of visor
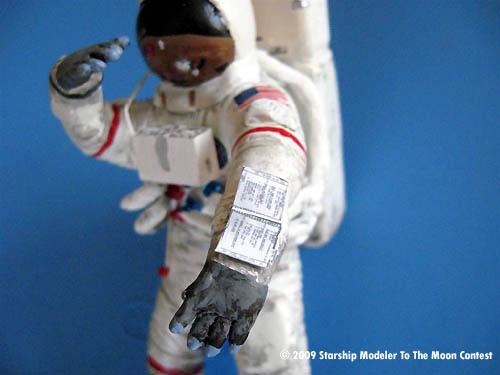
Image: Checklist-copies of actual pages
Image: Umbilicals attached
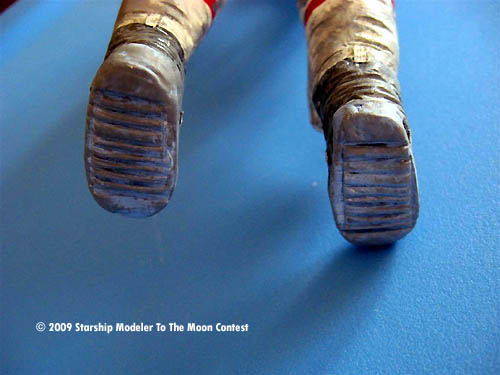
Image: Boot soles
Image: The base; I made the footprints using the figure's feet, before the spackle had dried
![[Starship Modeler's 18th on-line modeling contest: To the moon]](to_the_moon.jpg)
